
Whether you’re a 3D artist designing game assets, a product engineer creating 3D print files, or a hobbyist sharing 3D models on social media, rotating a 3D model is one of the most fundamental skills you’ll need. Rotation is more than just spinning a shape on a screen: it helps you inspect every angle for design flaws, position components correctly for 3D printing, create dynamic animated scenes, or showcase your work to clients. While it sounds simple, mastering consistent, precise rotation across different software and use cases takes practice. This guide breaks down the core concepts behind 3D rotation, step-by-step methods for common tools, and pro tips to avoid common mistakes that can derail your project.
Understanding the Core Concepts of 3D Rotation
Before diving into step-by-step tutorials, it’s important to build a foundation of how 3D rotation works. Unlike 2D rotation, which only spins objects around a single axis (usually the Z-axis going into the screen), 3D rotation works across three independent axes. This gives you full freedom to position any model at any angle, but it can also lead to confusion if you don’t understand how axes and pivot points work.
The Three Rotation Axes
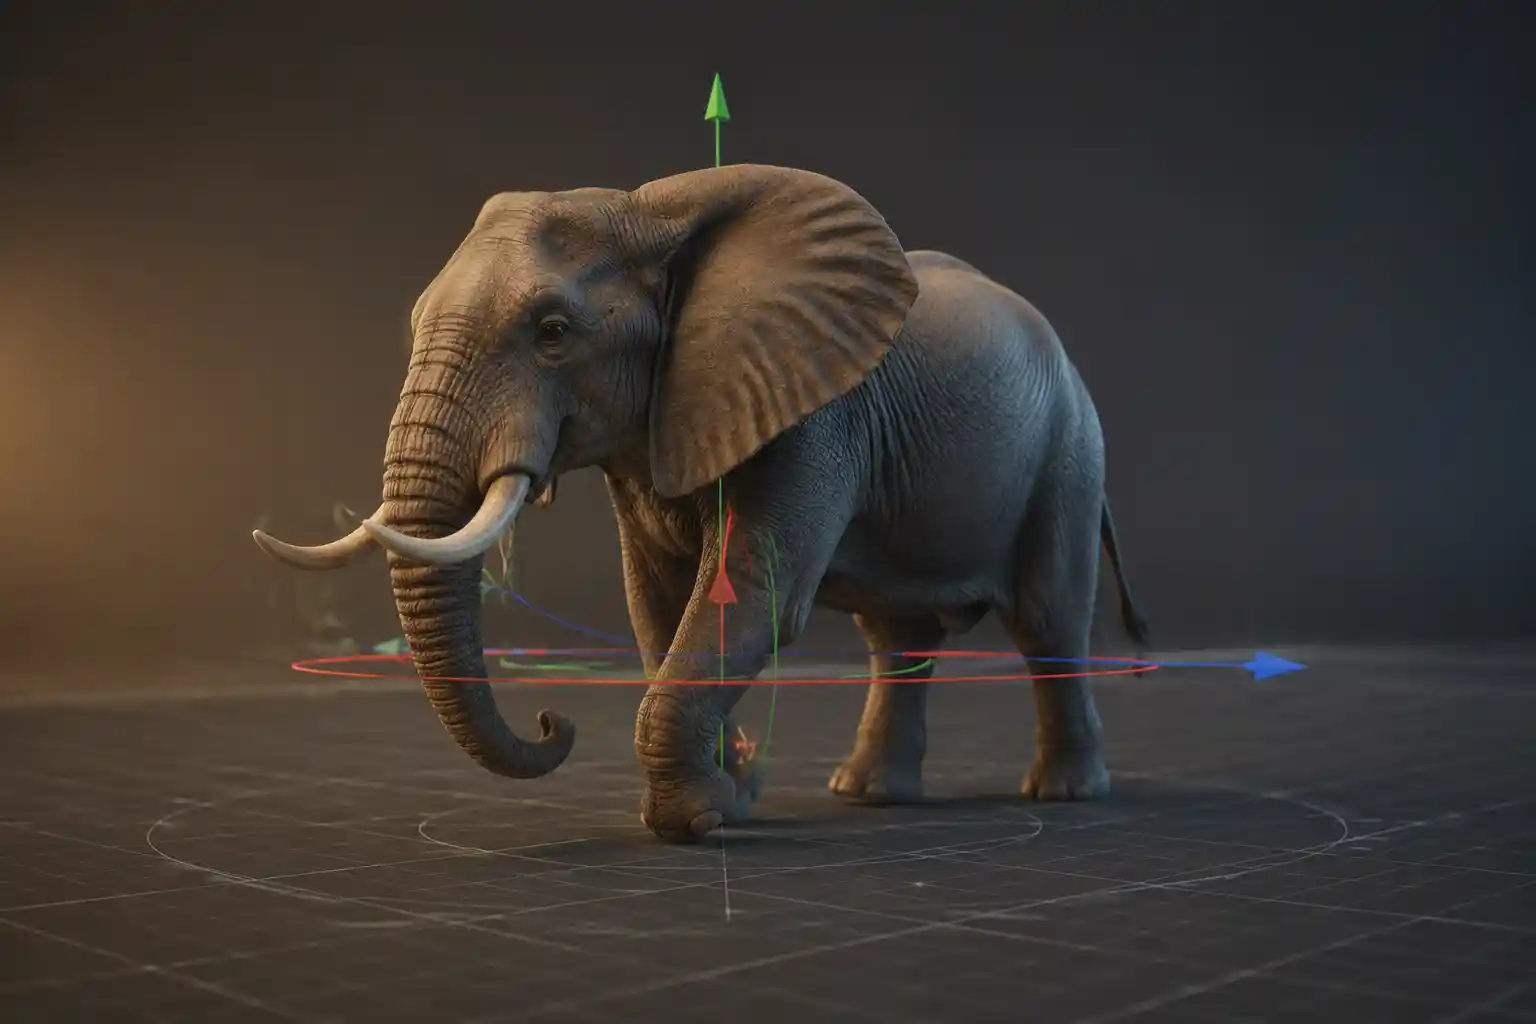
In almost all 3D software, rotation is mapped to three standard axes labeled X, Y, and Z. The specific orientation of each axis can vary slightly between programs, but the most common convention (used in Blender, Autodesk Maya, and Unity) follows these rules:
- X-axis rotation: Tilts the model forward or backward, like nodding your head up and down. For example, rotating a character model around the X-axis lets you tilt their head to look up at the sky or down at their feet.
- Y-axis rotation: Spins the model left or right, like shaking your head back and forth. This is the most common rotation for turning a model around to inspect all sides or reorient it in a scene.
- Z-axis rotation: Rolls the model clockwise or counterclockwise, like tilting your head to one shoulder. This is most often used to straighten crooked models or adjust the angle of flat objects like a logo on a product package.
Some programs, such as AutoCAD and SolidWorks used for engineering, use a different axis convention where Z is the vertical axis. This flips the roles of Y and Z rotation, so always check your software’s documentation to confirm which axis controls which movement before you start rotating.
Pivot Points: The Center of Your Rotation
Another core concept that trips up new 3D artists is the pivot point, also called the origin or rotation center. This is the point around which your model rotates. By default, most software sets the pivot point to the center of the model or the origin of the 3D scene (0,0,0 coordinates). But you can adjust the pivot point to change how rotation behaves. For example, if you want to rotate a door around its hinge instead of the center of the door panel, you would move the pivot point to the hinge location first. Rotating around a custom pivot is also useful for positioning multiple objects around a central point, like arranging chairs around a table in a room scene.
Beginner 3D modelers often waste hours fighting unexpected rotation because they forget to check their pivot point. A 10-second adjustment to the rotation origin saves 10 minutes of repositioning later.
Many modern 3D tools also offer different rotation modes, such as gimbal rotation vs. quaternion rotation. Gimbal rotation is simpler for beginners, but it can lead to a problem called gimbal lock, where two axes align and you lose the ability to rotate around one axis. Quaternion rotation avoids gimbal lock, which makes it the default for animation in most professional tools. For basic positioning, you won’t notice much of a difference between the two modes, but it’s good to know the term if you run into rotation issues while animating.
How to Rotate 3D Models in Popular Free and Paid Software
Every 3D tool has its own workflow for rotating models, but the core concepts we covered above translate across almost all programs. Below, we break down step-by-step methods for the most common 3D tools used by hobbyists and professionals alike.
Blender (Free Open-Source)
Blender is the most popular free 3D tool for modeling, animation, and 3D printing, and its rotation workflow is intuitive once you learn the hotkeys. Here’s how to rotate a model in Blender:
- Open your 3D file and select the object you want to rotate by left-clicking it. You’ll see an orange outline around the selected model.
- Press the R key on your keyboard (the default hotkey for Rotate) to activate rotation mode. Your model will now rotate with your mouse movement.
- To constrain rotation to a specific axis, press X, Y, or Z after pressing R. For example, pressing R then Y locks rotation to the Y-axis, so you can only spin the model left or right without accidental tilting.
- Type an exact rotation angle (such as 90 for 90 degrees) and press Enter to get precise rotation. If you want to rotate 90 degrees counterclockwise, type -90 instead.
- To adjust your pivot point before rotating, press the period key (.) on your numpad to set the pivot to the 3D cursor, or press comma (,) to cycle through different pivot options like bounding box center or individual origins.
For viewing your model as you work, you can rotate the entire viewpoint (instead of the model itself) by holding down the middle mouse button and dragging. This doesn’t change the model’s position, it just lets you look at it from different angles while you work — a common point of confusion for new Blender users.
Autodesk Fusion 360 (Free for Hobbyists)
Fusion 360 is the go-to tool for product design and 3D printing, and it’s used by millions of makers and engineers. To rotate a model in Fusion 360:
- In the Design workspace, select the model or component you want to rotate from the browser timeline on the left, or click it directly in the viewport.
- Go to the Modify menu in the top toolbar and select Move/Copy.
- Click the Rotate icon (it looks like a circular arrow) in the Move/Copy pop-up menu.
- Click the model to set the pivot point for rotation, or select an edge or face to align the rotation axis to your part.
- Drag the rotation handle to spin the model, or type an exact angle into the text box to get precise results. Check the “Create Copy” box if you want to rotate a copy of your model instead of moving the original.
- Click OK to confirm the rotation.
To rotate the view without changing the model position, just hold the Shift key and middle mouse button and drag, same as Blender.
Unity / Unreal Engine (Game Development)
If you’re working with 3D models in a game engine, rotation works a little differently because you’ll often rotate models during gameplay rather than just in the editor. In both Unity and Unreal, you have two options: rotating manually in the editor for static objects, or writing a simple script to rotate models dynamically during play.
For manual rotation in Unity: Select your model in the Hierarchy panel, then go to the Inspector panel. You’ll see three input boxes for Rotation, labeled X, Y, and Z. You can either type exact values into these boxes, or click and drag the small handle next to each number to increase or decrease the rotation angle incrementally. If you want to rotate the model interactively in the Scene view, select the Rotate tool from the top toolbar (the circular arrow icon) and drag the colored axis handles to rotate around X, Y, or Z.
In Unreal Engine, the process is almost identical: Select your model in the World Outliner, go to the Details panel, and adjust the rotation values under Transform. Or select the Rotate tool from the toolbar and drag the axis handles in the Viewport to rotate interactively.
Online 3D Viewers (No Software Download)
If you just need to rotate a 3D model to view it or make a quick adjustment before sharing, you don’t need to download large professional software. Tools like Sketchfab, 3D Viewer Online, and Google’s Poly let you upload an STL, OBJ, or GLB file and rotate it directly in your web browser. To rotate the model in most online viewers, just click and drag with your left mouse button. To rotate around a specific axis, hold Shift and drag horizontally or vertically. Many of these tools also let you adjust the pivot point by double-clicking a new location on the model, then rotate around that new center.
Rotating 3D Models for 3D Printing: Common Use Cases and Fixes
One of the most common reasons people need to rotate a 3D model is to prepare it for 3D printing. The orientation of your model on the print bed has a huge impact on print strength, surface quality, and the amount of support material you’ll need. Getting the rotation right can mean the difference between a successful first print and a failed mess.
Key Rules for Roting Models for 3D Printing
When rotating a 3D model for your FDM or resin printer, follow these practical guidelines to get the best results:
- Minimize overhangs greater than 45 degrees. Most FDM printers can’t print overhangs steeper than 45 degrees without support material, so rotate the model to keep overhangs as shallow as possible. For example, if you’re printing a chess rook, rotate it so the curved base lies flat on the print bed instead of sticking up into a steep overhang.
- Place the largest and flattest face on the print bed. This improves adhesion to the bed and reduces the risk of the print shifting or falling over mid-print. Rotating a tall, narrow vase to stand upright on its base gives it a much larger contact area than printing it on its side.
- Hide layer lines on the most visible surfaces. Layer lines are the faint horizontal lines left by each pass of the 3D printer nozzle. Rotate the model so layer lines run along less visible edges, not across the front face of a product prototype or art piece. For a smooth matte finish on a sculpture, rotate it so layer lines align with the texture of the design instead of standing out.
- Avoid placing holes through layer lines. If you’re printing a part that needs a clean circular hole, rotate the model so the axis of the hole is parallel to the print bed. This keeps the entire hole printed in a single layer, resulting in a clean round shape instead of a jagged oval from stacked layer lines.
It’s important to note that resin printers have different rules than FDM printers. For resin printers, the main concern is reducing the amount of support needed to hold the model to the build plate, and reducing suction force that can pull small parts off the plate. Rotate flat models like miniatures 30 to 45 degrees to reduce the total suction area, while still keeping overhangs supported.
How to Rotate an STL File for 3D Printing
STL is the standard file format for 3D printing, and almost all slicer software (the tool that converts 3D models to printer G-code) lets you rotate STLs directly. In popular slicers like Cura, PrusaSlicer, or Bambu Studio, the workflow is almost identical:
- Import your STL file into the slicer, and it will automatically load onto the virtual print bed.
- Select the model by clicking it, then click the Rotate tool icon (usually a circular arrow) in the left sidebar.
- You’ll see three rotation handles around the model, one for each axis. Drag any handle to rotate the model, or click the “Lay Flat” button to automatically align the largest face of the model to the print bed.
- Type specific rotation angles into the X, Y, Z input boxes if you need precise positioning. For example, if you need to rotate a sign 10 degrees to straighten it, type 10 into the Z rotation box.
- Once you’re happy with the orientation, slice the model as usual and export the G-code to your printer.
If you need to rotate an STL and save the new orientation as a new STL file (instead of just rotating it in the slicer), you can do that in Blender or Meshmixer. Import the STL, rotate it following the steps we covered earlier, then export it as a new STL file to use in any slicer.
Pro Tips for Precise and Consistent Rotation
Even once you know the basic steps, small mistakes can lead to misaligned models, broken animations, or unexpected results. These pro tips will help you rotate more efficiently and avoid common frustrations.
Use snapping for consistent rotation increments
Almost all 3D software has a rotation snapping or angle snapping feature that forces rotation to jump in fixed increments, like 5 degrees, 10 degrees, or 45 degrees. This is extremely useful when you need to rotate a model exactly 90 degrees or align multiple objects at the same angle. In Blender, you can turn on rotation snapping by clicking the magnet icon in the top toolbar, then set the snapping increment in the snapping settings. In Unity, you can hold down the Control key (or Command on Mac) while dragging the rotation handle to snap to 15-degree increments automatically. For 3D printing, snapping to 90-degree increments makes it easy to align models perfectly flat on the print bed without manually typing angles.
Rotate multiple objects consistently
If you need to rotate multiple models by the same angle, always check your pivot point setting. In Blender, for example, you can set the pivot to “3D Cursor” to rotate all selected objects around a single central point, or set it to “Individual Origins” to rotate each object around its own center by the same angle. This is great for rotating a set of chairs around a table: set the 3D cursor to the center of the table, select all chairs, and rotate them all at once to get even spacing. If you just need to rotate all objects by the same angle relative to their current position, use individual origins to get consistent results.
Avoid unwanted rotation with grouping and freezing transforms
One common mistake new 3D artists make is rotating a parent object without realizing that all of its child objects will rotate with it. If you have a complex model made of multiple parts, group all the parts together or parent them to a single empty object before rotating, so the whole model moves as one. This avoids accidentally shifting individual parts out of alignment. After you finish rotating a model to its final position, you can “freeze” or “reset” the transform to set the current rotation as the new 0-degree origin. This is especially useful for animation and game development, because it makes it much easier to adjust rotation later without keeping track of the original offset. In Blender, you can freeze rotation by going to Object > Apply > Rotation. In Unity, you can click the “Constrain” component to lock rotation once you have the correct angle.
Fix flipped normals after rotation
Occasionally, rotating a model can cause flipped normals, where the front face of the model becomes the back face, making the model look invisible or transparent in your viewport. This is most common when you rotate a model 180 degrees or mirror it after rotation. Almost all 3D software has a tool to recalculate normals to fix this. In Blender, enter Edit Mode, select all faces, and press Shift+N to recalculate normals outward. This is a quick fix that will save you from wondering why your rotated model disappeared.
Common Rotation Mistakes and How to Fix Them
Even experienced 3D artists run into rotation issues from time to time. Here are the most common mistakes and how to solve them quickly:
Mistake 1: Rotating the view instead of the model. This is the most common mistake for beginners. Most 3D tools let you rotate the viewpoint to inspect your model without changing the model’s position. If you drag with your middle mouse button in Blender or hold Shift and drag in Fusion 360, you’re rotating the camera, not the model. If your model doesn’t move when you finish dragging, check to make sure you activated the rotate tool and selected the model first.
Mistake 2: Accidental rotation on multiple axes. If you’re rotating interactively with your mouse, it’s easy to accidentally tilt the model on the X-axis when you just wanted to spin it on the Y-axis. The fix is simple: always constrain rotation to a single axis by pressing X, Y, or Z after activating the rotate tool. This locks movement to that axis, so you can’t get accidental tilt. For even more precision, type an exact angle instead of dragging with your mouse.
Mistake 3: Gimbal lock when animating. If you’re animating a rotating model and suddenly the model won’t rotate along one axis, you’ve probably hit gimbal lock. This happens when you rotate a model so much that two of your rotation axes align, leaving you with no way to rotate along the third. The easiest fix is to switch from gimbal rotation to quaternion rotation in your software’s rotation settings. Most programs default to quaternion for animation these days, but if you’re working with an older file that uses gimbal, switching modes will fix the problem immediately. For complex animations, you can also add rotation keyframes at smaller increments to avoid aligning axes in the first place.
Mistake 4: Misaligned rotation after exporting. If you rotate a model in your 3D software, export it, then open it in another program and it’s back to its original rotation, you forgot to apply the rotation transform. Most 3D software keeps track of the original rotation offset separately from the model’s data, so if you don’t apply the rotation before exporting, the new orientation won’t be saved. Always apply or freeze rotation before exporting a model to another program to avoid this mistake. In Blender, that means going to Object > Apply > Rotation before exporting as an OBJ or STL.
Conclusion
Rotating 3D models is a fundamental skill that every 3D creator uses every day, but mastering it takes more than just clicking and dragging. By understanding the core concepts of axes and pivot points, learning the specific workflow for your chosen software, and following best practices for common use cases like 3D printing, you can avoid the most common mistakes and get precise, consistent results every time. Whether you’re positioning a model for a 3D print, adjusting a character for an animation, or just inspecting your design for flaws, the steps and tips in this guide will help you rotate confidently. As with any 3D skill, the more you practice, the more intuitive it becomes — start with simple models, and you’ll be rotating complex assemblies like a pro in no time.