
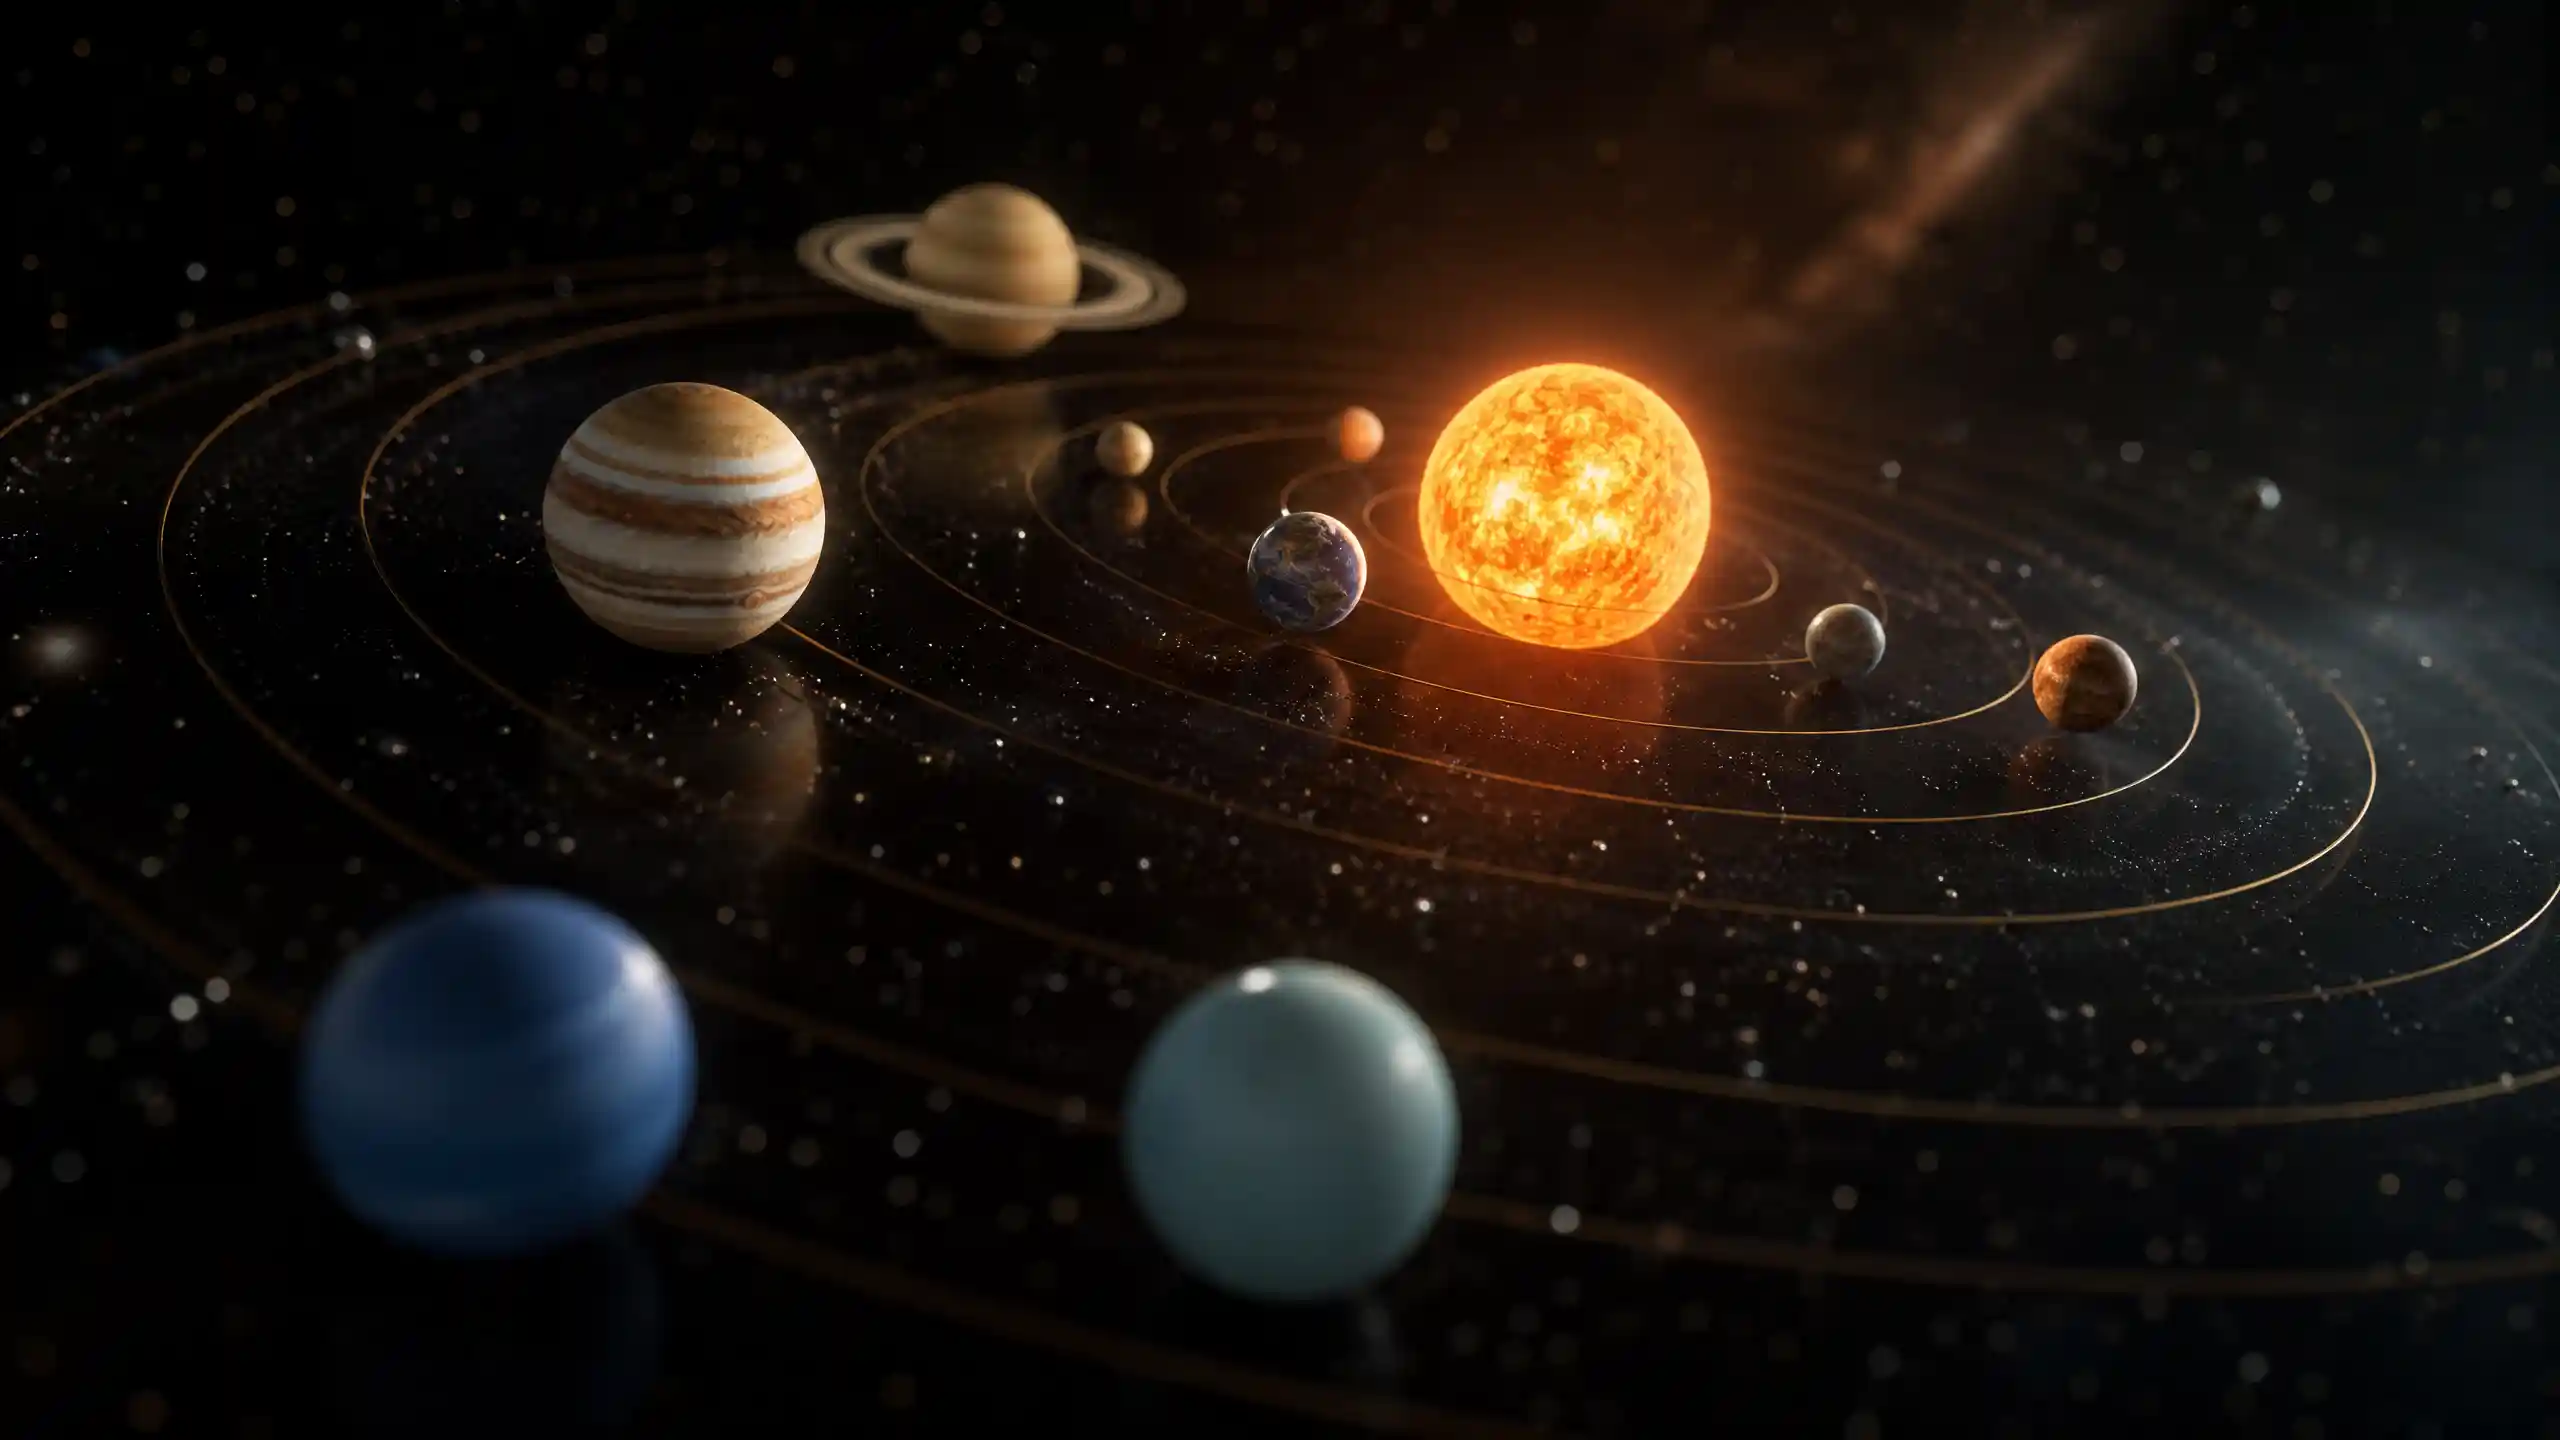
If you’ve ever stared up at the night sky and struggled to wrap your head around the vast scale of our solar system, you’re not alone. Textbook diagrams and planetarium shows can only do so much to convey the staggering distances between celestial bodies, the relative sizes of the planets, and the slow, predictable dance they perform around the Sun. A 3D solar system model turns abstract astronomical concepts into a tangible, interactive experience that works for students, hobbyists, and interior designers alike. Whether you’re building a small desktop version for a middle school science project or installing a large-scale interactive exhibit in a museum, a well-made 3D model can change how you understand our place in the universe.
What Is a 3D Solar System Model, and Why Does It Matter?
At its core, a 3D solar system model is a physical or digital representation of the Sun, planets, moons, and other celestial bodies that orbit our star, arranged in three-dimensional space to reflect their actual positions, sizes, and orbital paths. Unlike 2D diagrams that flatten the solar system onto a page, 3D models capture the depth and spatial relationships that make our cosmic neighborhood so unique. For example, a standard 2D textbook drawing often squeezes all eight planets into a single line, making it look like they are all roughly the same distance apart from each other. A correctly scaled 3D model, by contrast, reveals that the outer solar system is vastly larger than the inner region, with hundreds of millions of kilometers between the gas giants.
These models serve three core purposes, depending on who is using them: education, hobbyist recreation, and public display. For educators, 3D models address a common problem in astronomy education: most people struggle to visualize scale. A 2021 study published in the Journal of Astronomy Education and Outreach found that 70% of undergraduate introductory astronomy students could not correctly estimate the relative distance between Earth and Jupiter after learning from 2D materials alone. After working with a physical 3D model, that number dropped to just 18%—a dramatic improvement in conceptual understanding.
The Difference Between Physical and Digital 3D ModelsToday, 3D solar system models come in two primary formats: physical (tangible objects you can touch and rearrange) and digital (rendered in 3D software for screen-based interaction). Physical models range from simple DIY craft projects to high-precision museum installations, while digital models range from phone apps that let you zoom through the solar system to interactive projections that fill entire planetarium domes.
Each format has unique strengths. Physical models work best for hands-on learning, because they let users move planets, feel their relative sizes, and see spatial relationships from multiple angles. Digital models, by contrast, can easily demonstrate dynamic processes like orbital motion, axial tilt, and eclipses that are difficult to replicate with static physical objects. Many educators now use a combination of both: starting with a physical model to build basic spatial awareness, then using a digital model to show how the system moves over time.
Choosing the Right 3D Solar System Model for Your Needs
Not all 3D solar system models are created equal. The right model for you depends on your goal, budget, and available space. Whether you’re a parent looking for a kids’ educational toy, a teacher outfitting a classroom, or a hobbyist building a custom display, there’s a model that fits your requirements.
Models for Education and K-12 LearningFor K-12 classrooms and student projects, the best models balance accuracy with accessibility. A middle school student building a project for a science fair doesn’t need a perfectly scaled $1,000 model, but they do need one that correctly demonstrates the order of planets and basic relative sizes. Common options for this use case include:
- DIY craft models: These use simple materials like foam balls, Styrofoam sheets, paint, and wire to assemble a basic model. They are low-cost, customizable, and the process of building them helps reinforce learning. Most school science fairs feature dozens of these homemade models each year.
- Pre-assembled desktop models: Mass-produced by educational supply companies, these models usually come with sized plastic planets, a central Sun, and a wire or wooden frame to hold everything in place. They are durable enough for repeated classroom use and cost between $20 and $100, depending on size and detail.
- Interactive orreries: An orrery is a mechanical 3D solar system model that moves, driven by a gear system to replicate planetary orbits. Motorized orreries are more expensive (starting around $150) but let students see how long each planet takes to orbit the Sun, making them a great investment for middle and high school science classrooms.
One important note for educators: when choosing a model, prioritize scaled accuracy where possible. Many mass-produced models inflate the size of planets and shrink the distance between them to fit everything on a desktop. While this is a practical necessity for small models, it’s important to point out this distortion to students so they don’t develop incorrect misconceptions about the solar system’s actual scale.
Models for Hobbyists and CollectorsFor astronomy enthusiasts, building a 3D solar system model is a popular hobby that combines craftsmanship with a love of space. Many hobbyists prefer to build custom models from scratch or 3D print their own designs to get the level of accuracy they want. The rise of affordable consumer 3D printers has made this hobby more accessible than ever, with thousands of free 3D models of the solar system available for download on sites like Thingiverse and MyMiniFactory.
Hobbyists often focus on high-detail features that go beyond basic planet models, including:
- Accurate surface textures based on NASA and ESA satellite imagery
- LED lighting to replicate the Sun’s brightness and show the phases of Venus or the illumination of Earth’s moon
- Inclusion of dwarf planets like Pluto, Ceres, and Eris, as well as major moons like Titan and Ganymede
- Precision gear systems that can accurately predict planetary positions years into the future
High-end custom orreries built by master craftspeople can sell for thousands of dollars, and are often purchased as display pieces for homes or offices by astronomy lovers.
Large-Scale and Public Installation ModelsMuseums, science centers, and even some cities build permanent large-scale 3D solar system models to give the public a real sense of the solar system’s scale. These models are often spread across miles of outdoor space, because a correctly scaled model of the solar system can’t fit inside a typical building. For example, the Sunset Trail Solar System Model in Flagstaff, Arizona, spreads across 7.5 miles of urban walking trails, with a 20-foot diameter Sun at one end and a 0.1-inch diameter Pluto at the other. Visitors walk the trail to experience just how much empty space exists between planets, a perspective that is impossible to get from a small desk model.
How to Build Your Own DIY 3D Solar System Model
Building a basic DIY 3D solar system model is a fun weekend project that works for students, parents, and beginner hobbyists. You don’t need fancy tools or a big budget to make a model that is accurate enough for educational purposes. Follow this step-by-step guide to build your own.
Materials You’ll NeedFor a basic desktop model, gather these materials:
- One large foam ball (10–12 inches) for the Sun
- Seven smaller foam balls in graduated sizes for the planets (use these relative sizes as a guide: Jupiter 4.5 inches, Saturn 3.5 inches, Uranus 2 inches, Neptune 1.9 inches, Earth 0.8 inches, Venus 0.8 inches, Mars 0.4 inches, Mercury 0.3 inches)
- Acrylic paint in matching colors for each planet (yellow for the Sun, gray for Mercury, pale yellow for Venus, blue-green for Earth, red-brown for Mars, brown-orange for Jupiter, pale yellow with rings for Saturn, light blue for Uranus, dark blue for Neptune)
- A hot glue gun or strong craft glue
- Thin wooden dowels or floral wire to hold the planets in place
- A wooden base or thick cardboard board to mount the model
- Paintbrushes, sandpaper (to smooth foam), and newspaper to protect your work surface
- Prep your foam balls: Lightly sand each foam ball to smooth out any rough edges, then wipe away dust. This will help the paint adhere more evenly.
- Paint each celestial body: Paint one color at a time, starting with the Sun. Add details like Jupiter’s Great Red Spot, Saturn’s rings (cut from thin cardboard), and Earth’s continents to make your model more accurate. Let each coat of paint dry completely before adding details.
- Plan your layout: Decide how you want to arrange your planets. For a static desktop model, you’ll arrange planets in a series of concentric orbits around the central Sun. Remember that if you’re fitting everything on a 2-foot-wide board, you’ll have to adjust the distance scale to fit—just make sure to note this distortion on a small label next to your model.
- Mount the Sun and planets: Glue the large Sun ball to the center of your base. Cut each dowel or wire to a different length corresponding to the planet’s orbit, then glue one end to the planet and the other end to the base. Angle the dowels slightly to create depth and a true 3D effect, with closer planets lower and farther planets higher to create a sense of space.
- Add labels: Label each planet with its name, and add a small note explaining that both size and distance are scaled to fit the model, to avoid spreading common misconceptions about scale.
If you have access to a 3D printer, you can build a much more accurate, detailed model. Thousands of free designs are available online, including pre-sized planetary models and gear components for working orreries. When 3D printing a model:
- Use PLA filament for easy printing and smooth surface finish
- Add LED strips behind the Sun to create a glowing effect that makes it easy to demonstrate day and night or planetary phases
- Print small stands for each planet that let you rearrange them to demonstrate different orbital positions
Building a 3D model of the solar system isn’t just about putting parts together—it’s about discovering that space is far bigger, and far more empty, than you ever imagined. When you walk a full mile just to get from the Sun to Jupiter in a scaled model, that fact stops being a number in a textbook and becomes something you experience in your own body.
Common Mistakes to Avoid in 3D Solar System Models
Even experienced builders make common mistakes that undermine the accuracy and educational value of their 3D solar system models. Being aware of these pitfalls will help you build a model that is both engaging and factually correct.
Incorrect Relative SizingThe most common mistake is mis-sizing planets relative to each other and the Sun. Many DIY models make the planets far too large compared to the Sun. To put this in perspective: the Sun’s diameter is approximately 109 times larger than Earth’s diameter. If your Sun is a 12-inch ball, Earth should be roughly 0.11 inches across—about the size of a pinhead. Most desktop models inflate planet sizes to make them visible, which is fine as long as you clearly note this scaling adjustment. If you’re building a model for education, explicitly explaining the sizing distortion is a great learning opportunity that helps students understand the true scale of the solar system.
Flattening the Orbital PlaneAnother common mistake is arranging all planets in a single flat plane around the Sun, sitting at the same height on the base. While all planets do orbit the Sun in roughly the same plane (called the ecliptic), arranging them all at the same height turns your 3D model into a 2D drawing standing up. To create a true 3D effect, place the planets at slightly different heights, with Mercury, Venus, Earth, and Mars lower to the base, and the outer gas giants higher, so they are staggered and visible from all angles. This small change makes a huge difference in how people perceive the depth of the solar system.
Missing Key Context for ScaleEven the most well-built model is useless without context. Many hobbyists and student projects forget to add information about the scaling they used. For example, if you used a 1:1 billion scale, where 1 inch on the model equals 1 billion inches in real space, add that information to your model’s base. This lets viewers calculate the actual distance between planets and understand how the model relates to the real solar system. For educational projects, including this information is often required to get full marks, and it helps viewers avoid developing incorrect ideas about how large the solar system really is.
Forgetting Smaller Celestial BodiesIt’s easy to focus only on the Sun and eight planets, but adding at least the Moon (orbiting Earth) and Pluto helps make the model more complete. If you have space, you can also add major moons of Jupiter (the four Galilean moons: Io, Europa, Ganymede, Callisto) and Saturn’s largest moon Titan to give a more complete picture of the complexity of our solar system. For advanced models, including the asteroid belt between Mars and Jupiter helps explain the division between the inner rocky planets and outer gas giants.
The Modern Evolution of 3D Solar System Models: From Physical to Immersive
3D solar system models have been around for hundreds of years—mechanical orreries date back to the 18th century, when they were used to teach astronomy to wealthy European families. But modern technology has transformed what these models can do, opening up new possibilities for education and public engagement.
The biggest shift in recent years has been the rise of immersive 3D solar system experiences, powered by virtual reality (VR) and augmented reality (AR). VR headsets let users “fly” through a fully 3D scaled solar system, visiting each planet, flying through the asteroid belt, and seeing the system from perspectives that are impossible with a physical model. For example, the popular VR application Universe Sandbox lets users interact with a 3D solar system, changing planetary orbits, colliding planets, and seeing how gravity shapes the system over time. This level of interactivity is impossible with a static physical model.
AR is another exciting development, letting users overlay a 3D solar system onto their own living room using a smartphone or tablet. You can walk around the model, zoom in on Earth, and see how it orbits the Sun in real time. These tools are particularly useful for remote learning, letting students explore a 3D model from home without having to build one themselves.
Even physical models have been transformed by modern technology. 3D printing has made it possible for anyone to produce high-precision planetary parts at a fraction of the cost of traditional manufacturing. Today, a hobbyist can download a design for a working mechanical orrery, print all the parts at home in a weekend, and assemble it for less than $50—something that would have cost hundreds of dollars to commission 20 years ago.
For public installations, interactive 3D models now incorporate touchscreens and motion sensors that let visitors trigger information about each planet as they approach it. Some outdoor models even have QR codes next to each planet that visitors can scan to pull up photos, facts, and recent research from space missions, turning a static walk through the solar system into an interactive learning experience.
Despite all these technological advances, traditional physical 3D models remain popular. There’s something uniquely engaging about holding a model of Earth in your hand and seeing it sit next to a much larger Jupiter that sticks with you far more than a VR experience. Most educators agree that combining new digital tools with traditional physical models gives students the best of both worlds: tangible spatial understanding from the physical model, and dynamic interactive learning from digital tools.
Conclusion
A 3D solar system model is more than just a decorative display or a school science project—it’s a tool that changes how we understand our place in the universe. For centuries, these models have helped people move beyond abstract 2D diagrams and grasp the true scale, structure, and beauty of our cosmic neighborhood. Whether you’re a student building your first model from foam balls, a hobbyist 3D printing a precision orrery, or a visitor walking through a miles-long outdoor public model, the experience of interacting with a 3D solar system brings astronomy to life in a way that no textbook ever can.
With new technology like 3D printing, VR, and AR making 3D models more accessible and interactive than ever, there has never been a better time to explore the solar system in three dimensions. Even as technology evolves, the core purpose of these models remains the same: to help us look up at the night sky and truly see what’s out there.