
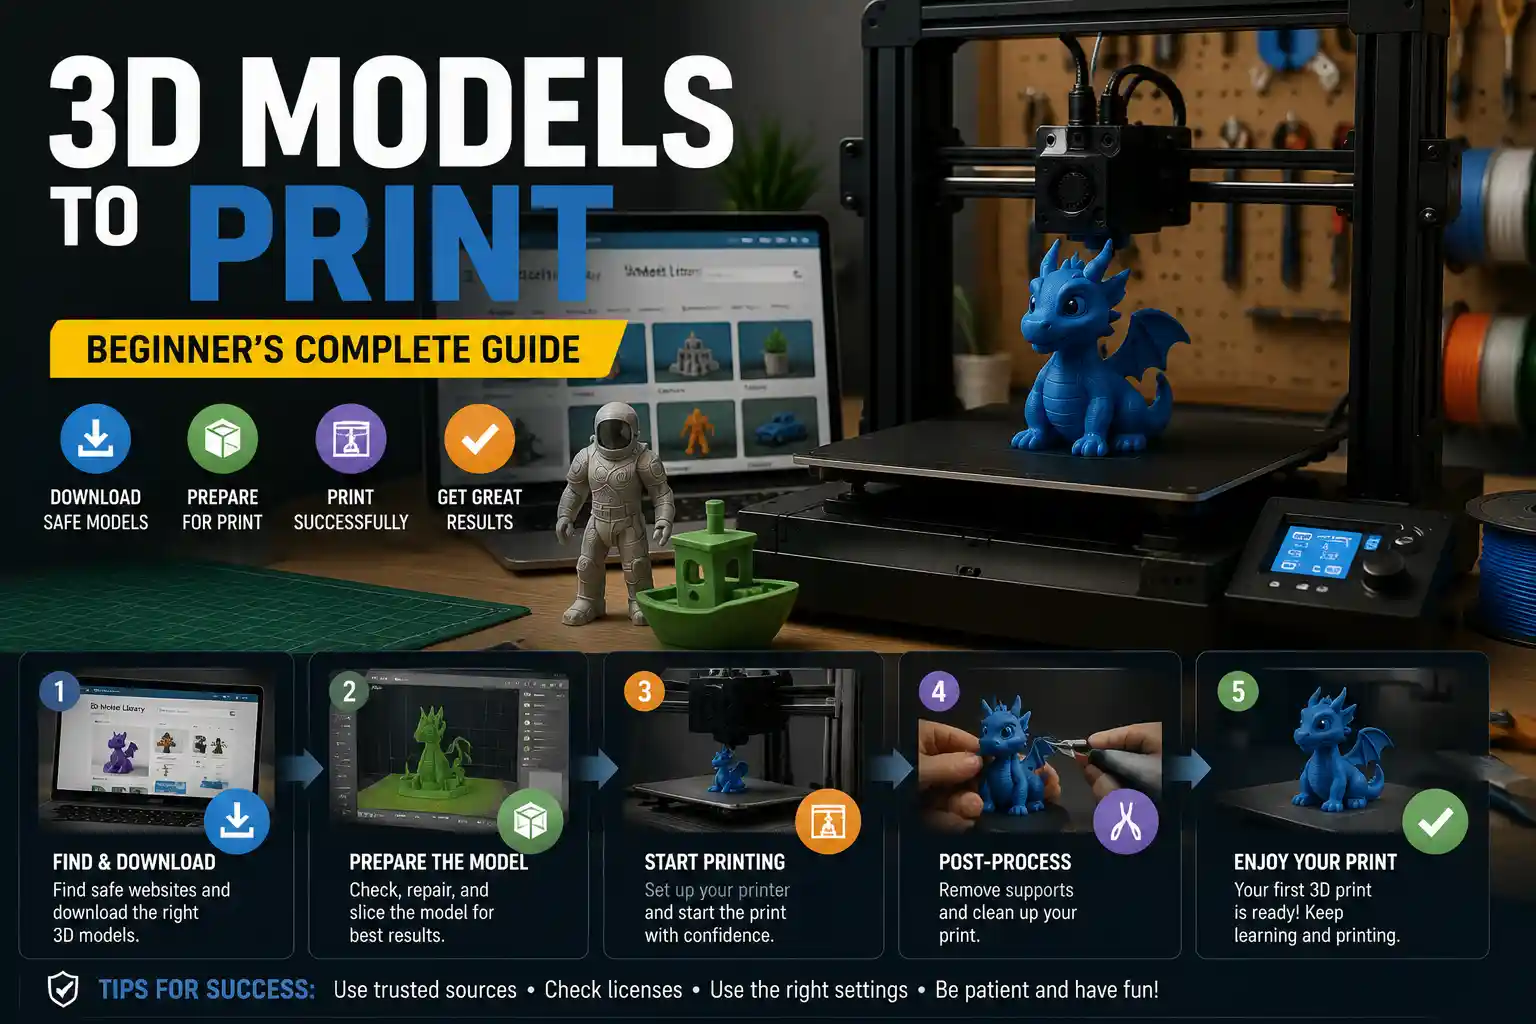
3D printing has moved from a niche hobby for engineers and designers to an accessible hobby for anyone with a basic 3D printer and an internet connection. Whether you want to print a custom phone case, a replacement part for your kitchen appliance, a decorative figurine for your shelf, or a prototype for a new business idea, the first steps are always the same: finding, downloading, and preparing the right 3D model for your printer. For beginners, this process can feel overwhelming at first—there are dozens of file types, countless model repositories, and endless choices for editing and repairing models before you even hit print. This guide breaks down every step of the process, from finding a high-quality model to sending it to your printer, so you can go from idea to physical object in just a few hours.
Finding and Choosing High-Quality 3D Models to Download
Before you can download a 3D model, you need to know where to look. Not all 3D model repositories are created equal: some focus on free, community-created content, others specialize in premium paid models for professional use, and some cater to specific niches like tabletop gaming miniatures or functional replacement parts. The best platform for you will depend on what you want to print, your budget, and your experience level.
Popular 3D Model Repositories
There are dozens of platforms hosting 3D models, but these are the most trusted options for new and experienced 3D printing enthusiasts:
- Thingiverse: Owned by 3D printer manufacturer MakerBot, Thingiverse is the largest free repository of community-created 3D models, with millions of designs available for download. Most models are optimized for consumer 3D printers, and users regularly upload reviews, make modifications, and share print settings. It's the best starting point for beginners looking for free functional and decorative models.
- MyMiniFactory: This platform offers a mix of free and premium 3D models, with a strong focus on tabletop gaming miniatures, art, and hobby projects. One key benefit is that most models on MyMiniFactory come with a "guaranteed to print" label, meaning they've been tested by the community to work on standard consumer printers.
- Cults 3D: A popular European-based platform with a large community of independent designers, Cults 3D offers free and paid models across all categories, from functional parts to art and fashion. Many designers sell unique, custom designs that you won't find on larger free platforms.
- CGTrader and TurboSquid: These platforms specialize in premium 3D models, many originally created for animation, game design, or industrial prototyping. They're a good option if you need a high-quality professional model, but many models here require more editing to make them 3D-printable.
- Printables: Prusa Research's community-driven platform, Printables has quickly grown in popularity thanks to its focus on high-quality, well-tested free models. It includes robust search filtering, print tips from designers, and active community feedback.
What to Look for When Choosing a Model
Not all models you find online will print well, even if they look good in preview images. Before you download a model, there are a few key factors to check to avoid wasting time and filament. First, check the model license: most free models for personal use are fine to print at home, but if you plan to sell printed versions of the model, you'll need to confirm the designer allows commercial use. Second, check user comments and makes. Most platforms let users upload photos of their finished prints, so you can see how the model turned out for other people with the same type of printer as you. If dozens of people have successfully printed the model, that's a good sign it's high-quality. If there are multiple comments saying the model doesn't fit together or has missing parts, you should look for a different version.
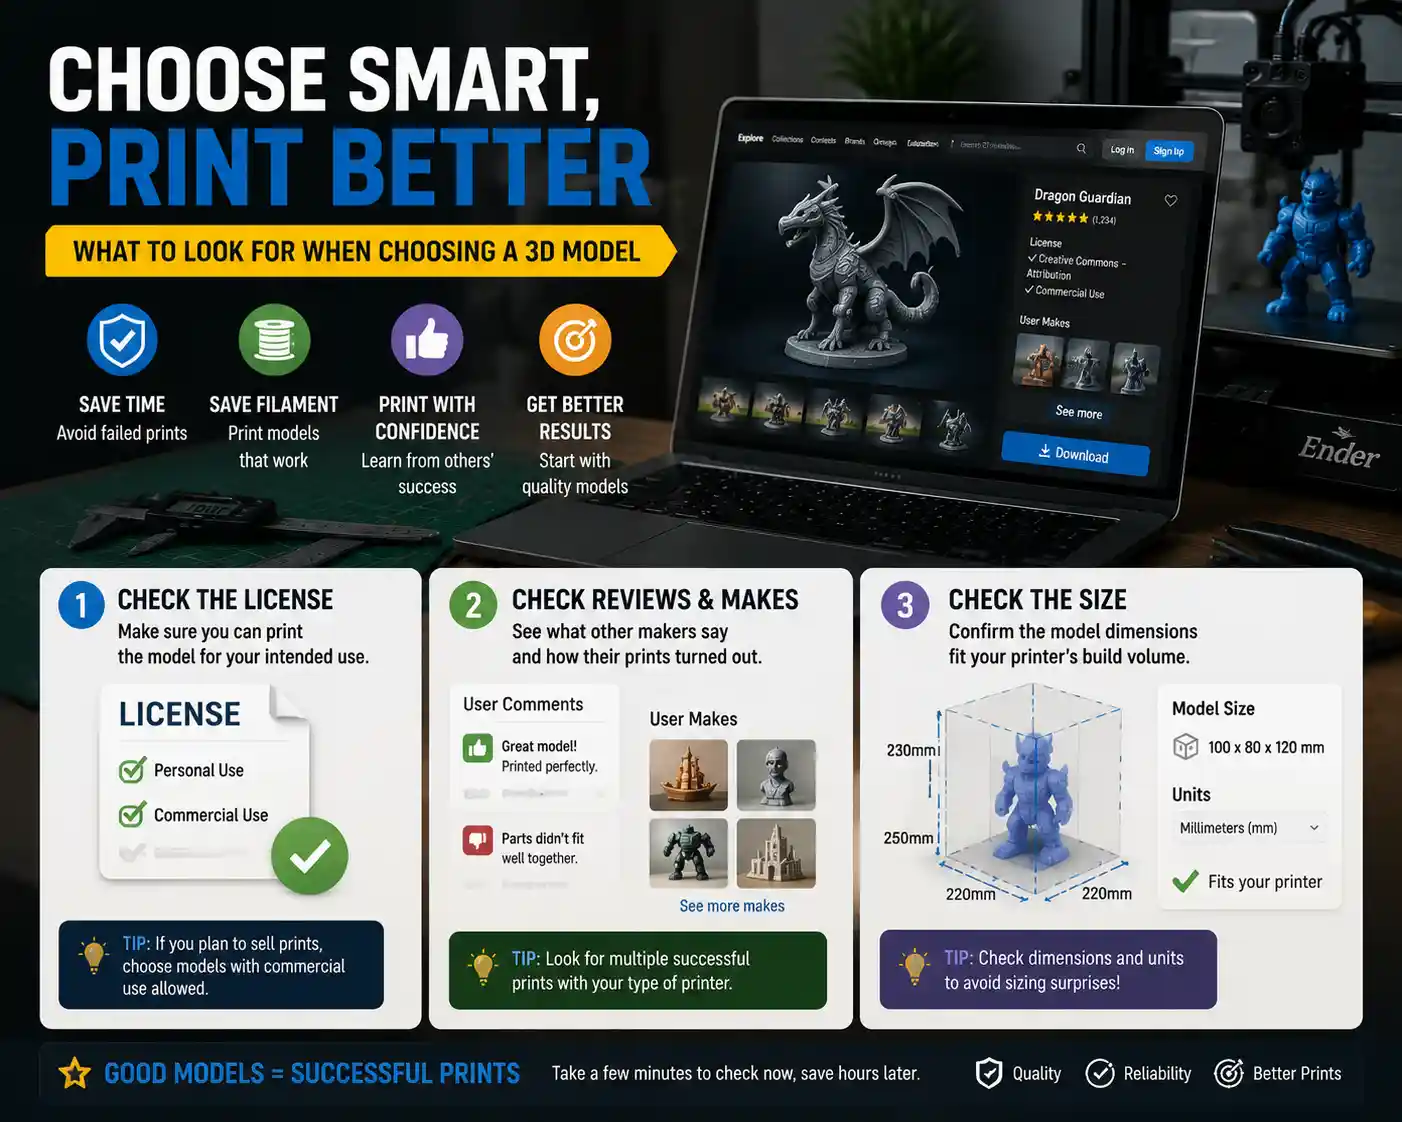
Third, check the model's size. Designers upload models in different units, so a model that's meant to be a 10cm figurine might accidentally be uploaded as 100cm, which would be far too large for your printer. Most designers list the finished print dimensions in the description, so confirm that the model will fit on your 3D printer's build plate before you download it. For example, a standard Ender 3 V2 has a 220x220x250mm build volume, so any model larger than that will need to be split into multiple parts, which adds extra work post-printing.
Understanding 3D Model File Types
When you download a 3D model, you'll usually get it in one of a few common file formats. Understanding the differences between these formats will save you a lot of confusion when it comes time to prepare the model for printing. The most common formats are designed specifically for 3D printing, while others are used for 3D modeling and animation, and will need to be converted before you can use them.
Standard 3D Printing File Formats
The two most common file types for downloadable 3D models are STL and OBJ. STL (Standard Tessellation Language) is the original and most widely used format for 3D printing. Almost every model on free platforms like Thingiverse and Printables is uploaded as an STL, and every slicer software program supports STL out of the box. STL files store the geometry of a 3D model as a mesh of triangular facets, which is simple enough for most slicers to process quickly. The downside of STL is that it doesn't store texture, color, or multiple material information, so it's best for single-color, single-material prints, which covers most consumer 3D printing use cases.
OBJ is another common format that supports color and texture information, making it popular for multi-material 3D printing or full-color resin prints. OBJ files often come with accompanying .mtl (material) files that store color and texture data, so if you download an OBJ model, make sure you download all associated files, not just the .obj file itself. For most basic FDM printers, STL is more than sufficient, but if you have a multi-material or resin printer, OBJ is a common alternative.
Other formats you might encounter include 3MF and AMF. 3MF (3D Manufacturing Format) is a newer open-source format developed by a consortium of 3D printing companies. It stores more information than STL, including color, material, and model metadata, and avoids some of the geometric errors that are common with STL files. More slicers and platforms are adopting 3MF, and it's becoming the standard for high-quality multi-material prints. AMF (Additive Manufacturing File Format) is similar to 3MF, but it's less widely used today.
Non-Printable File Types You Might Encounter
Occasionally, you'll download a model in a format designed for 3D modeling or animation, like .blend (Blender), .fbx, or .max (Autodesk 3ds Max). These files contain the full editable 3D model, including all layers and modifiers, but you can't import them directly into a slicer to print. To use these files, you'll need to open them in a 3D modeling program like Blender, Meshmixer, or Fusion 360, then export them as STL or 3MF before slicing. This is common if you're downloading a custom editable model from a designer, or if you're modifying an existing model to fit your needs.
When you download a model, it will almost always be compressed into a .zip or .rar archive to reduce file size. Before you can use the model, you'll need to extract the files using a program like Windows File Explorer, WinZip, The Unarchiver (for Mac), or 7-Zip (free for all operating systems). Make sure you extract all files from the archive, especially for OBJ or multi-part models that include multiple files.
Editing, Repairing, and Preparing Models for Printing
Even if you download a high-quality model from a trusted designer, it's almost always a good idea to check the model for errors and make any needed adjustments before you slice it. Common issues like non-manifold geometry, overlapping facets, or holes in the mesh can cause your slicer to crash, or result in a failed print that wastes time and filament. For most beginners, this step takes just a few minutes with free software, and it's well worth the effort.
Free Tools for Model Repair and Editing
You don't need to pay for expensive 3D modeling software to check and repair a 3D model. There are several free, easy-to-use tools that work for most common tasks:
- Meshmixer: Autodesk's free Meshmixer is the gold standard for beginner-friendly model repair and editing. It can automatically fix common errors like non-manifold edges, holes, and overlapping faces, and it lets you easily resize models, cut them into smaller parts to fit your build plate, combine multiple models into one, and add support structures. The interface is simple enough for beginners to learn in an afternoon, and it works on Windows and Mac.
- Blender: Blender is a free, open-source full 3D modeling suite that's used by professional designers and hobbyists alike. It's overkill for simple model repair, but if you want to make major edits to a model—like changing a design, adding text, or combining multiple parts—it's the best free option. There are thousands of free tutorials online to help beginners learn basic editing for 3D printing.
- Netfabb Online: Autodesk's Netfabb Online is a free web-based tool that lets you upload an STL and automatically repair errors in a single click, no software download required. It's perfect for a quick check if you just downloaded a model and want to fix any issues before slicing.
- PrusaSlicer, Cura: Most popular slicer programs (the software that converts your 3D model into printer instructions) include basic model repair tools built in. For example, Cura has an "Fix model" option that can repair common errors automatically, so you don't need a separate program for small issues.
Common Model Issues and How to Fix Them
What are the most common problems you'll find in a downloaded 3D model, and how do you fix them? The most common issue is non-manifold geometry, which means the mesh of the model has edges that are connected to more or fewer than two faces. This confuses the slicer, because it can't tell which part of the model is inside and which is outside. Most automatic repair tools in Meshmixer, Netfabb, or Cura will fix this in one click.
Another common issue is holes in the mesh, which happen when the designer missed a face when creating the model, or when the model was exported incorrectly. Holes leave gaps in your print, which can cause the print to fail or leave weak spots. Again, most automatic repair tools will fill small holes automatically; for larger holes, you can use Meshmixer's "Fill Hole" tool to fix them manually.
One of the most common adjustments you'll need to make is resizing the model. As we mentioned earlier, designers often upload models in the wrong unit scale, so you may need to scale it up or down to fit your needs or your build plate. For example, if you're printing a replacement knob for a drawer, you'll need to resize the model to match the diameter of your drawer shaft. Most slicers let you resize the model directly in the slicer, so you don't need a separate editing program for simple resizing.
If your model is too large for your printer's build plate, you'll need to split it into multiple parts. Meshmixer has a simple cut tool that lets you split the model along a straight line, and you can add alignment pegs to make it easier to glue the parts together after printing. This is a common process for large projects like furniture, cosplay props, or wall art.
The biggest mistake new 3D printer users make is skipping the model check and repair step. They download a model, drop it straight into the slicer, and wonder why their print comes out wrong or doesn't print at all. Spending two minutes checking for errors saves you two hours of failed printing and wasted filament.
Slicing and Preparing to Print
Once you've downloaded, repaired, and edited your model, the next step is to slice it. Slicing is the process of converting your 3D model into a G-code file, which is a set of instructions that tells your 3D printer exactly where to move, how hot to heat the nozzle and bed, and how much filament to extrude for each layer of the print. Like model editing, slicing can be done with free software that works with almost every consumer 3D printer.
Choosing a Slicer
There are three main free slicers that most hobbyists use today: Cura, PrusaSlicer, and Bambu Studio. Ultimaker Cura is the most popular open-source slicer, and it supports almost every consumer 3D printer on the market. It has a huge community of users who share custom print profiles, and it's easy for beginners to use with pre-set profiles for different print qualities and filament types. PrusaSlicer is made by Prusa Research for their own printers, but it also supports most other FDM and resin printers, and it's known for producing very reliable G-code with advanced features like variable layer height. Bambu Studio is made for Bambu Lab printers, but it also supports other brands, and it's popular for its fast slicing and reliable automatic settings. All three are free to download and use, so you can try them out to see which one you prefer.
Importing and Setting Up Your Model in the Slicer
The basic process for slicing a downloaded model is the same across all slicers:
- Open your slicer and make sure you have the correct profile selected for your specific 3D printer model. If you don't see your printer listed, you can usually find a community-created profile online, or use a generic profile for a printer with the same build volume and nozzle size.
- Import your repaired STL or 3MF file into the slicer. Most slicers let you just drag and drop the file directly into the build plate preview window.
- Position the model on the build plate. For the best results, place the model in the center of the plate if it fits, and rotate it so that the largest flat face is against the build plate. This reduces the need for support structures and improves adhesion. If you're printing multiple models at once, space them at least 5mm apart to avoid collisions.
- Select your filament type (PLA, ABS, PETG, etc.) and print quality. Most slicers have pre-set profiles for standard quality (0.2mm layer height), high quality (0.1mm layer height), and fast printing (0.3mm layer height). For most beginners, the standard quality preset is a good starting point.
- Add support structures if needed. Models with overhangs greater than 45 degrees will usually need supports to prevent the filament from sagging. Most slicers have an automatic support generation tool that adds supports only where they're needed, which saves filament and makes post-processing easier. If you're using a resin printer, supports are almost always required for all but the simplest models.
- Check for any errors. Most slicers will highlight errors like model overhangs that are too steep, models that are outside the build volume, or holes in the mesh. Fix any errors before you slice.
- Slice the model. Once everything is set up, click the "Slice" button to generate the G-code. The slicer will show you a preview of each layer, so you can check that everything looks right before you export the file.
Exporting and Transferring G-Code to Your Printer
After slicing is complete, you need to export the G-code file and transfer it to your 3D printer. Most consumer 3D printers use an SD card or USB flash drive for file transfer: you just save the G-code file to the card, eject it from your computer, and insert it into your printer's card slot. Newer network-connected printers like Bambu Lab, Prusa MK4, and Elegoo Neptune 4 let you transfer the file directly over Wi-Fi from your slicer to the printer, which removes the need for an SD card. Make sure you name the file something you'll recognize, especially if you have multiple files on your SD card.
Printing and Post-Processing Your Downloaded Model
Once your G-code is on your printer, you're ready to start printing. The printing process itself depends on your printer type and model, but there are a few tips for downloaded models that will help you get a good result. First, if you're printing a functional part like a replacement bracket or a knob, make sure you use the right filament for the job. For example, if the part will be exposed to heat or moisture, PETG is a better choice than PLA, which can soften at temperatures above 50°C. If you're printing a decorative figurine, PLA works perfectly for most indoor use.
Second, make sure your printer is calibrated before you start. A well-calibrated printer will produce much better results with any downloaded model: check that your bed is level, your nozzle temperature is correct for your filament, and your extrusion multiplier is calibrated to avoid over- or under-extrusion. If you're printing a model that requires assembly, like a 3D-printed chess set or a functional fidget toy, print one test part first to check that it fits together correctly before you print the entire model. This saves you from reprinting all the parts if the model was slightly mis-sized.
Post-Processing After Printing
Once the print is finished, you'll need to do a little post-processing to get a finished result. For FDM prints, the first step is to remove the print from the build plate. Let the bed cool down completely before you remove the print, especially for PLA, which contracts as it cools and will pop off easily. Next, remove any support structures. For most supports, you can just snap them off with your fingers or a pair of pliers, then sand the area where the support was attached to smooth out any marks or bumps.
If you're printing a resin model, post-processing is a little more involved: you need to wash the print in isopropyl alcohol to remove excess uncured resin, then cure it under UV light to harden it fully. After curing, you can remove supports and sand the print just like an FDM print. For any 3D print, you can smooth the surface with sandpaper (starting with 120 grit and working up to 400 or 800 grit for a smooth finish), then prime and paint it if you want to add color. For multi-part models, you can glue the parts together with super glue (cyanoacrylate) or epoxy, depending on the size and strength you need.
Conclusion
Downloading and printing 3D models is a straightforward process once you understand the basic steps, and it opens up a world of possibilities for hobbyists, makers, and anyone who needs a custom part or a unique decorative item. The key steps are simple: find a high-quality, tested model from a trusted repository, check it for common errors and repair any issues with free software, slice it for your specific printer, then print and post-process your finished object.
For beginners, the best way to learn is to start small: pick a simple, popular model like a calibration test print or a small keychain, work through each step, and learn from any mistakes. As you get more experience, you can start modifying existing models to fit your needs, or even create your own designs from scratch. With millions of free 3D models available online, there's never been a better time to start 3D printing, and following these steps will help you avoid common mistakes and get great results from your very first print.