
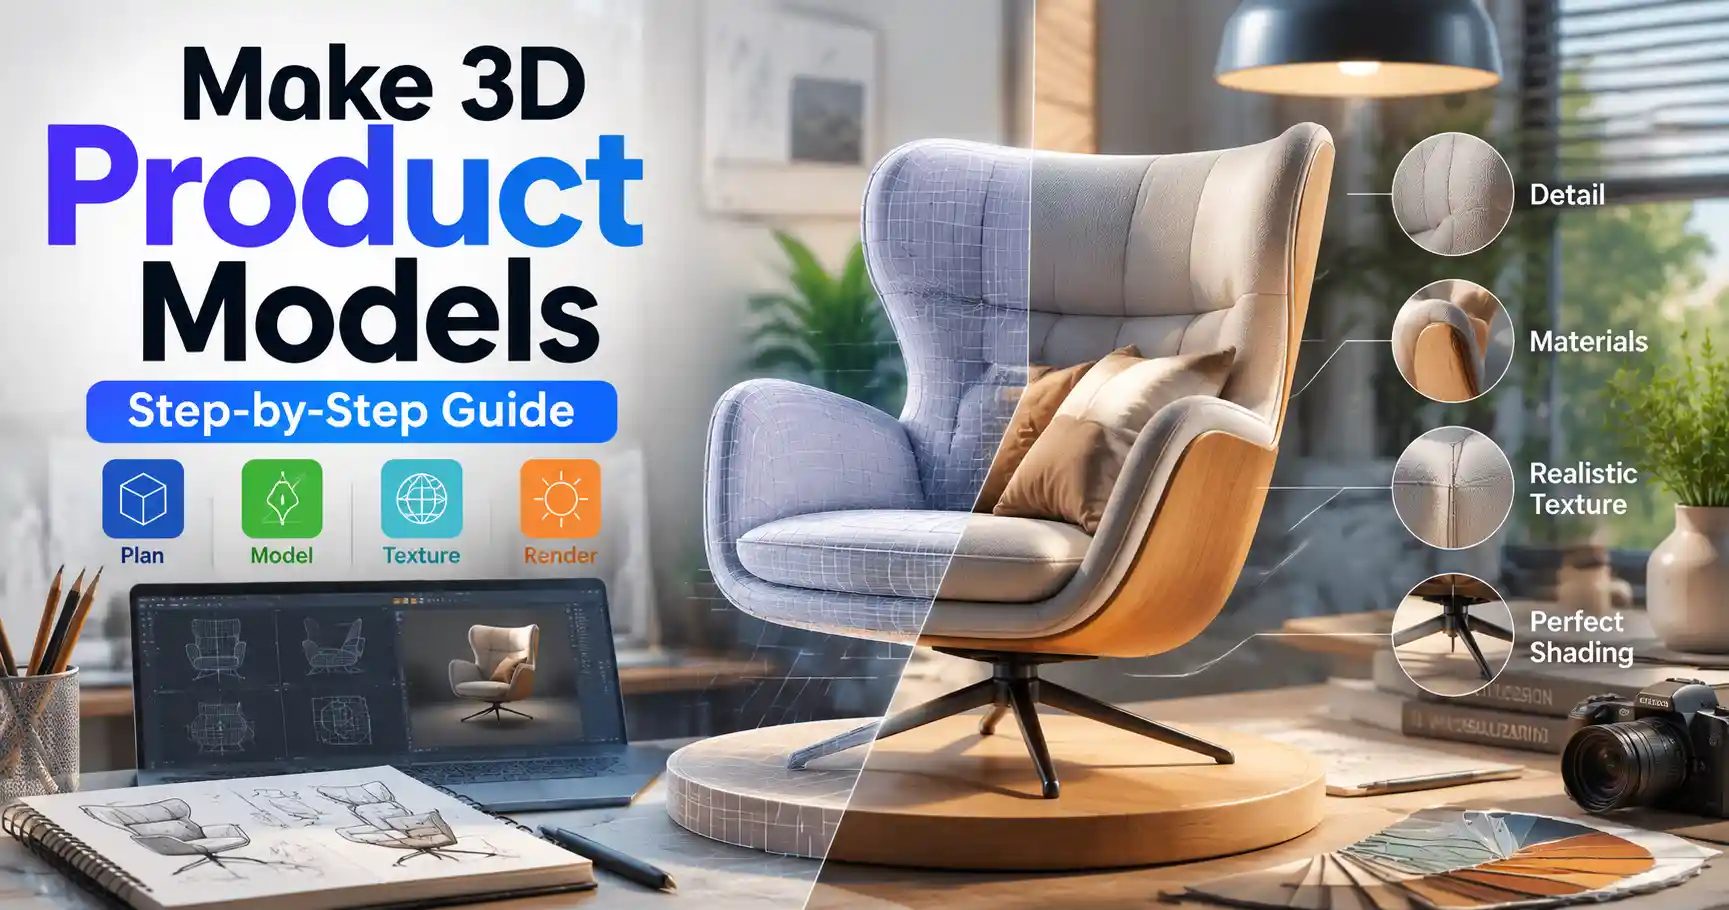
In today’s digital-first economy, 3D product models are no longer exclusive to big-budget Hollywood studios or industrial engineering firms. From small e-commerce brands boosting conversion rates with interactive 3D product previews to independent creators selling custom 3D printable designs on Etsy, high-quality 3D product models open new doors for marketing, manufacturing, and creative business. Whether you’re a business owner looking to upgrade your product listings, a hobbyist diving into 3D printing, or a designer expanding your skill set, learning to make 3D product models is more accessible than ever before. This step-by-step guide breaks down everything you need to know to get started, from choosing the right tools to refining your final model for real-world use.
Plan Your 3D Model Before You Start Modeling
Jumping straight into 3D software without a plan is one of the most common mistakes new creators make. Even a simple water bottle or phone case requires clear reference points and defined goals to avoid wasting hours reworking your model. Taking 15 to 30 minutes to outline your project will save you days of frustration later, regardless of your skill level.
Define the purpose of your model
A 3D product model for an interactive e-commerce listing has very different requirements than one for 3D printing or injection molding. Clarifying your end goal first informs every decision you make from poly count to file format. For example: A 3D model used in web AR needs to be lightweight (typically under 100,000 polygons) to load quickly on mobile devices, while a model for 3D printing needs to be a solid, watertight mesh with no gaps or overlapping faces. Industrial models for manufacturing need precise measurements down to the millimeter, while marketing models only need to be accurate to the eye. Write down your core purpose before you gather references to keep your work focused.
Gather accurate reference materials
Even the most experienced 3D artists rely on references to build accurate, realistic product models. If you already have the physical product in hand, you’re at a major advantage. If not, you can source high-quality references from product websites, customer photos, and manufacturer spec sheets. Your reference package should include:
- Multiple high-resolution photos from every angle: front, back, sides, top, bottom, and close-ups of unique details like logos, textures, or functional parts
- Exact official dimensions from the manufacturer, if available – this is non-negotiable for models intended for manufacturing or 3D printing
- Close-up photos of surface textures, like matte plastic, brushed metal, or textured fabric, to use when adding materials later
- Clear shots of any moving or separable parts, if your product has components that are disassembled or adjusted
If you do have the physical product, take 10 minutes to measure key dimensions yourself with a tape measure or digital caliper to avoid relying on potentially incorrect online specs. Even a 1mm error can ruin a 3D printable model or make your interactive preview look disproportionate to customers.
“The best 3D models aren’t built in the software – they’re built in the planning stage. If your references are bad, your model will be bad, no matter how good your modeling skills are.”
— Ian McNaughton, Lead 3D Product Artist at Shopify
Choose the Right 3D Modeling Workflow for Your Skill Level
There are two primary workflows for creating 3D product models: manual 3D modeling (building the model from scratch in 3D software) and photogrammetry (generating a 3D model automatically from hundreds of photos of the physical product). Each has its own strengths and weaknesses, and the best choice depends on your project goals, budget, and how much time you want to invest.
Manual 3D modeling: full control for precise results
Manual modeling means building your product shape polygon by polygon using 3D software. This workflow gives you complete control over every dimension and detail, making it ideal for creating clean, low-poly models for web use or precise models for manufacturing. The biggest downside is that it requires a learning curve – you’ll need to learn how to navigate your software, use different modeling tools, and fix common mesh errors.
One of the biggest draws of manual modeling today is the range of accessible tools available for every budget:
- Free and beginner-friendly: Blender is the go-to open-source option for new creators, with a huge global community, thousands of free tutorials, and enough functionality to handle almost any product modeling project. It’s completely free to download and use for commercial work, making it perfect for small business owners and hobbyists.
- Professional industry-standard: Autodesk Fusion 360 is the top choice for product design and engineering, with built-in tools for parametric modeling (letting you adjust dimensions automatically after you build your model) and exporting files for manufacturing. It’s free for hobbyists and small businesses making under $100,000 in annual revenue. SolidWorks is another industry standard for industrial design, though it comes with a steep upfront cost for commercial licenses.
- Browser-based options: SketchUp Free offers a simple, intuitive interface for beginners building simple product models, with easy export options for 3D printing and web use.
Photogrammetry: fast photorealistic models from photos
If you have the physical product but don’t want to spend hours learning manual modeling, photogrammetry is a game-changing alternative. This workflow uses software to automatically stitch hundreds of photos of your product from different angles into a single 3D mesh. The result is an incredibly detailed, photorealistic model that matches the physical product exactly – right down to minor scratches or natural texture variations.
Photogrammetry works best for complex products with organic shapes that would be time-consuming to model manually, like handmade crafts, textured furniture, or food products for food service marketing. The downside is that photogrammetry models are usually very high-poly (meaning they have millions of polygons) which makes them too large for web use without extensive retopology (simplifying the mesh to reduce polygon count). They can also have small errors like holes or misshapen areas that require manual cleanup.
Popular photogrammetry tools include: Agisoft Metashape (professional-grade with advanced cleanup tools), RealityCapture (extremely fast processing for high-resolution models), and even free mobile apps like Polycam that let you scan a product with your phone camera and generate a 3D model in minutes. For small e-commerce brands testing 3D product content, a mobile photogrammetry scan can generate a usable model in under an hour with zero prior experience.
3D scanning: for high-precision capture of existing products
If you need an extremely precise 3D model of an existing physical product (for example, to reverse engineer a replacement part), a 3D scanner is another option. Entry-level handheld 3D scanners now cost less than $500, making them accessible to small businesses, and they can capture measurements accurate to within a fraction of a millimeter. Like photogrammetry, 3D scans usually require some manual cleanup before they’re ready for use, but they’re far more accurate than photo-based methods for industrial applications.
Step-by-Step Manual 3D Modeling for Beginners
If you’re new to manual 3D modeling and working with a simple product (like a mug, phone case, or candle jar), this step-by-step process will help you build a clean, usable model. We’ll assume you’re using Blender, since it’s free and the most common starting point for new creators, but the core steps apply to any 3D modeling software.
- Block out the basic shape. Start by adding a primitive 3D shape (a cube, cylinder, or sphere) that matches the general form of your product. For a mug, start with a cylinder scaled to the correct height and diameter of your mug. Use reference images imported into your 3D software as a background to match your blockout to the product’s proportions. Don’t worry about small details at this stage – focus on getting the overall size and shape right. This step usually takes less than 10 minutes for a simple product.
- Refine the form and add details. Once your basic shape is correct, start adding larger features: the handle of the mug, the rim, the base. Use common modeling tools like extrusion (pulling a face of your mesh out to create a new shape), beveling (rounding off sharp edges to make them look more realistic), and subdivision smoothing (softening the overall shape of your model) to refine the form. Add small details like logos, text, or texture indentations last. For precise products, use measurement tools in your software to double-check every dimension against your reference specs.
- Check for common mesh errors. Before you move on to adding materials, check your model for errors that will cause problems later. For 3D printing, the most critical check is whether your model is watertight (no holes, overlapping faces, or non-manifold edges that break the solid mesh). Blender and other tools have built-in features to automatically detect and fix most of these errors. For web use, check your polygon count and simplify any areas that don’t need high detail to keep your file size small.
- Add materials and textures. Materials define how your model looks: whether it’s matte plastic, shiny stainless steel, woven fabric, or glass. In modern 3D software, you can use PBR (physically based rendering) textures that accurately replicate how light interacts with different materials, making your model look realistic in any lighting. You can find free PBR textures for almost any material on sites like Poly Haven and Texture Haven, or you can create your own from the reference photos you took earlier. For branded products, import your logo as a texture and map it to the correct area of your model.
- Light and render your final preview. Once your model and materials are done, set up simple lighting in your scene to render a high-quality preview image for your website or marketing. A basic three-point lighting setup (key light, fill light, and rim light) will make your product look clean and professional, matching the studio product photos most brands use for e-commerce.
Don’t get discouraged if your first model doesn’t turn out perfectly. 3D modeling is a skill that takes practice, and even experienced artists make mistakes that require multiple rounds of revision. Start with a simple product (a basic box or water bottle) to get comfortable with the software before moving on to more complex products with multiple moving parts.
Optimize Your 3D Model for Its End Use
A 3D model that looks great in your 3D software won’t automatically work for your intended application. Optimization is the process of adjusting your model to meet the requirements of its end use, whether that’s fast loading on a website, error-free 3D printing, or compatibility with manufacturing equipment.
Optimization for e-commerce and interactive web use
Most e-commerce platforms and AR tools require 3D models to be under a certain file size and polygon count to load quickly on mobile devices. A 10MB model with 500,000 polygons will take too long to load for customers on 4G, leading to high bounce rates and lost sales. To optimize for web use:
- Simplify your mesh using a decimation or retopology tool to reduce polygon count while preserving all key details. Aim for 50,000 to 100,000 polygons for most small product models – that’s more than enough for detail while keeping file size low.
- Compress your texture files to reduce overall file size. Most 3D web tools work fine with 2K (2048x2048) textures, and you can compress them without noticeable quality loss using tools like TinyPNG or Squoosh.
- Export your model in a web-friendly format like GLB or GLTF, which are designed for fast loading and support embedded textures and materials. Avoid large, proprietary formats like OBJ or FBX for web use unless specifically required by your platform.
Major e-commerce platforms like Shopify, BigCommerce, and Amazon all accept GLB/GLTF files for 3D product previews, and many offer built-in tools to convert your model if needed.
Optimization for 3D printing
3D printers require solid, error-free meshes to print correctly. To prepare your model for 3D printing:
- Check for and fix all non-manifold edges, overlapping faces, and holes in your mesh. Most slicer software (the tool that converts your 3D model to printer instructions) has built-in error checking, but it’s better to fix issues in your modeling software first.
- Add wall thickness and leave clearance for moving parts. 3D printers can’t print objects with 0mm thickness, so make sure all walls are at least 1.5mm thick (check your printer’s specification for exact minimums). If you have moving parts, leave at least 0.5mm of clearance between parts to prevent them from fusing together during printing.
- Export your model as an STL – the standard file format for 3D printing – or as a 3MF for more complex models with multiple materials.
Optimization for manufacturing
If you’re creating a 3D model for injection molding, CNC machining, or mass production, you’ll need to add design for manufacturing (DFM) adjustments. This includes adding draft angles to parts that will be removed from molds, filleting sharp internal corners to prevent stress cracks, and designing for assembly if your product has multiple parts. Always work with your manufacturing partner to review your model before production, as they can point out design issues that will increase cost or cause production failures.
Outsource 3D Product Modeling If You Don’t Want to Do It Yourself
Learning to make your own 3D product models is rewarding, but it’s not the right choice for everyone. If you’re a small business owner with 50 products to list for e-commerce, or you need a high-precision industrial model and don’t have time to learn new software, outsourcing is a cost-effective alternative that delivers professional results.
There are dozens of platforms where you can hire experienced 3D product artists for projects of any size:
- Freelance platforms: Upwork, Fiverr, and Behance let you browse portfolios of 3D artists specializing in product modeling, and you can find artists for almost any budget. Rates typically start at $50 for a simple small product model and go up to $500+ for complex products with multiple parts.
- Specialized 3D modeling services: Companies like Cad Crowd, 3D Slice, and Shopify’s 3D modeling service focus exclusively on product models for e-commerce and manufacturing, so they handle all the optimization and file formatting for you. This is a great option if you want a turnkey solution that’s ready to use as soon as you get the file back.
- Local design schools: Many industrial design or 3D design students are looking for freelance work to build their portfolios, and they often charge lower rates than established professionals. Check with local design programs to see if they have a job board for student freelancers.
When outsourcing, the most important thing you can do to get a good result is provide clear requirements and high-quality reference materials. Just like when you model it yourself, your outsourced model will only be as good as your references. Include exact dimensions, multiple photos, clear examples of the style you want, and the end use of the model so your artist can optimize it correctly from the start.
Conclusion
Making 3D product models has never been more accessible, thanks to free software, affordable scanning tools, and a global community of creators sharing free tutorials and resources. Whether you choose to build your model manually from scratch, generate one quickly with photogrammetry, or outsource the work to a professional, the core process stays the same: start with clear planning and accurate references, choose a workflow that matches your goals and skill level, and optimize your final model for its intended use. With a little practice, you’ll be able to create high-quality 3D product models that boost your e-commerce conversions, enable custom 3D printing, or bring your new product design to life for manufacturing.