
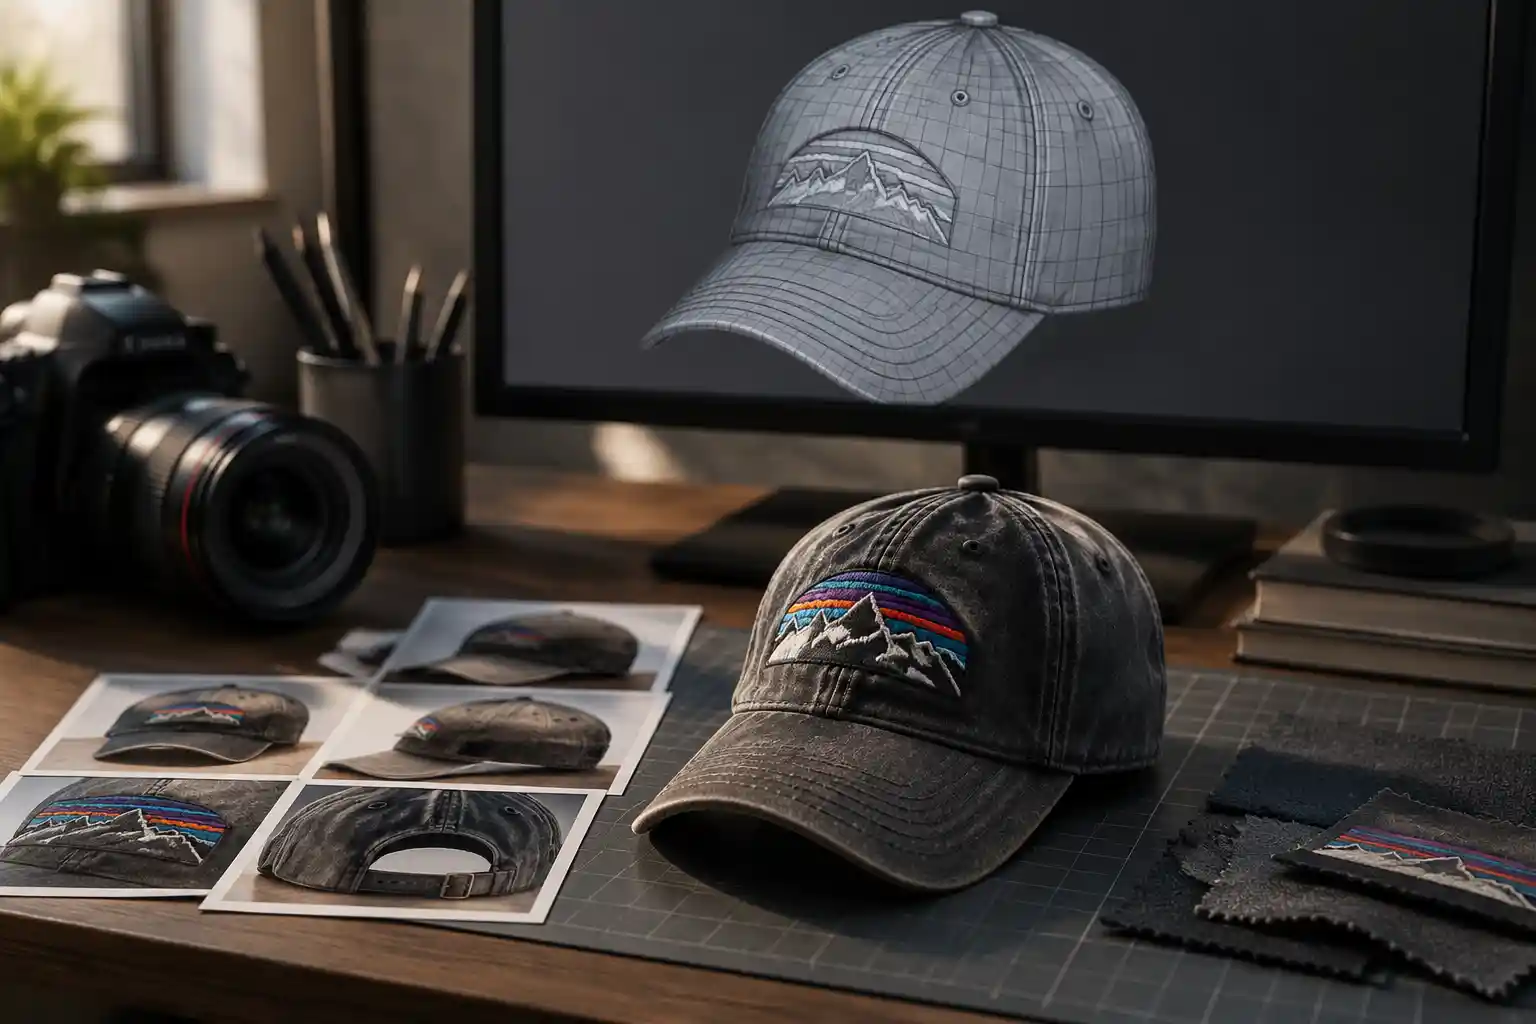
If you’ve ever scrolled through a 3D printing community board and wished you could turn a favorite photo of your pet, a hand-drawn design, or a historical artifact into a physical printed object, you’re not alone. For years, 3D modeling required advanced technical skills and expensive CAD software, putting the process out of reach for most hobbyists. Today, advances in automatic photogrammetry and AI-powered conversion tools mean anyone can turn a simple collection of pictures into a 3D model ready for printing. Whether you want to make a custom figurine, replicate a small object for a broken part, or turn a digital drawing into a decorative wall hanging, this step-by-step guide will walk you through every stage of the process, from capturing the right photos to exporting a print-ready file.
Choose the Right Workflow for Your Project
Before you pick up a camera or open a software program, you need to match your workflow to the type of image you’re starting with. Not all 3D-from-picture projects are the same, and using the wrong approach will waste time and leave you with a model that won’t print correctly.
Photogrammetry: 3D models from multiple photos of a physical objectIf you’re starting with a real, physical object that you can photograph from every angle, photogrammetry is the gold standard. This process uses software to analyze dozens (or hundreds) of overlapping photos, identify common features across images, and reconstruct a full 3D mesh of the original object. Hobbyists use this approach to make replicas of sculptures, broken machine parts, decorative rocks, even custom figurines of their pets. The result is an incredibly accurate 3D model that matches the original object’s size, texture, and shape.
Heightmap conversion: 3D models from a single 2D imageIf you only have one 2D image – like a digital drawing, a logo, a portrait, or a topographic photograph – you’ll use a heightmap conversion workflow. This process assigns a depth value to every pixel based on its brightness: lighter pixels are closer to the viewer (higher up on the model), while darker pixels are farther away (lower down). This works perfectly for making bas-relief sculptures, custom cookie cutters, lithophanes, topographic maps of hiking trails, and decorative wall art. It can’t create a full 360-degree model, but it’s fast, simple, and ideal for single-image projects.
AI 3D generation: 3D models from single reference photosNew AI tools can now generate a full 360-degree 3D model from just one or two reference photos, filling in missing depth information that traditional methods can’t capture. This is a great option if you can’t take dozens of photos of an object – for example, if you only have an old photograph of a family heirloom that no longer exists, or a concept art sketch you want to turn into a full 3D figurine. Results vary depending on the tool and the quality of your reference photo, but it’s an increasingly accessible option for hobbyists.
For most beginners, starting with either a heightmap project (single 2D image) or a simple photogrammetry project (small object you can photograph) is the best way to learn. We’ll cover both of these common workflows in depth below.
Prepare and Capture the Right Photos for Your 3D Model
The quality of your final 3D model depends almost entirely on the quality of your source photos. Bad input photos will leave you with a messy mesh full of holes that’s impossible to print, no matter how good your software is. Whether you’re doing photogrammetry or working from a single 2D image, follow these best practices to get the best results.
Best practices for photogrammetry (multiple photos of a physical object)Photogrammetry works by finding matching points in dozens of overlapping photos, so the key is to capture every angle of your object with enough overlap for the software to connect the dots. Here’s a step-by-step process for capturing great photos:
- Pick an evenly lit, diffuse lighting environment. Avoid direct sunlight or harsh overhead lights that create strong shadows or overexposed highlights, which can confuse feature detection. An overcast day outside or a room with soft box lights works best.
- Place your object on a plain, non-reflective background. A sheet of plain printer paper or a neutral gray fabric mat works well. Avoid reflective surfaces like glass or shiny plastic, and avoid textured backgrounds that can be mistaken for object features.
- Use a fixed high resolution. Most modern smartphones take photos high enough resolution for photogrammetry – just make sure you set your camera to the highest quality JPEG or RAW setting. Avoid digital zoom; move your phone closer instead.
- Take photos in orbits around the object. Start at eye level, walking slowly around the object in a full circle, taking a photo every 10 to 15 degrees. That’s 24 to 36 photos for the first orbit. Next, tilt your camera up 30 degrees and do a second full orbit, then tilt it down 30 degrees for a third orbit. For complex objects with lots of nooks and crannies, add extra orbits at steeper angles to capture the top and bottom fully.
- Make sure every part of the object is visible in at least three photos. Overlap is your friend: aim for 70 to 80% overlap between consecutive photos. If there are undercuts or hidden areas (like the space between a statue’s arm and body), take extra close-up photos of those areas to ensure the software captures the detail.
For small objects, you can also use a cheap rotating turntable to automate the process. Place the object on the turntable, keep your camera fixed on a tripod, and turn the turntable 10 degrees between each shot. This produces very consistent results with minimal effort.
Best practices for single 2D image projectsIf you’re converting a single 2D image to a heightmap for 3D printing, the preparation process is much simpler, but there are still a few key rules to follow:
- Use a high-resolution source image. Aim for at least 300 DPI if you’re scanning a drawing or photo, and at least 1000 pixels on the longest side for digital images. Higher resolution gives you more detail in the final 3D model.
- Adjust contrast before you import it to your conversion software. Most heightmap tools rely on brightness to calculate depth, so increasing contrast between light and dark areas will give you a more defined final shape. For portraits or landscapes, this step will make the final relief print much more detailed.
- Remove any unwanted background elements. If you’re converting a logo or portrait, crop out extra empty space or watermarks to avoid having them included in your 3D model. Most free tools like Canva or GIMP make this quick and easy.
“Garbage in, garbage out isn’t just a tech cliché for 3D from photos. Spend an extra 10 minutes getting your photos right, and you’ll save hours of fixing broken models later.”
This quote from 3D printing educator and Make: contributor Joshua M. Pierce sums up a common beginner mistake: rushing the photo capture step to get to the fun part of modeling. Taking the time to get it right pays off dramatically in the final result.
Turn Your Photos into a 3D Mesh Using Free or Low-Cost Tools
Once you have your source photos ready, it’s time to convert them into a 3D model. You don’t need to spend thousands of dollars on professional software to get great results – there are excellent free and low-cost options for every skill level. We’ll break down the process for the two most common workflows: photogrammetry from multiple photos, and heightmap conversion from a single 2D image.
Workflow 1: Photogrammetry with multiple photosFor beginners, the easiest free option is Meshroom, an open-source photogrammetry tool that runs on Windows, Mac, and Linux. It’s completely free, no subscriptions or feature locks, and it produces high-quality results for small to medium objects. Here’s the basic process:
- Import all your photos into Meshroom. The software will automatically detect your camera and start the feature detection process.
- Let the software run the reconstruction. This can take anywhere from 10 minutes to a few hours, depending on how many photos you have and how fast your computer is. Meshroom will automatically generate a point cloud, then a 3D mesh, then add texture from your photos.
- Export the raw model as an STL file, which is the standard file type for 3D printing.
If you don’t have a powerful enough computer to run Meshroom, cloud-based options like Capture Reality or Agisoft Metashape offer free tiers for small projects, and you can also use Autodesk’s ReCap Photo for a monthly subscription. For smartphone users, apps like Polycam let you take photos directly on your phone and generate a 3D model in minutes, with a free export option for small models. That’s one of the fastest ways for beginners to get started.
Workflow 2: Heightmap conversion from a single 2D imageConverting a single 2D image to a print-ready 3D model is even faster. One of the most popular free tools for this is Heightmap to STL, a free web-based tool that requires no software download. For more advanced control, you can use Blender, the free open-source 3D modeling program, which gives you full control over the depth and shape of your final model. Here’s how the simple web-based process works:
- Upload your high-resolution 2D image to the tool. The tool will automatically convert it to a grayscale heightmap.
- Adjust the maximum height of your model. For most 3D printed bas-reliefs, a maximum height of 5 to 10 millimeters works well – this gives you enough depth to see the detail without wasting filament or making the print too long.
- Add a base if you need one. Most tools let you automatically add a solid flat base to the bottom of your model, which makes printing much easier.
- Export the finished model as an STL file.
If you want to make a lithophane – a translucent 3D print that shows your image when held up to light – there are also dedicated free tools like Lithophane Maker that automatically convert your 2D image to a print-ready lithophane STL in one click.
AI generation from a single reference photoIf you only have one reference photo of an object and want a full 360-degree 3D model, new AI tools like Luma AI, 3DFY.ai, and Instant NeRF can generate a full 3D model from just one or two photos. Most of these tools offer free tiers for small models, and the process is as simple as uploading your photo and waiting a few minutes for the AI to generate the mesh. Results are not always perfect – the AI has to guess the shape of parts of the object that aren’t visible in the photo – but for hobby projects like custom figurines, this is a game-changing option that didn’t exist just a few years ago.
Clean Up and Repair Your Model for 3D Printing
Almost every 3D model generated from photos needs some cleaning up before it’s ready to print. Raw photogrammetry models often have extra floating geometry, holes in the mesh, non-manifold edges, and other errors that will cause your 3D slicer to crash or your print to fail. This step doesn’t require advanced modeling skills, and there are automated tools that do most of the work for you.
Remove unwanted geometryThe first step is to delete any parts of the model you don’t want to print. For photogrammetry models, this usually means deleting the background plane that the software captured along with your object, any extra floating pieces of mesh that don’t belong to the object, and any parts of the object that are hidden or that you don’t need. For example, if you scanned a small statue sitting on a table, you’ll delete the table mesh and any chunks of the floor that got captured in the photos.
For this step, Meshlab is the go-to free tool for most hobbyists. It’s designed specifically for processing 3D meshes, and it has simple selection tools that let you delete unwanted areas in a few clicks. Blender also works well for this if you’re already familiar with the interface.
Repair common mesh errorsAfter removing unwanted geometry, you need to repair errors that will break your 3D print. The most common errors from photo-generated models include:
- Holes in the mesh where the software couldn’t reconstruct the surface
- Non-manifold edges (edges that are connected to more or fewer than two faces, which confuses slicing software)
- Overlapping faces or inverted normals (faces that are pointing the wrong direction, so the slicer doesn’t recognize them as part of the solid model)
- Extra fine geometry that’s too small to print with your 3D printer
The good news is that most of these errors can be fixed automatically. MeshMixer, a free tool from Autodesk, has a one-click "Repair" tool that fills holes, fixes non-manifold edges, and corrects normals in seconds. For more automated repair, online tools like Model Repair from 3D Slash will upload your STL, fix all common errors, and send you a repaired file for free for small models.
After automatic repair, it’s always a good idea to do a quick check for any remaining holes or errors. Most 3D slicers (like Cura, PrusaSlicer, or Bambu Studio) have a built-in mesh check tool that will flag errors before you start printing.
Scale and orient your model for printingOnce your model is repaired, you need to scale it to the correct size for your project. It’s easy to forget this step: photogrammetry software doesn’t always know the real-world size of your object, so it may export it at the wrong scale. If you know the actual size of your original object, measure one key dimension (like the height or width) and scale your model to match in Meshlab, Blender, or even directly in your slicer.
You also need to orient your model correctly on the print bed. For most projects, orient the model so the largest flat face is on the bed, which minimizes the need for support material and creates a stronger print. For bas-relief models, orient the flat back face against the bed to get a clean finished result. If you have complex overhangs, add supports where needed – most slicers will automatically generate supports for you if you enable the setting.
Slice and Print Your Finished 3D Model
Once your model is cleaned, repaired, and scaled, you’re ready to slice it and send it to your 3D printer. There are a few extra tips for photo-generated models that will help you get a better finished print than you would with a generic CAD model.
Adjust print settings for your model typeFor photogrammetry models that are fully solid replicas, use the same print settings you would use for any other solid object: 20% infill is usually enough for decorative objects, 10-20% for larger models, and 50%+ for functional parts that need strength. If your model has a lot of fine detail, use a 0.4mm nozzle for standard details, or a 0.25mm nozzle for very fine features like facial details on a figurine.
For bas-relief and heightmap models, you usually don’t need a high infill, since the model is relatively thin. A 10-15% infill with three solid outer perimeters will give you a strong, smooth finish. For lithophanes, use 100% infill and a thin layer height (0.1mm to 0.15mm) to get a smooth, even light transmission that shows off your image clearly.
Post-processing to finish your printAfter your print finishes, you’ll need to do a small amount of post-processing to get a polished finished result. For most models, this includes:
- Removing support material and sanding any support marks with fine-grit sandpaper. Start with 120-grit to remove large marks, then move up to 400-grit for a smooth finish.
- Filling any small gaps or blemishes with epoxy putty or wood filler, then sanding them smooth. This is especially common for photogrammetry models that have small errors that even automatic repair missed.
- Painting or sealing the print if desired. If your model has a texture from the photogrammetry process, you can leave it as-is, or paint it to match the original object. For PLA prints, a light coat of clear spray sealant will protect the print from moisture and UV damage.
For beginners, don’t worry if your first print isn’t perfect. Even experienced 3D printing hobbyists often have to adjust the model or reprint it once to get the result they want. Small errors are easy to fix in post-processing, and they’re part of the learning process.
Conclusion
Turning pictures into 3D printable models used to be a process reserved for professional designers with expensive software and powerful computers. Today, with free tools, smartphone cameras, and AI-assisted processing, it’s an accessible project that any beginner can complete in an afternoon. The key steps are simple: match your workflow to the type of image you’re starting with, take the time to capture high-quality source photos, use automated tools to convert and repair your model, and make small adjustments before you print. Whether you’re making a custom bas-relief of a family photo, replicating a broken part for a vintage machine, or creating a 3D printed figurine of your pet, this process opens up a whole new world of custom 3D printing projects that don’t require you to build a model from scratch in CAD. With a little practice, you’ll be able to turn almost any picture into a physical object you can hold, use, or display.