
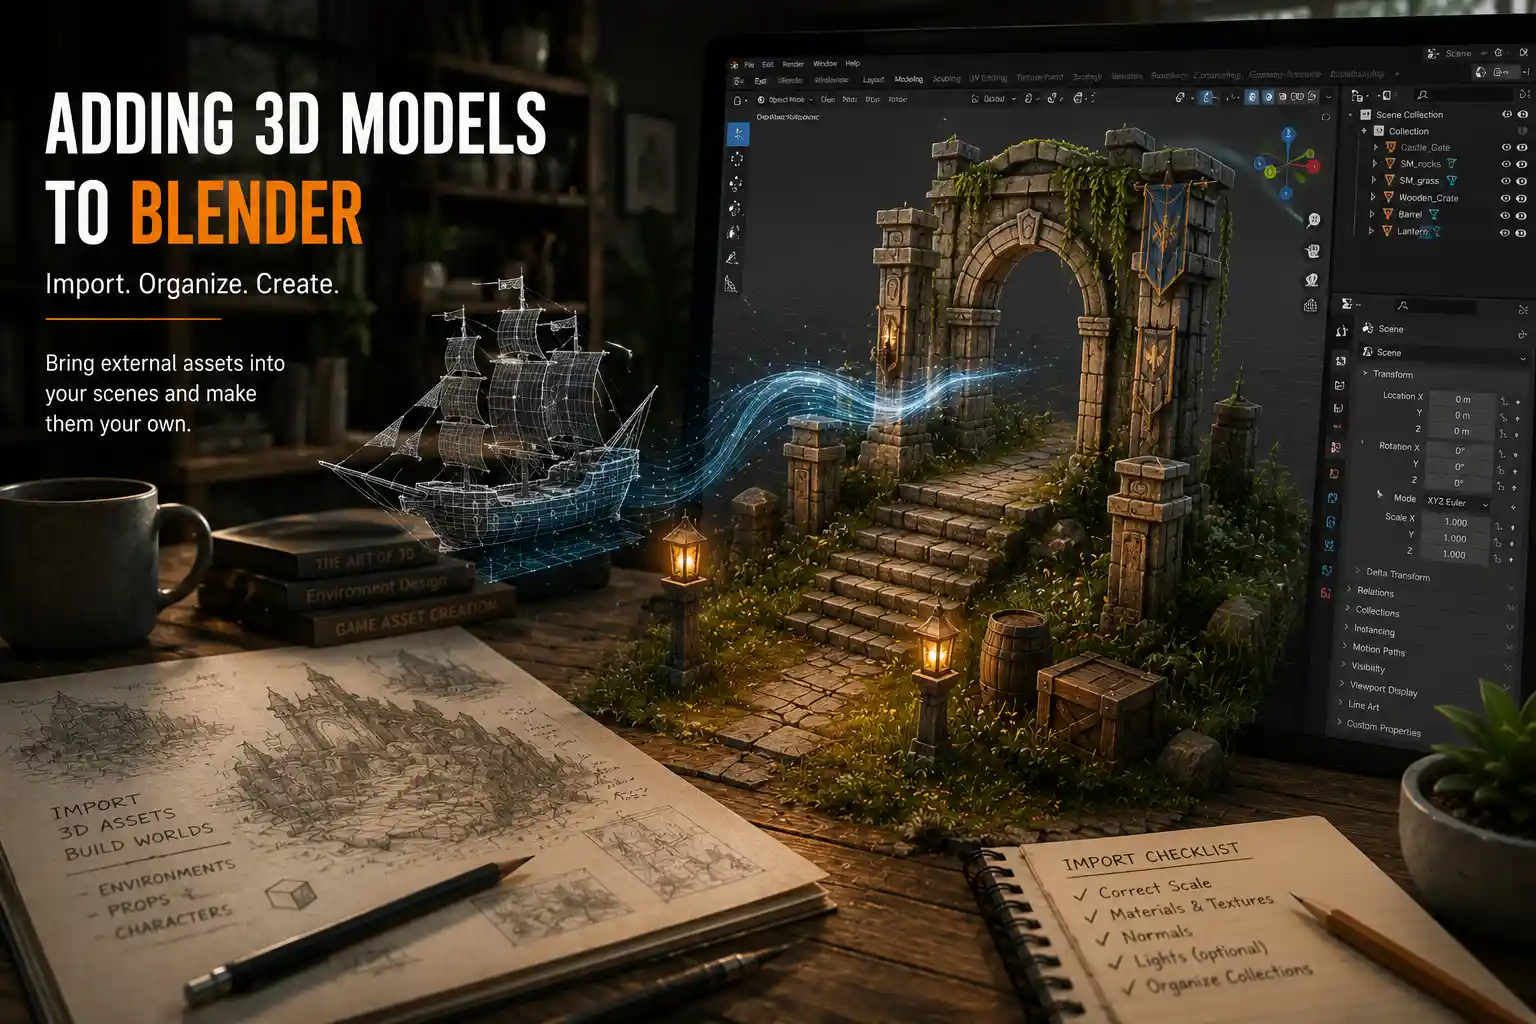
Whether you’re a beginner 3D artist working on your first short animation, a game developer building a custom level, or a product designer creating a prototype, you’ll rarely build every part of a 3D scene from scratch. Importing pre-made 3D models saves hours of work and lets you focus on the creative parts of your project that matter most. Blender, the free open-source 3D creation suite, supports nearly every common 3D file format, but the process of adding a model to your project isn’t always intuitive for new users. From finding compatible files to troubleshooting missing textures, this step-by-step guide walks you through every method of adding 3D models to Blender, no matter your skill level.
Understanding Compatible 3D File Formats for Blender
Before you download a model or start importing, it’s important to know which file types work with Blender, and which might cause problems. Blender supports more than 20 common 3D formats, but some are better suited for importing than others. Choosing the right format can save you hours of troubleshooting broken geometry or missing textures later.
Common Import-Friendly Formats
These are the most widely used formats that Blender handles seamlessly, with full support for geometry, materials, and animations:
- FBX (.fbx): The industry standard for exchanging 3D models between software programs. FBX supports mesh geometry, armatures for animations, materials, and embedded textures, making it the go-to choice for most game assets and animated models.
- glTF (.gltf/.glb): A modern, web-friendly format that stores all model data (geometry, textures, materials) in a single file. It’s lightweight, widely supported by 3D marketplaces, and preserves PBR (physically based rendering) materials perfectly for Blender’s cycles and eevee render engines.
- OBJ (.obj): A simple, legacy format that’s still common for static models. OBJ stores mesh geometry and UV mapping, but usually requires separate texture files that you’ll need to assign manually after importing.
- STL (.stl): The standard format for 3D printing. STL only stores surface geometry, no materials or textures, so it’s ideal if you’re importing a model to edit for 3D printing.
Formats to Avoid (Or Prepare to Convert)
Some native file formats from other 3D software don’t import directly into Blender cleanly. For example, native Maya (.ma/.mb), 3ds Max (.max), or ZBrush (.zpr) files can’t be opened directly in Blender, because they store software-specific data that Blender can’t read. If you only have a native file from another program, ask the creator to export it as FBX or glTF first, or use a free conversion tool like Blender’s built-in importer add-ons or online converters like AnyConv to change the format.
Another thing to note is that many 3D models downloaded from marketplaces come in compressed ZIP or RAR folders. Always unzip the folder before importing, because Blender can’t read 3D files directly from a compressed archive. Keep all the model’s files (textures, materials, and the main mesh file) in the same folder to avoid broken file paths later.
Method 1: Importing a Pre-Made 3D Model From Your Computer
The most common way to add a 3D model to Blender is importing a file you already downloaded or saved to your computer. This method works for any model you get from marketplaces like Sketchfab, TurboSquid, or CGTrader, or export from another 3D program. The process is straightforward, but there are a few hidden settings that can make or break your import.
Step-by-Step Import Process
- Open Blender and create a new project, or open the existing project you want to add the model to. If you’re starting a new project, Blender will automatically add a default cube, light, and camera. You can delete the default cube by pressing
Xand confirming, or leave it in the scene while you work. - From the top navigation bar, click File > Import. This will open a file browser menu that shows your computer’s file system.
- Select the file format matching your 3D model from the menu on the right side of the import window. For example, if you’re importing an FBX file, click FBX (.fbx) to filter the view to only FBX files.
- Navigate to the folder where your 3D model is saved, select the main model file, and check the import settings on the right side of the window. These settings change depending on the file format, but there are a few key options to pay attention to:
For FBX imports, the most important setting is Automatic Bone Orientation if you’re importing an animated rigged model. This helps Blender correctly interpret the armature structure to keep animations working. For static models, you can leave most default settings as-is, but uncheck Import Camera and Import Lights if you don’t want the model’s original cameras and lights added to your scene.
For glTF imports, keep the default Import Shaders setting checked to automatically bring in PBR materials that work with Blender’s Eevee and Cycles render engines. For OBJ imports, check Import Materials if the model came with a .mtl material file stored in the same folder – this will automatically assign basic materials instead of you having to do it manually.
- Once you’ve checked your settings, click the Import FBX (or Import corresponding format) button in the top right corner of the window. Blender will process the file and add the model to your scene.
Finding Your Imported Model If It Doesn’t Appear
It’s common for new users to import a model and see nothing in the viewport. This almost always happens because the model is extremely far from the scene origin, or it’s scaled to a tiny or huge size that puts it outside your current view. To fix this, press A twice to select all objects in the scene, then press Numpad . (period) to focus the view on your selected objects. This will automatically zoom and pan the camera to show your imported model. If the model is still not visible, check the Outliner panel in the top right of the Blender window – it lists every object in your scene, so you can click the model’s name to select it even if you can’t see it in the viewport.
Method 2: Adding 3D Models Directly From Online Libraries
You don’t even need to download a model to your computer and import it manually anymore. Blender has several built-in and third-party tools that let you browse and add free 3D models directly to your project without leaving the software. This is one of the fastest ways to populate a scene with assets, especially for beginners.
Blender’s Built-In Asset Browser
Blender 3.0 and newer versions come with a built-in Asset Browser that lets you access official and user-shared 3D assets directly from the software. You can also save your own assets to the browser for future use, but for adding new models, the official Blender Studio asset library is a great free resource.
To access the Asset Browser, change the editor type from the 3D Viewport to the Asset Browser using the dropdown menu in the top left corner of the editor. From there, select the Blender Studio Assets library from the top dropdown. If you don’t see it listed, you can enable it in Blender’s preferences: go to Edit > Preferences > File Paths > Asset Libraries, click Add, name the library “Blender Studio Assets”, and paste the file path https://assets.blender.org/ to connect to the online library.
Once the library is loaded, you can browse categories like furniture, vegetation, architecture, and characters. When you find a model you want to add, simply drag and drop it from the Asset Browser into your 3D viewport. The model will automatically be added to your scene with all materials and textures intact. This method works great for quick prototyping, because you don’t have to deal with file downloads or import settings.
The Sketchfab Add-On for Blender
Sketchfab is the largest online library of free and paid 3D models, with millions of user-uploaded assets available for download. Their official Blender add-on lets you browse the entire Sketchfab library and import models directly into your project in one click.
To install the add-on:
- Go to the Sketchfab add-on page in the Blender Market (it’s free to download) or install it directly from Blender’s preferences: Edit > Preferences > Add-ons > Search for “Sketchfab” and check the box to enable it.
- Log in with your free Sketchfab account in the add-on settings.
- Open the Sketchfab tab in the right sidebar of the 3D viewport.
- Search for the model you want, filter by license type (for example, Creative Commons for free commercial use) and format, then click Import Model to add it directly to your scene.
“More than 70% of 3D artists use pre-made assets in their work, and integrating asset libraries directly into Blender has cut down project time for independent creators by an average of 30%, according to 2024 industry surveys. The ability to drag and drop a finished tree, chair, or character into your scene lets you spend more time refining your creative vision instead of building every asset from scratch.”
Other popular marketplaces like TurboSquid and CGTrader also offer official Blender add-ons that let you browse and import their paid and free asset libraries directly, so you never have to leave Blender to find the model you need.
Method 3: Append or Link Models From Another Blender Project
If you’re working with multiple Blender (.blend) files, you don’t need to export and re-import models to move them between projects. Blender has two built-in tools called Append and Link that let you add objects from one .blend file to another directly. Knowing when to use each tool will help you keep your project organized and avoid file bloat.
What’s the Difference Between Append and Link?
When you append a model from another Blender file, you’re making a full copy of the model and all its data and adding it to your current project. Any changes you make to the copied model in your current project won’t affect the original file, and changes to the original won’t affect your copy. This is the best option if you want to edit the model in your current project, or if you don’t plan to update the original model later.
When you link a model, you’re not making a copy. Instead, you’re creating a reference to the original model in the other Blender file. The model appears in your current project, but all its data is still stored in the original file. If you edit the original model, the changes will automatically update in every project that links it. This is perfect for shared assets that you use across multiple projects, like a custom character rig or a company logo 3D model. The downside is that you can’t edit the linked model in your current project unless you make it a local copy first.
How to Append or Link a Model
- Open your current Blender project, then go to File > Append or File > Link – the process is almost identical for both options.
- Navigate to the Blender (.blend) file that contains the model you want to add, and click on the file to open its internal data structure.
- Blender organizes data by type, so click on the Object folder to see all the 3D objects (models) stored in that file.
- Select the model you want to add, then click Append or Link in the bottom right corner. The model will be added to your current scene at the same position it was in the original file.
If you want to bring in materials, armatures, or animations along with the model, you can also select those data types from the other .blend file during the append process. For most cases, just appending the object will bring all associated data (materials, textures, armatures) with it automatically.
Troubleshooting Common Issues After Adding a Model
Even when you follow all the steps correctly, you might run into common issues after adding a 3D model to Blender. Most problems are easy to fix once you know what to look for. Here are the most common issues and how to resolve them quickly:
Missing Textures or Pink Materials
The most common issue after importing a model is seeing pink materials instead of the model’s original textures. This happens when Blender can’t find the image files needed for the material, usually because the file path to the textures is broken. This is most common with OBJ and old FBX files that store textures in separate files instead of embedding them in the main model file.
To fix this:
- Make sure all texture files are stored in the same folder as the main 3D model file before you import. If you unzipped the model incorrectly and moved the mesh file without the textures, Blender won’t be able to find them.
- Open the Shader Editor in Blender, select the model, and find the Image Texture node that’s showing pink. Click on the empty file path in the node, navigate to where the texture image is stored on your computer, and select it. Repeat this for every missing texture, and the material will display correctly.
- For glTF files, pink materials usually mean you didn’t keep the texture files in the same relative folder as the main glTF file. Re-import the model after making sure all textures are in the correct folder to fix it automatically.
Model Is Too Big or Too Small
Different 3D software use different default unit systems, so an imported model might be 100 times larger than your other objects, or tiny enough that you can’t see it. The easiest way to fix this is to scale the model to fit your scene. Select the model, press S to activate the scale tool, drag to resize it until it fits, and click to confirm. For precise scaling, you can use the Transform panel to set the exact dimensions, or use the Fit to Scene add-on to automatically resize the model to fit your current camera view.
Ngons or Broken Geometry
Sometimes models imported from other programs have non-manifold geometry or ngons (polygons with more than 4 sides) that can cause issues when 3D printing or rendering. To fix this, go to Edit Mode, select all geometry with A, then go to Mesh > Clean Up > Tris to Quads to convert triangles to quad polygons where possible. For 3D printing, you can also use the built-in 3D Print Toolbox add-on to automatically check for and fix non-manifold geometry.
Imported Model Is Black
If your imported model appears completely black, it’s almost always a normals issue. Normals are the direction each face of the model is facing, and if they’re flipped inward, Blender won’t render them correctly by default. To fix this, go to Edit Mode, select all faces, then go to Mesh > Normals > Recalculate Outside. This will flip all normals to the correct direction and fix the black appearance.
Conclusion
Adding a 3D model to Blender is a simple process once you understand the different methods and what each one is best for. Importing from your computer works for any downloaded model, the Asset Browser and Sketchfab add-on let you add models in seconds without leaving Blender, and append/link make moving models between Blender projects fast and organized. The key steps to avoid common issues are choosing the right file format, keeping all texture files in the same folder as the main model, and checking import settings before you bring the model into your scene. Whether you’re building your first 3D scene or working on a professional project, using pre-made models saves you time and lets you focus on the creative work that makes your project unique. With the steps outlined in this guide, you’ll be able to add any 3D model to Blender quickly and fix any issues that come up along the way.