
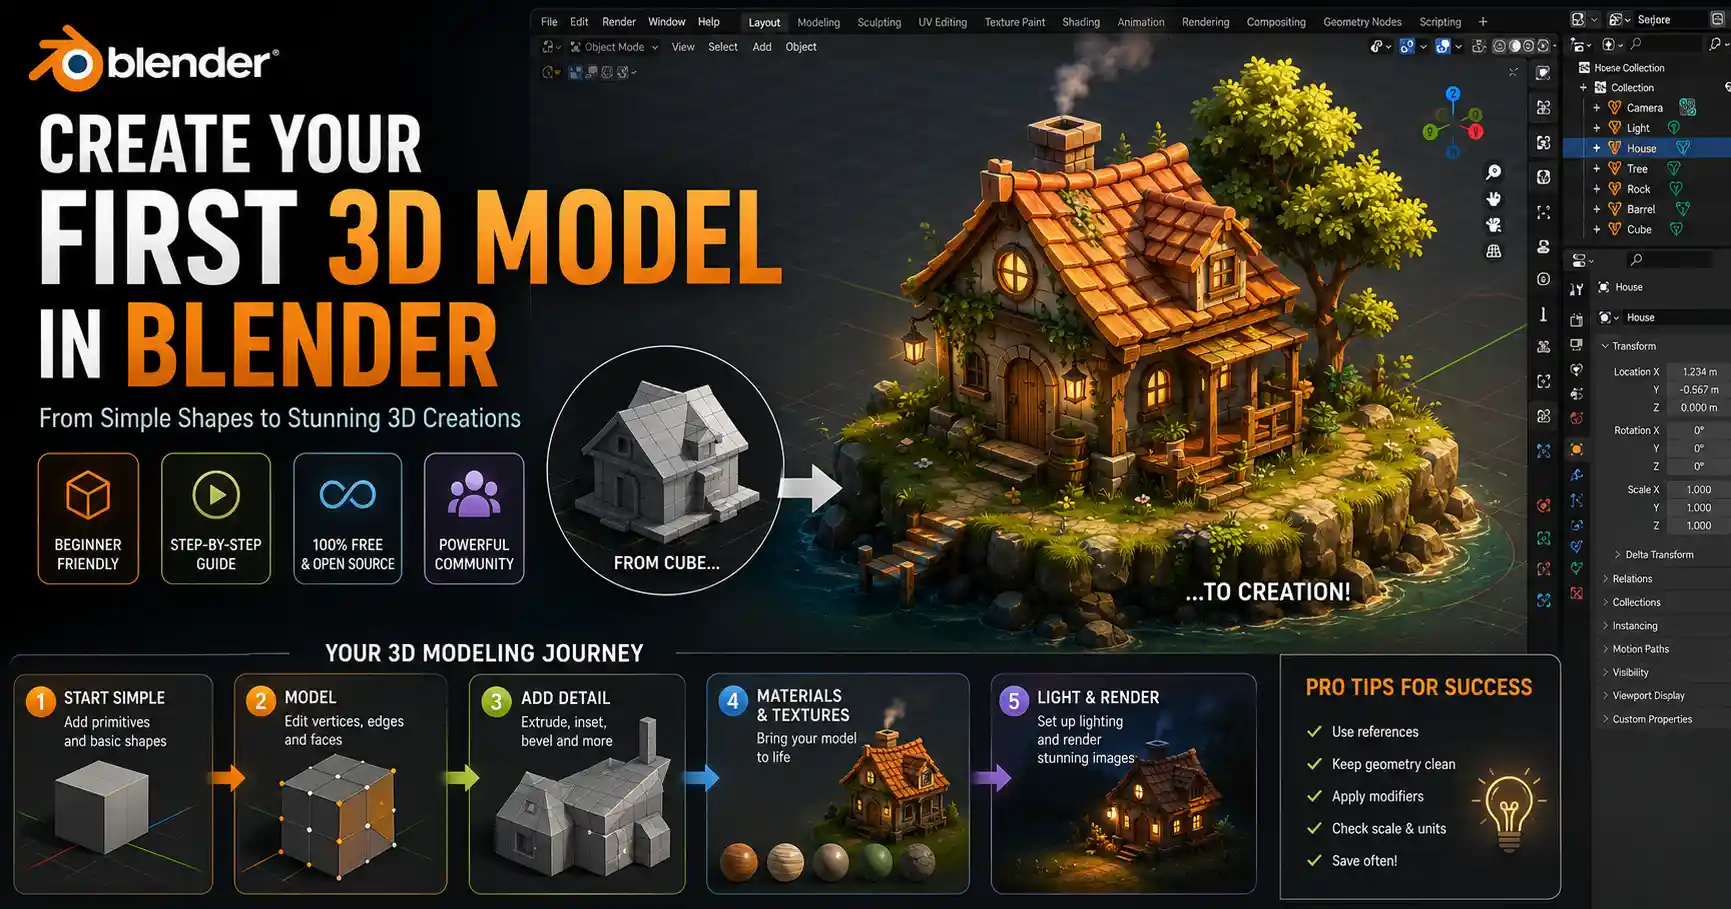
Whether you want to create 3D assets for video games, design custom objects for 3D printing, produce stunning visual effects for films, or just explore a new creative hobby, Blender is the perfect tool to get started. This free, open-source 3D creation suite has exploded in popularity over the last decade, boasting a huge global community, constant updates, and more features than most paid 3D software alternatives. For new creators, learning to make your first 3D model in Blender can feel intimidating at first, with dozens of menus, buttons, and unfamiliar tools to navigate. But with a step-by-step approach and a solid understanding of core workflows, anyone can learn to create clean, usable 3D models in Blender. This guide breaks down everything you need to know, from setting up your project to exporting your finished model for use.
Getting Started with Blender: Setup and Interface Basics
Before you start modeling, you’ll need to get Blender installed and get comfortable with how the interface works. Unlike expensive tools like Maya or 3ds Max that cost hundreds of dollars a year in subscriptions, Blender is 100% free to download and use for any purpose, commercial or personal. That makes it ideal for new creators testing the waters, hobbyists on a budget, and even professional studios looking to cut software costs.
Downloading and Installing Blender
To get the latest stable version of Blender, head to the official Blender Foundation website at blender.org. The software works seamlessly on Windows, MacOS, and Linux, so you can run it on almost any modern computer. While Blender can run on basic laptops, for a smooth experience, aim for a computer with at least 8GB of RAM and a dedicated graphics card with 2GB of VRAM. More complex scenes with high-poly models will benefit from stronger specs, but you can learn the basics on most entry-level devices.
Once you open Blender for the first time, you’ll see the default startup screen with a general splash screen and a single default scene containing a 3D camera, a light, and a cube primitive. The default layout is divided into five key areas that you’ll use for almost every modeling project:
- 3D Viewport: The large central area where you’ll view and edit your 3D model. This is where most of your interaction happens.
- Outliner: A list of all objects in your current scene, located in the top right. You can use this to select, hide, or reorder objects easily.
- Properties Panel: Located in the bottom right, this panel lets you adjust settings for your objects, materials, render engine, and scene.
- Timeline: At the bottom of the screen, this is used for animation work, but even for static modeling, it lets you adjust scene settings.
- Header: The top bar with access to file, edit, and other global menu options.
One of the most important skills to learn early is navigating the 3D viewport. Unlike 2D design software, you need to move around a 3D space to view your model from all angles. The default navigation controls are straightforward once you get used to them: hold the middle mouse button and drag to rotate the view, scroll the middle mouse wheel to zoom in and out, and hold Shift + middle mouse button to pan around the scene. Learning these controls will cut your modeling time in half, so practice moving around until it feels natural.
Core Concepts for Blender 3D Modeling
Before you start clicking and dragging to create shapes, it’s important to understand the core building blocks of 3D modeling in Blender. Every 3D model is made up of three fundamental components: vertices, edges, and faces. A vertex is a single point in 3D space. When you connect two vertices, you get an edge. Connect three or four edges to form a closed shape, and you get a face, the solid surface that makes up your model. Most models use four-sided faces (quads) for clean geometry, though three-sided triangles are common in areas like game asset optimization.
Understanding Object Mode vs. Edit Mode
Blender uses two primary interaction modes for modeling, and switching between them correctly is critical. Object Mode is where you move, scale, rotate, and organize entire objects in your scene. If you want to move the whole cube from the default scene across your viewport, you do that in Object Mode. Edit Mode is where you edit the individual vertices, edges, and faces that make up your object. This is where all the actual modeling work happens. You can switch between modes quickly by pressing the Tab key, the most useful keyboard shortcut for any Blender modeler.
Popular Modeling Workflows in Blender
Blender supports several different modeling methods, each suited to different types of projects. The most common workflow for new users is polygon modeling (also called box modeling), which starts with a basic primitive shape and builds up the model by adding details incrementally. Other popular workflows include:
- Sculpting: A more artistic, freeform approach where you shape a high-resolution mesh like you would work with clay. This is great for organic models like characters, creatures, and busts.
- Retopology: The process of creating a clean, low-poly mesh over a high-resolution sculpt or mesh. This is essential for preparing models for 3D printing or game engines.
- NURBS Modeling: A mathematically precise method for creating smooth curves and surfaces, common in industrial design. This is less commonly used in Blender than polygon modeling, but it’s available for specialized projects.
The beautiful thing about Blender is that it doesn’t force you to stick to one workflow. You can start with a box model, add details with sculpting, clean it up with retopology, and finish with parametric modifiers – all in the same project.
Another core feature that sets Blender apart is its non-destructive workflow using modifiers. Modifiers are automatic operations that change the shape of your model without permanently altering the base geometry. For example, you can add a Subdivision Surface modifier to smooth your model, or a Boolean modifier to cut a hole in a shape, and you can adjust or remove the modifier at any time. This makes experimenting much less risky than permanently editing your geometry every time you make a change.
Step-by-Step: Make Your First 3D Model in Blender
To put these concepts into practice, let’s walk through creating a simple, useful 3D model: a custom mug that you could 3D print or use in a kitchen scene for a game or render. This project uses basic box modeling techniques that you can apply to almost any hard-surface model, from furniture to tools to architectural assets.
Step 1: Set Up Your Base Mesh
Start by clearing the default cube. Press the “X” key on your keyboard and confirm deletion to remove it from the scene. Next, add a cylinder primitive, which will form the base of our mug. You can add a cylinder by going to Add > Mesh > Cylinder, or use the shortcut Shift + A to open the add menu, then select Mesh > Cylinder.
Once the cylinder is added, go to the Properties Panel on the bottom right, find the “Object Data Properties” tab (it looks like a triangle), and adjust the number of vertices to 32. More vertices will give the mug a smooth round shape without unnecessary extra geometry. Next, press “S” to scale the cylinder up or down to the rough size of a standard mug, then press “G” to grab it and move it so it sits on the world origin grid. Press Tab to enter Edit Mode, select the top face by clicking it with your left mouse button, then press “X” and select “Faces” to delete the top opening of the mug. Select the bottom face and leave it intact to form the base of the mug.
Step 2: Extrude to Shape the Mug
With the top edge loop selected (the circular edge of the opening you just created), press “E” to extrude the edge inward. This will create the hollow interior of the mug. Drag your mouse to pull the edge in just enough to create an even wall thickness (around 3mm is ideal for 3D printing). Left click to confirm the extrusion. Next, extrude again, this time pulling the edge down almost to the bottom of the mug, to create the full interior hollow space. Leave a small gap at the bottom for the base, and confirm the extrusion. Your mug body is now complete.
Step 3: Add the Handle
Now it’s time to add the mug’s handle. Go back to Object Mode by pressing Tab, then add a new cube primitive with Shift + A > Mesh > Cube. Scale the cube down to a long, thin rectangular shape that fits roughly along the side of your mug. Press G to move it against the side of the mug body where you want the handle to attach.
Switch back to Edit Mode on the cube, and select the vertices on the end closest to the mug. Move them in to match the curve of the mug body, then switch to vertex sculpt mode or use the proportional editing tool (toggle it on with the O key) to round the shape of the handle into a smooth curve. Once you’re happy with the shape, go back to Object Mode, select both the mug body and the handle (hold Shift to click select multiple objects in the Outliner), then press Ctrl + J to join them into a single object.
Step 4: Refine and Smooth Your Model
Now that your base shape is done, it’s time to clean up the geometry and smooth out any rough edges. First, go to Edit Mode and use the “Merge by Distance” tool (found in the Vertex menu) to weld any overlapping vertices where the handle connects to the mug. This fixes any gaps or extra geometry that can cause issues later.
To smooth the whole model, add a Subdivision Surface modifier. Go to the Properties Panel > Modifiers > Add Modifier > Subdivision Surface. Increase the number of subdivision levels to 2 or 3, and you’ll see your model get a smooth, clean shape. If you want sharper edges on the rim of the mug or the handle connection, you can use the Edge Split modifier or mark sharp edges to keep them defined after smoothing.
Common Beginner Mistakes to Avoid
When you’re first starting out, it’s easy to make small mistakes that cause problems later on. Watch out for these common issues:
- Adding too many polygons too early: Many new users subdivide their model multiple times before the base shape is done, leading to slow performance and messy geometry that’s hard to edit. Always get your base shape correct before adding extra detail.
- Non-manifold geometry: This happens when you have edges connected to more than two faces, or overlapping faces that don’t form a closed solid. Blender has a built-in tool to find non-manifold geometry in Edit Mode under Select > Select Non-Manifold, so you can fix these issues before exporting.
- Ignoring normals: Normals are the direction a face is facing. If a face is pointing inward, it will look invisible when you render it. You can check and recalculate normals by going to Mesh > Normals > Recalculate Outside in Edit Mode to fix this common issue.
Adding Detail, Materials, and Preparing for Export
Once your base model is complete, you can add fine details, color, and textures to bring it to life, then export it for whatever use case you have in mind. There are dozens of ways to add detail, but a few methods are especially useful for new Blender users.
Adding Fine Details with Sculpting and Decals
For small details like a logo on your mug, or a textured pattern, you don’t need to add that detail to your base geometry. One of the easiest methods for adding 2D details to a 3D model is using decals – simple planar meshes with a texture image that you project onto your model. Blender’s built-in Decal Machine add-on (available for free from the Blender Market community) makes this process even easier, but you can do it manually by adding a plane, scaling it to fit, and using the shrinkwrap modifier to attach it to your model.
If you want to add organic, raised details like a textured grip on the mug handle, you can use Blender’s sculpt mode. Switch to Sculpt Mode from the mode dropdown in the top left of the 3D viewport, select a clay brush or a crease brush, and start adding texture directly to your model. For 3D printing, this detail will show up in the final print, and for rendering, it will add depth and realism to your final image.
Applying Materials and Textures
Materials control how your model looks when rendered – what color it is, how shiny it is, whether it’s opaque or transparent. To add a material to your model, go to the Properties Panel > Material Properties (the checkered sphere icon) and click “New”. Blender uses the physically based rendering (PBR) workflow by default in its current versions, which matches the workflow used in game engines and most professional 3D pipelines.
For a simple ceramic mug, you can set the base color to a solid off-white, increase the roughness to around 0.2 to give it a slight semi-gloss finish that matches real ceramic. If you want to add a patterned texture, you can import an image file, add it as a texture to your material, and use UV unwrapping to map the texture to your model correctly. UV unwrapping is the process of unfolding your 3D mesh into a 2D plane so that 2D textures can wrap around it correctly. Blender has a built-in “Smart UV Project” tool that works great for simple models like this – just go to UV > Smart UV Project in Edit Mode, accept the default settings, and you’ll get a usable UV map in seconds.
Exporting Your Finished Model
The export settings you use depend on what you plan to do with your model. The most common export formats are:
- STL: The standard format for 3D printing. Most 3D printing slicers accept STL files, and Blender exports them natively. Just go to File > Export > Stl (.stl) and make sure you have only your model selected before exporting.
- OBJ/FBX: The most common formats for game assets and 3D modeling pipelines. FBX supports materials and animations, while OBJ is a simpler format that works well for static models. Both are widely supported by game engines like Unity and Unreal Engine.
- glTF/GLB: A modern open format for web-based 3D content and AR/VR applications. It’s optimized for fast loading and retains material and texture information in a single file.
Before exporting, always do a final check for errors. For closed solid models like 3D prints, make sure your model is watertight – no holes, no non-manifold edges, no overlapping faces. Blender’s 3D Print Toolbox add-on (enabled in the Edit > Preferences > Add-ons menu) has a built-in check that will highlight any issues you need to fix before exporting.
Resources to Improve Your Blender Modeling Skills
Learning Blender is a continuous process, and even professional modelers learn new tricks years after they start. The good news is that there’s a huge global community of Blender creators creating free, high-quality learning resources for every skill level. Some of the best places to learn include:
Free Online Tutorials: YouTube is packed full of free Blender tutorials for every type of model. Channels like Blender Guru, Grant Abbitt, and CG Boost offer complete beginner courses that walk you through your first models step by step. The official Blender Foundation also has a free manual and a library of tutorial videos on their website that cover every tool and feature in depth.
Community and Support: Blender has one of the most supportive creative communities online. Reddit’s r/blender is a great place to share your work, ask questions, and get feedback from other creators. Blender Artists is a long-running forum where you can find tutorials, work-in-progress feedback, and answers to even the most specific technical questions. Many cities also have local Blender user groups where you can meet other creators in person.
Add-Ons to Speed Up Your Workflow: One of the best things about Blender is that it’s extensible with community-made add-ons that add new features and speed up common workflows. For modeling, some of the most popular add-ons include Hard Ops for hard-surface modeling, RetopoFlow for easy retopology, and UV Toolkit for faster UV unwrapping. Many popular add-ons are free or low-cost, and they can cut hours off your modeling time once you learn the basics.
When you’re starting out, don’t feel pressured to buy expensive add-ons or courses. You can learn everything you need to make great models with the built-in Blender tools and free tutorials. Start with simple projects like the mug we made in this guide, then work your way up to more complex models like furniture, characters, or environments as your skills improve.
Conclusion
Learning how to make 3D models in Blender opens up a world of creative possibilities, from 3D printing your own designs to creating assets for indie games to producing stunning art and animations. The key to getting started is to break the process down into manageable steps: learn the interface and core concepts first, practice with simple projects to build your skills, then gradually work your way up to more complex models. Don’t get discouraged by the steep learning curve at the beginning – every Blender artist started where you are now, and the skills you learn will stick with you for every future project. With the huge amount of free resources and a supportive community behind you, there’s never been a better time to start 3D modeling with Blender.