
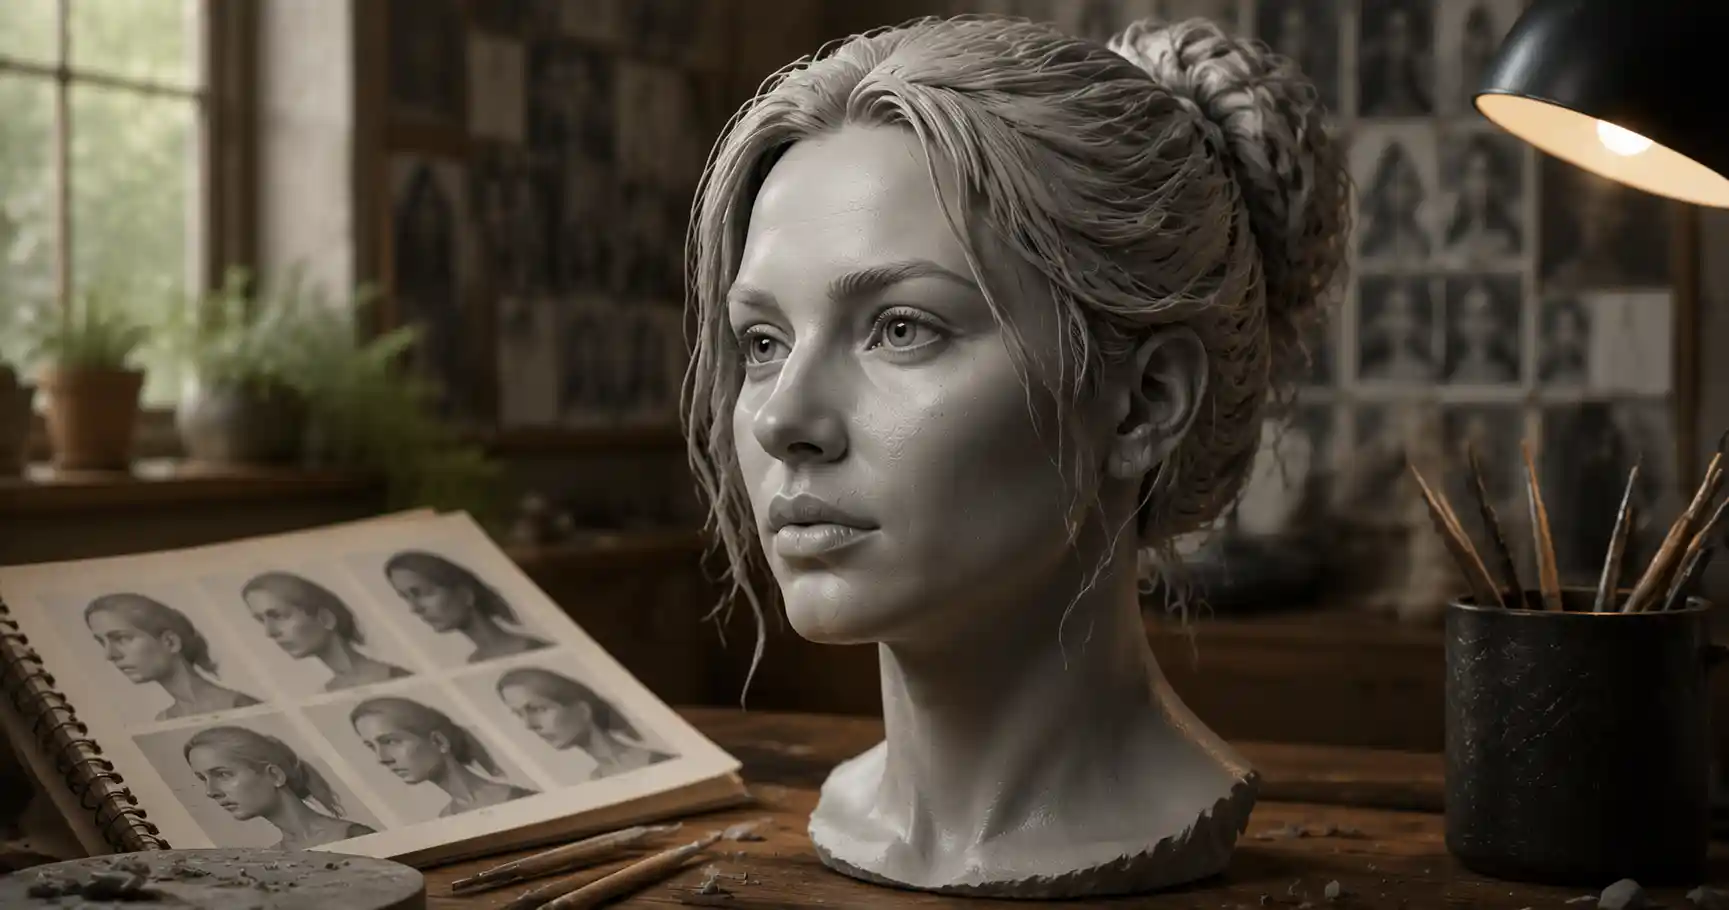
Whether you’re a game developer building a realistic character, a plastic surgeon planning a procedure, a 3D printing enthusiast creating a custom figurine of a loved one, or an AR filter designer crafting a viral effect, a high-quality 3D face model is the foundation of your project. Once a specialized skill reserved for big-budget film studios and engineering teams, 3D face modeling is now accessible to hobbyists and professionals alike, with free tools, smartphone scanning apps, and open-source datasets cutting down barriers to entry. This guide breaks down every step of the process, from choosing the right method for your goals to refining your model for production, so you can create a usable, realistic 3D face no matter your experience level.
Choose the Right 3D Face Modeling Method for Your Project
Before you open any software or set up a camera, you need to pick a workflow that matches your goals, budget, and skill level. Two primary approaches dominate 3D face modeling: manual sculpting from scratch and photogrammetric/3D scanning. Each has distinct advantages and use cases, so matching your method to your project will save you hours of frustration later.
Manual 3D Sculpting
Manual sculpting involves building a 3D face from a basic polygon mesh, shaping the features, and adding detail by hand using specialized digital sculpting software. This method gives you full creative control, making it ideal for original characters, stylized designs, or fantasy creatures that don’t exist in the real world. It’s also the best choice if you need a model that matches specific design specifications, like a character for an animated film or a custom avatar for a video game.
The downside of manual sculpting is that it requires significant artistic skill and practice. Most artists spend dozens of hours refining a single high-poly face model, and achieving realistic proportions can be tricky for beginners. Popular software for manual sculpting includes ZBrush (the industry standard for high-detail work), Blender (free open-source alternative with powerful sculpting tools), and Nomad Sculpt (a portable option for iPad users).
3D Scanning and Photogrammetry
3D scanning and photogrammetry use photos or depth sensor data from a camera or scanner to generate a 3D mesh automatically. This method is perfect if you need an exact replica of a real person’s face, whether for a 3D printed portrait, a medical procedure, a virtual reality experience, or a deepfake project. The process is much faster than manual sculpting for realistic models, and modern tools can capture even fine details like pores, wrinkles, and skin texture with stunning accuracy.
The main tradeoffs here are reduced creative control and potential cost for high-end hardware. Entry-level scanning can be done with just a smartphone, but professional results may require a dedicated 3D scanner or a multi-camera setup. Even with automated scanning, you’ll still need to do some manual cleanup to fix errors like holes in the mesh or distorted features.
Hybrid Workflows
Most professional creators use a hybrid approach that combines the speed of scanning with the creative control of manual sculpting. For example, you might scan a real person’s face to get an accurate base mesh, then manually adjust the nose size, jawline, or add wrinkles to match a character concept. This cuts down on sculpting time while still letting you customize the final model to your needs.
Step-by-Step Guide to Manual 3D Face Sculpting
If you’ve chosen manual sculpting for your project, following a structured workflow will help you avoid common mistakes like misaligned features or lopsided proportions. This step-by-step process works for most software, from free options like Blender to professional tools like ZBrush.
- Start with a base mesh and block out major proportions
Begin with a simple primitive shape, usually a sphere or a rounded cube, that matches the general volume of a human head. Don’t jump into adding details like eyelashes or freckles right away. First, block out the overall proportions: the distance between the hairline and the chin, the width of the jaw, and the position of the brow. A common rule of thumb for realistic human faces is the “thirds rule”: the face can be divided into three equal vertical sections from hairline to brow, brow to base of the nose, and base of the nose to chin. Use a symmetry tool to keep both sides of the face even as you work, which saves you from having to adjust each side individually.
- Place major facial landmarks
Once you’re happy with the overall head shape, add the major facial features in order: the brow ridge, eye sockets, nose, mouth, and jawline. At this stage, keep everything very simple. The goal is just to get the placement right, not to add fine detail. For example, you can mark the eye sockets as simple indentations and the nose as a small rounded bump. Double-check your proportions against reference photos at this stage—even experienced artists use references to avoid misplacing features. A common beginner mistake is placing the eyes too high on the face; remember that in most realistic faces, the eyes sit exactly halfway between the top of the head and the chin.
- Refine medium-scale details
With landmarks in place, refine the shape of each feature. Shape the curve of the nose, define the lips and cheekbones, and add the curve of the chin and the angle of the jaw. Work from large to small: keep adjusting the overall shape before you focus on individual features. If you’re going for a realistic face, this is the stage where you add characteristics like a crooked nose, a dimpled chin, or high cheekbones that make the face unique.
- Add fine details and texture
Once the overall shape is perfect, add fine details like pores, wrinkles, crow’s feet around the eyes, and lines around the mouth. For high-poly models used in film or games, you can capture these details in a displacement map or normal map that adds detail to a lower-poly version of the model without increasing file size. You can also sculpt fine details like eyelashes, eyebrows, and stubble, or add these later as texture maps.
One of the most common mistakes beginners make with manual sculpting is ignoring symmetry until the final stages. Most human faces are roughly symmetrical, so enabling dynamic symmetry in your sculpting software from the start will save you hours of rework later. It’s also a good idea to flip your model horizontally every 10 to 15 minutes—this tricks your brain into seeing proportional errors that you would otherwise miss when looking at the same view for too long.
Step-by-Step Guide to 3D Scanning a Face
If you need an accurate replica of a real face, 3D scanning is the most efficient approach. You don’t need a $10,000 professional scanner to get good results; modern smartphones have depth sensors that can capture usable 3D face models, and you can even use photogrammetry with a standard DSLR or phone camera if you don’t have a depth sensor. This workflow works for both entry-level and professional setups.
Preparing for the Scan
Good preparation is the key to a clean scan with minimal post-processing. First, prepare your subject: ask them to pull their hair back away from their face, remove glasses or large jewelry that can create shadows or reflections, and avoid wearing shiny makeup. If you’re using photogrammetry (which relies on regular photos), set up your space with even, diffused lighting—avoid harsh overhead lights or direct sunlight, which create hard shadows and overexposed highlights that confuse the scanning software. You can use cheap softbox lights or even film near a window on an overcast day for great results.
Choose Your Scanning Setup
There are three common entry-level setups for 3D face scanning, depending on your budget:
- Smartphone 3D scanning apps: For under $100 (often free for basic exports), apps like Polycam, Qlone, and Scann3D use your phone’s built-in LiDAR sensor (available on most newer iPhones and high-end Android devices) to capture a 3D face in less than a minute. Results are more than good enough for 3D printing, basic AR filters, or hobby projects. If you don’t have LiDAR, most of these apps also use photogrammetry with your phone’s regular camera to generate a model.
- Photogrammetry with a DSLR or mirrorless camera: For higher resolution than a smartphone, you can use a standard camera to take 20 to 50 photos of the subject’s face from every angle. Software like RealityCapture, Meshroom (free open-source), or Agisoft Metashape will process the photos into a 3D mesh automatically. This method can capture fine skin texture and details, making it ideal for professional projects on a budget.
- Dedicated 3D scanners: Entry-level consumer 3D scanners like the EinScan-SE cost around $500 to $1,000 and deliver much more consistent results than smartphone setups, especially for fine details. Professional-grade scanners used in medical or film applications can cost tens of thousands of dollars, but they’re only necessary for high-precision use cases like surgical planning.
Capturing the Scan Data
Whether you’re using a phone or a dedicated scanner, the key to a good scan is to capture every angle of the face. Ask your subject to stay completely still and keep a neutral expression—smiling or moving can cause distortion in the final model. If you’re moving the camera around the subject, walk in a slow circle around their head, taking photos every 10 to 15 degrees. Make sure you capture the sides of the nose, the area under the chin, and the hairline—these are common areas that end up with holes in the final mesh if they’re not captured properly. For photogrammetry, aim for at least 30 photos to get enough overlap between shots; more overlap leads to a more accurate model.
Processing the Scan into a Clean Mesh
Once you’ve captured all your photos or scan data, the software will automatically generate a raw 3D mesh. This raw mesh almost always has errors that need fixing: holes in areas that weren’t captured properly, floating extra geometry from stray hair or background objects, and distorted features from motion blur or poor lighting.
The biggest mistake new 3D scanning users make is skipping post-processing. A raw scan is never production-ready—even the best scanner in the world will give you a messy mesh that needs cleanup. 10 minutes of manual editing can turn a useless scan into a high-quality model.
Common post-processing steps for scanned 3D face models include: deleting stray background geometry, filling holes in the mesh, aligning the two sides of the face if there’s minor asymmetry, and lowering the polygon count if you need a smaller file size for games or AR. Most scanning software includes automated tools for these steps, but you’ll still need to do some manual touch-ups in Blender or ZBrush to get a clean final model.
Refining and Preparing Your 3D Face Model for Use
Whether you sculpted your model manually or scanned it from a real person, you need to refine it and prepare it for its final use. A model that looks great in sculpting software might not work for 3D printing, game development, or AR if it’s not properly prepared. The steps you take will depend on your end use case, but these are the most common refinement tasks.
Retopology for Lower File Sizes
High-poly models (whether sculpted manually or scanned) can have millions of polygons, which is too much for real-time use in games or AR. Retopology is the process of creating a new, clean low-poly mesh that matches the shape of your high-poly model, with far fewer polygons. This reduces file size and makes the model run smoothly in real-time applications. You can do retopology manually in Blender or ZBrush, or use automated retopology tools to speed up the process for simple shapes.
UV Unwrapping
To add color, texture, and detail to your 3D face model, you need to create UV coordinates, which map 2D texture images onto your 3D mesh. UV unwrapping is the process of flattening your 3D mesh into a 2D plane so you can paint textures or bake detail from your high-poly model onto your low-poly model. Most modern 3D software includes automated UV unwrapping tools that work well for face models, but you may need to adjust the seams manually to avoid stretching on important features like the eyes or mouth.
Texturing and Shading
Texturing is what gives your 3D face its realistic skin tone, pores, wrinkles, eye color, and other details. There are a few common approaches to texturing:
- Texture baking: For scanned or manually sculpted high-poly models, you can bake fine details like pores and wrinkles into normal maps, displacement maps, or ambient occlusion maps that add detail to your low-poly model without increasing polygon count. If you used photogrammetry, the software will automatically generate a base color texture from your source photos.
- Hand painting: For stylized or original characters, you can hand-paint textures directly onto your UV map in software like Substance Painter or Photoshop. This gives you full control over every detail, from freckles to scars.
- AI texture generation: New AI tools like Stable Diffusion or Substance 3D Sampler can generate realistic skin textures from a text prompt or a single reference photo, cutting down the time you spend texturing from hours to minutes.
For realistic faces, don’t forget to add different shader properties for different parts of the face: skin is slightly translucent, lips are more shiny than cheek skin, and the whites of the eyes have a different smoothness and reflectivity than skin. Small adjustments to shading make a huge difference in how realistic your final model looks.
Rigging for Animation
If you plan to animate your 3D face (for example, in a game, animated video, or AR filter), you need to add blendshapes or a rig that lets you move the features to create different expressions. Blendshapes are separate versions of your face model with different expressions (a smile, a frown, a raised eyebrow) that you can blend between to create smooth animation. Most modern scanning software can automatically generate a full set of blendshapes for a scanned face by having the subject make a series of standard facial expressions during the capture process. For manually sculpted models, you can create blendshapes manually by adjusting the base mesh for each expression.
Common Mistakes to Avoid
Even experienced creators run into common issues when making 3D face models. Being aware of these mistakes will help you spot and fix them early, before you spend hours refining a flawed model.
One of the most common mistakes is poor proportioning, especially for manually sculpted faces. Beginners often place eyes too high, make the nose too small, or shrink the chin—all issues that come from not using reference photos. Even if you’re creating a stylized character, having reference images of real facial proportions will help you make your design feel natural. Always work from at least two reference images: a front view and a side view, so you can check the depth of features like the nose and brow.
For 3D scanning, a common mistake is not capturing enough overlap between photos or scan positions. If there’s not enough overlapping detail between consecutive shots, the software can’t align the images correctly, leading to a distorted mesh or holes. When in doubt, take more photos than you think you need—it’s easier to delete extra photos than it is to fix a misaligned scan.
Another common mistake is ignoring edge flow when doing retopology. Edge flow refers to the direction of the polygon edges on your mesh, and it’s especially important for animated faces. If your edges don’t follow the natural curves of the face (around the eyes, mouth, and jaw), the model will deform poorly when you animate expressions, leading to weird wrinkles or distorted features. Taking the time to plan your edge flow during retopology saves you hours of frustration when you start animating.
Finally, many beginners over-detail their models too early. Adding pores and wrinkles before you get the overall proportions right means you’ll have to redo all that detail work if you need to adjust the shape of the nose or jaw. Always work from large shapes to small details—get the overall proportions right, then refine features, then add fine detail. This workflow is faster and leads to a more cohesive final model.
Conclusion
Making a high-quality 3D face model doesn’t require a Hollywood budget or decades of artistic experience anymore. Whether you choose to manually sculpt an original character, scan a real face for an accurate replica, or combine both methods in a hybrid workflow, the key is to match your approach to your project goals, work systematically from large shapes to fine details, and don’t skip post-processing cleanup. Start small: if you’re a beginner, try scanning your own face with a free app like Polycam to get used to the process, then move on to manual sculpting practice with simple base meshes. With a little practice, you’ll be able to create 3D face models that work for any project, from hobby 3D prints to professional game development and AR experiences.