
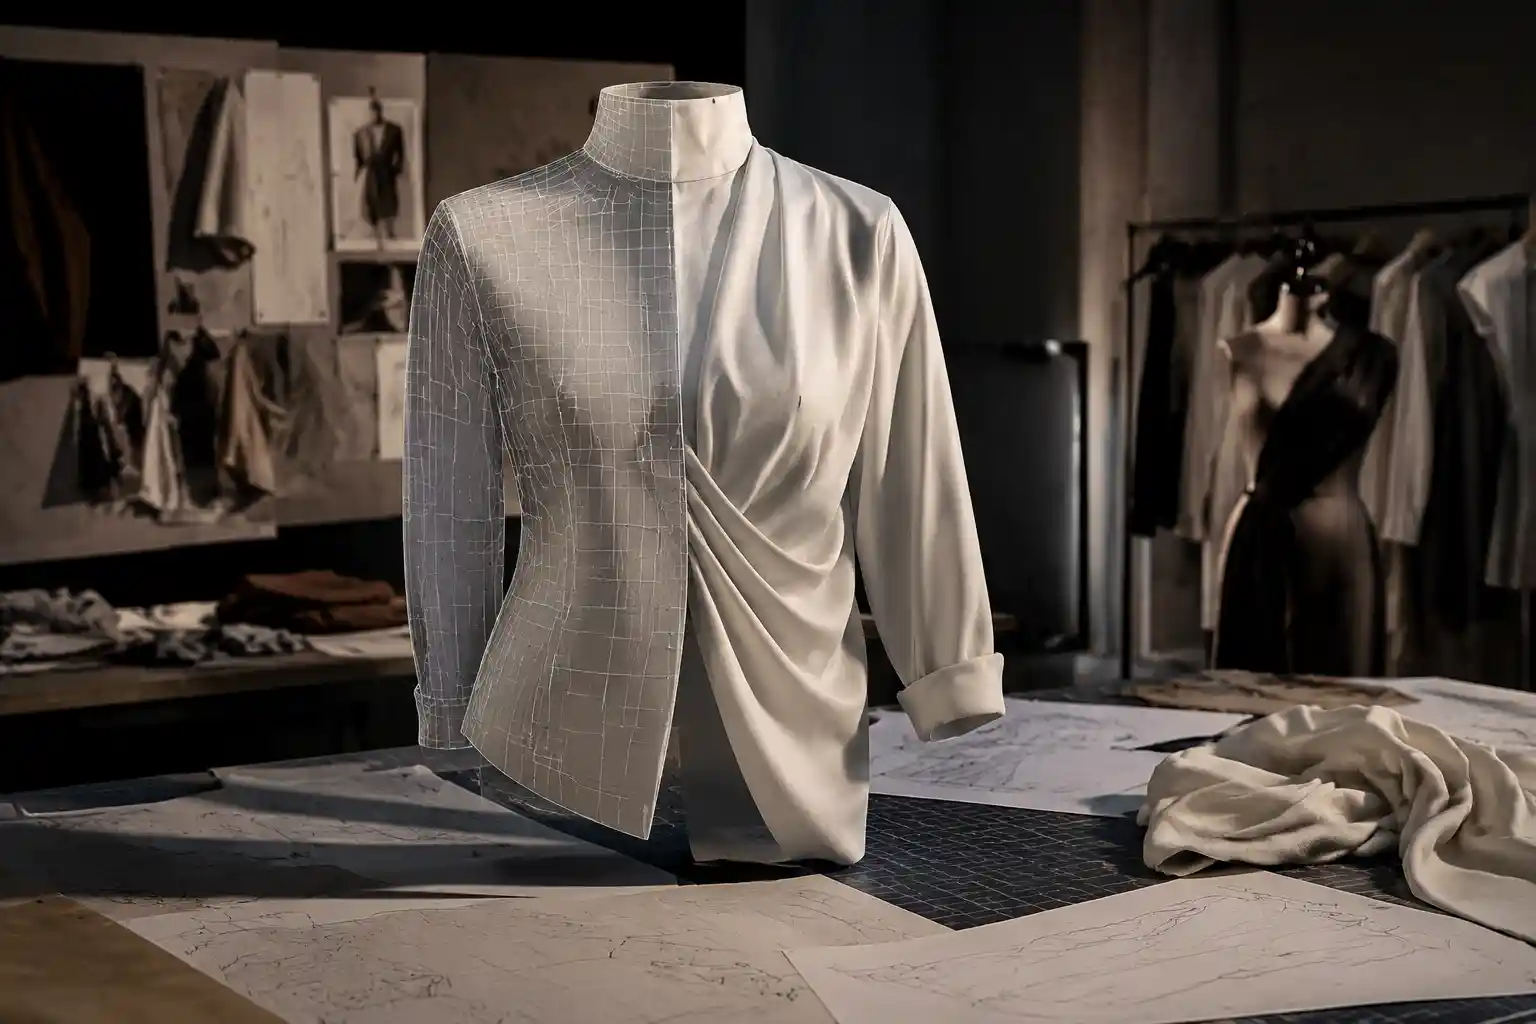
Whether you’re a fashion designer exploring digital collections, a game developer crafting character outfits, or a 3D artist looking to expand your skill set, creating realistic 3D clothing models is one of the most in-demand skills in modern digital content creation. Unlike static 3D objects, clothing requires an understanding of fabric drape, movement, and real-world construction to look natural when rendered or animated. With the right tools and a step-by-step approach, even beginners can create professional-quality 3D clothing that holds up to close-up renders and real-time interaction. This guide breaks down the entire process from initial concept to final export, covering both traditional modeling methods and modern, time-saving workflows.
Pre-Production: Planning and Reference Gathering
Before you open your 3D modeling software, solid pre-production planning will save you hours of rework later. 3D clothing doesn’t exist in a vacuum: it’s shaped by the body it fits, the fabric it’s made from, and the purpose it serves. Skipping this step often leads to models that look disproportionate, unrealistic, or don’t fit the intended use case.
Body Base and Fit Reference
All clothing is designed to fit a specific body, so your first step should be securing a base mesh that matches your project’s needs. If you’re creating clothing for a commercial fashion brand, this might be a standard-size 3D scan of a fit model. For a video game character, it will be your character’s existing body topology. Even if you plan to make the clothing from scratch, starting with a properly proportioned base ensures your final garment will sit naturally on the body, with the right amount of ease (the gap between the body and the clothing that determines looseness or tightness).
Many 3D artists start with free base meshes from platforms like Sketchfab or Blender Market, but it’s important to check the topology: a good base mesh has clean, evenly spaced polygons that follow the body’s muscle groups, which makes it easier to adjust the clothing later. If you’re creating custom-sized clothing for a specific client, consider getting 3D body scan data from services like 3DLook Body, which produces accurate, ready-to-use base meshes.
Design and Construction References
Just as a physical fashion designer uses a technical flat sketch, a 3D clothing artist needs clear references for how the garment is cut and sewn. Gather multiple reference images including:
- Front, back, and side-view photos of the finished garment on a body
- Technical flat sketches that show seam placements, darts, pockets, and other structural details
- Close-up photos of fabric texture, stitching, hardware like zippers or buttons, and any patterns or prints
- Reference photos of the garment in motion to understand how the fabric drapes
For example, if you’re modeling a pair of high-waisted denim jeans, you’ll need to know where the side seams sit, how the fly is constructed, where the back pockets are placed, and how much stretch the denim has. Even a basic t-shirt has specific construction details: crew neck vs. v-neck, hem length, seam placement on the shoulders, and the thickness of the ribbed collar. These small details are what make a 3D clothing model look realistic rather than generic.
Choosing Your Workflow
There are two primary workflows for creating 3D clothing: traditional polygon modeling, where you model the garment shape manually, and pattern-based 3D clothing simulation, where you import 2D sewing patterns and drape them virtually over your base body. The workflow you choose depends on your project goals, skill level, and tools. Pattern-based simulation is faster for most use cases, especially if you’re creating ready-to-wear or custom fashion, while manual polygon modeling is often preferred for static models or stylized game assets where topology optimization is key. We’ll cover both workflows in this guide.
Tools and Software for 3D Clothing Modeling
The 3D clothing space has evolved rapidly over the last decade, with specialized tools that simplify the draping and simulation process, as well as general-purpose 3D software that supports manual modeling. Your choice of tool will depend on your budget, your end use for the model, and whether you prefer a specialized or all-in-one workflow.
Specialized 3D Clothing Software
Specialized tools are built specifically for 3D clothing design, with built-in pattern editors, physics simulation, and fabric property settings. This makes them the most popular choice for both professional fashion designers and 3D artists:
- CLO 3D / Marvelous Designer: These two tools are developed by the same company, with Marvelous Designer focused on 3D artists and CLO 3D built for fashion industry professionals. Both use a 2D pattern-to-3D simulation workflow, have extremely accurate cloth physics, and export clean topology that can be used for any project. Marvelous Designer is the industry standard for creating game and VFX clothing, while CLO 3D adds features like tech pack creation and 3D sample sharing for apparel brands.
- Browzwear: A popular CLO alternative for mass-market apparel brands, with built-in tools for pattern grading and supply chain integration. It’s less common for independent 3D artists but widely used in the fashion industry.
- Optitex: Another industry-focused tool that combines 2D pattern making with 3D simulation, popular for technical activewear and tailored clothing.
For independent artists just starting out, Marvelous Designer has a one-time purchase option (unlike many subscription-based professional tools) and a large library of free pre-made patterns that you can adjust to fit your project, making it very beginner-friendly.
General-Purpose 3D Software
If you prefer to model clothing manually or want an all-in-one workflow, most general 3D modeling tools support clothing creation:
- Blender: The free open-source option has built-in cloth simulation, sculpting tools, and a robust modifier system that lets you both model clothing manually and run basic simulations. It’s a great option for beginners on a budget, and while its cloth simulation isn’t as accurate as Marvelous Designer’s, it’s more than capable for most projects.
- ZBrush: The industry standard for digital sculpting is often used to create stylized or high-poly clothing models, especially for characters. It’s ideal for adding fine details like wrinkles, fabric folds, and wear and tear, and most artists use it in combination with Marvelous Designer: blocking out the basic shape in simulation, then adding fine details in ZBrush.
- Maya / 3ds Max: Autodesk’s professional tools have built-in nCloth simulation that’s widely used for VFX and animation, and integrate seamlessly with other pipelines in the film and game industries.
Most professional artists use a combination of tools: for example, creating the base garment and simulation in Marvelous Designer, refining details in ZBrush, and texturing and rendering in Blender or Substance Painter.
Step-by-Step Pattern-Based Simulation Workflow
Pattern-based simulation is the most popular and efficient workflow for creating realistic 3D clothing today, and it’s accessible even to beginners. This method mirrors how physical clothing is made: you create 2D patterns for each panel of the garment, then “sew” them together virtually and let the software simulate how the fabric drapes over your 3D body base. Below is a step-by-step breakdown for a basic garment like a t-shirt using Marvelous Designer, but the process is similar in most specialized clothing tools.
1. Import Your Base Body and Set Up Your Scene
Start by importing your base body mesh into your software, and scale it to real-world size. This is a critical step that many beginners skip: if your body is 10 feet tall instead of 5 and a half feet, your fabric simulation will be completely wrong. Most tools let you set real-world units (centimeters or inches) so your garment will be the correct size for manufacturing or 3D rendering. Once imported, lock your base body so it doesn’t move during simulation.
2. Create or Import 2D Patterns
Next, you’ll add your 2D pattern panels to the 2D workspace. If you’re new to pattern making, you can start with a free pre-made base pattern that you can adjust to fit your design. For example, a basic t-shirt has four main panels: front body, back body, left sleeve, right sleeve, and a collar band. If you have an existing physical pattern from a fashion designer, you can scan it and import it as a reference to trace in the software, or import it as a vector if it’s already digital.
Once your panels are in the 2D workspace, you’ll adjust their size and shape to match your design. If you want a looser t-shirt, you’ll add width to the front and back panels; if you want a cropped fit, you’ll shorten the hem length. Most tools let you adjust patterns with intuitive point-and-click editing, so you don’t need advanced pattern-making experience to make basic changes.
3. Add Sewing Lines and Arrange Panels Around the Body
Next, you’ll define sewing lines on each panel: this tells the software which edges of which panels need to be stitched together. For example, the shoulder edge of the front panel gets sewn to the shoulder edge of the back panel, and the outer edge of the sleeve gets sewn to the armhole opening on the body panels. Most tools auto-detect sewing lines if you select matching edges, which speeds up this process.
Once all sewing lines are added, you’ll drag each 2D pattern panel from the 2D workspace and place it around the corresponding part of your 3D body. For example, place the front panel in front of the body, the back panel behind the body, and each sleeve near the corresponding arm. You don’t need to place them perfectly – the simulation will pull them into place.
4. Set Fabric Properties and Run the Simulation
This is where the magic happens. Before you start the simulation, you’ll set the fabric properties that determine how your garment behaves. Every fabric has different physical properties, and getting these right is the key to realistic results. The most important properties are:
- Weight: Heavier fabrics like denim or wool drape differently than lightweight fabrics like silk or cotton jersey.
- Stretch: Stretchy fabrics like spandex or jersey cling closer to the body, while non-stretch fabrics like linen hold their shape.
- Bending stiffness: Stiff fabrics like canvas or structured cotton have sharper folds, while soft fabrics have smoother, more fluid draping.
Most tools come with a pre-set library of fabric properties, so you can just select “cotton jersey” or “denim” and get a good starting point. Once your fabric properties are set, hit the “simulate” button, and the software will run the physics simulation, pulling the pattern panels together along the sewing lines and draping the fabric over the body. You can adjust the pattern or fabric properties as it simulates, and watch the garment update in real time.
The biggest mistake new 3D clothing artists make is over-simulating wrinkles. Real clothing only has deep folds where the body bends or the fabric bunches up – a well-fitted garment will have mostly smooth surface with small, subtle wrinkles, not deep crinkles all over.
Once the simulation settles and the garment stops moving, you can pause the simulation and make any adjustments: pull the hem up if it’s too long, tighten the neckline if it’s too loose, or add extra pins to hold fabric in place for details like pleats or gathers.
5. Retopologize and Export the Final Model
After simulation, your 3D garment will have a high-poly mesh with a lot of polygons, especially around wrinkles and folds. For most use cases, you’ll need to retopologize the model to get a clean, low-poly mesh that’s suitable for rendering, animation, or 3D printing. Many specialized tools like Marvelous Designer have an automatic retopology feature that creates a clean quad mesh in one click, which you can then touch up manually if needed.
Once retopologized, you can export the model as an FBX or OBJ file to use in other software for texturing and rendering.
Manual Polygon Modeling Workflow
While pattern-based simulation is faster for most realistic clothing, manual polygon modeling is still useful for stylized models, static assets, or game assets where you need full control over the topology. Manual modeling involves shaping the clothing directly on your base body mesh, rather than starting from 2D patterns. This workflow is most commonly done in Blender, Maya, or ZBrush.
Blocking Out the Base Shape
Start with your base body mesh, then duplicate the area where you want to create the clothing. For example, if you’re creating a t-shirt, duplicate the torso and upper arm area of the body mesh, then extrude the edges to create the neckline, sleeves, and hem. Use the proportional editing tool to push and pull the mesh to match your reference: make the hem wider for a loose fit, taper the waist for a fitted t-shirt, and adjust the neckline to the right shape.
Once you’re happy with the overall shape, separate the clothing mesh from the body base, and add thickness to the garment using the solidify modifier. This gives the clothing depth, so it doesn’t look like a flat sticker on the body. Make sure the thickness matches your fabric: a thick wool sweater will have more thickness than a thin silk blouse.
Adding Wrinkles and Details
After blocking out the base shape, you’ll add wrinkles and folds to make the garment look natural. There are two common methods for adding wrinkles manually:
- Sculpting: Use a clay build-up or dam and standard brush in ZBrush or Blender’s sculpt mode to carve wrinkles into the mesh. Focus on areas where fabric naturally bends: the elbows, armpits, waist, and behind the knees. Use your reference photos to match the size and depth of the wrinkles.
- Displacement maps: Use alpha brushes or scanned wrinkle textures to add wrinkles as a displacement or normal map, without changing the base mesh topology. This is a faster method for adding fine details to low-poly models.
For manual modeling, you can also run a quick simulation in your software to get a base layer of wrinkles, then manually adjust them to get the exact look you want. This combines the speed of simulation with the control of manual modeling.
Adding Construction Details
Whether you use a simulation or manual workflow, you’ll need to add small construction details to make the model look realistic. These details include:
- Stitching along all seam lines: Most tools let you auto-generate stitching along seams, or you can model it manually as a small alpha or texture detail.
- Hardware: Buttons, zippers, rivets, and drawstrings can be modeled as separate meshes or added as texture details for low-poly assets.
- Structural details: Darts, pleats, gathers, pockets, and collar stands need to be modeled accurately to match the garment’s construction.
Small details make a big difference: a denim jacket without visible stitching or rivets will look generic and unrealistic, even if the overall shape is correct.
Texturing and Rendering Realistic 3D Clothing
Even a perfectly modeled garment will look flat and unrealistic without proper texturing. Texturing adds color, fabric texture, wear and tear, and subtle details that make the clothing look like a physical object. The most common workflow for texturing 3D clothing uses Substance Painter, though Blender also has built-in texturing tools that work well for beginners.
Creating UV Unwraps
Before you can texture your model, you need to create a UV unwrap, which is a 2D map that tells your software how to project the texture onto the 3D mesh. For clothing, it’s important to keep UV seams along hidden or low-visibility areas, like inside seams or the back of the garment, so the seams don’t show up on the final texture. Most specialized clothing tools can auto-generate a UV unwrap for your garment, which you can then tweak manually if needed.
Building PBR Texture Sets
Most modern rendering pipelines use PBR (physically based rendering) textures, which combine multiple maps to simulate how light interacts with fabric. The key maps for clothing are:
- Albedo/Base Color Map: This defines the base color and any patterns, prints, or logos on the garment. For a plaid shirt, this is where the plaid pattern goes; for a solid t-shirt, this is just the solid base color.
- Normal/Displacement Map: This adds fine surface texture like woven cotton, denim weave, or wrinkles, without changing the base mesh topology.
- Roughness Map: This defines how shiny or matte the fabric is. Cotton and linen are very matte (high roughness), while silk and leather have more shine (low roughness). Stitching is often slightly more matte than the surrounding fabric, and buttons are usually smoother.
- Metallic Map: This defines which parts of the garment are metallic, like zipper teeth or metal buttons. Most fabric is non-metallic, so this map is mostly black for the garment itself, with small white areas for metallic hardware.
You don’t have to create these textures from scratch: there are thousands of free and paid PBR fabric textures available on sites like Poly Haven, TexturingXYZ, and Substance Source, so you can just download a texture for cotton denim or silk and adjust it to fit your garment.
Adding Wear and Tear
New clothing is rarely perfectly clean and pristine, especially for game or VFX characters. Adding subtle wear and tear makes the clothing look more realistic and lived-in. Common details include:
- Fading around high-friction areas like the collar, cuffs, and hem
- Small stains or fraying at the edges of seams
- Pilling on knit fabrics like sweaters
- Crease marks around areas that bend frequently, like the elbows or knees
You can add these details using alpha brushes in Substance Painter, so you don’t have to model them manually. Even subtle wear makes a huge difference in how realistic the final render looks.
Conclusion
Creating 3D clothing models is a skill that combines an understanding of fashion construction, physics, and digital artistry, but it’s far more accessible now than it was even a decade ago. Specialized tools like Marvelous Designer have automated much of the complex simulation work, and free tools like Blender make it possible for beginners to start creating without a large investment in software. The core principles remain the same regardless of your tools: start with good references, always fit your clothing to a accurate base body, and pay attention to the small details like fabric properties, stitching, and texture that make a model look realistic.
The best way to improve is to practice: start with simple garments like t-shirts or hoodies, then work your way up to more complex pieces like tailored jackets or formal gowns. Over time, you’ll develop an eye for how different fabrics drape and what details make a garment look authentic, and you’ll be able to create professional-quality 3D clothing for any project, from fashion collections to video games to film VFX.