
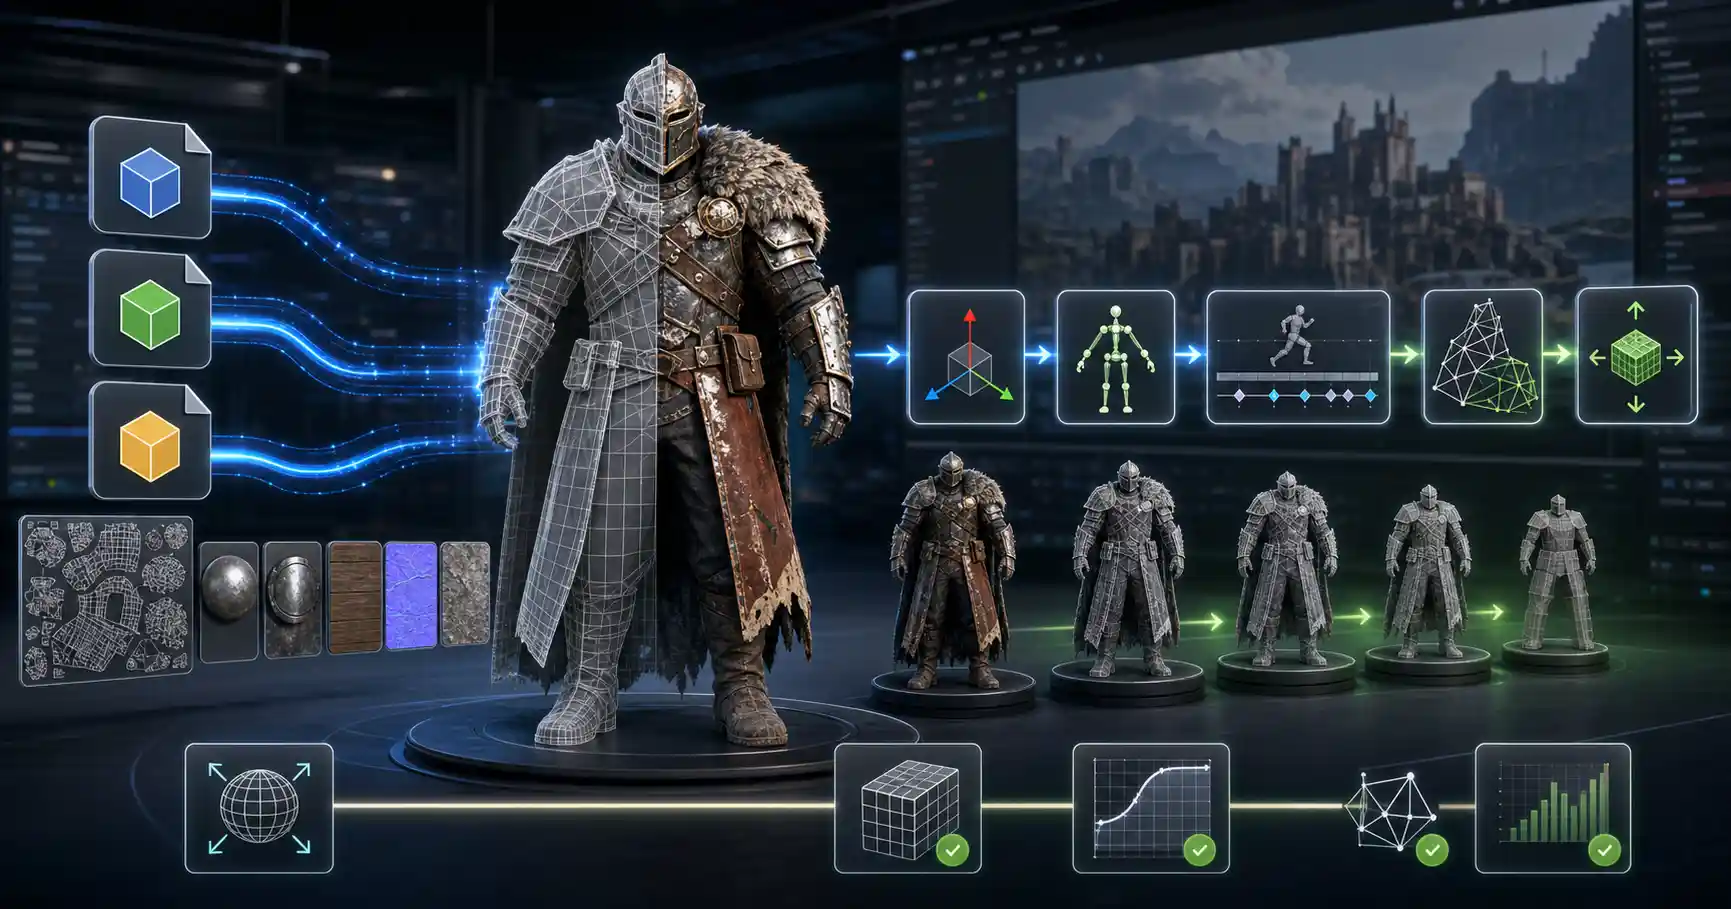
Whether you’re building a first-person indie horror game, designing a product visualization for a client, or prototyping an interactive AR experience, 3D models are the backbone of almost every Unity project. While Unity ships with basic primitive shapes like cubes and spheres, most creators need to import custom models made in external tools like Blender, Maya, or ZBrush to bring their vision to life. For new Unity developers, the import process can feel confusing: model file formats behave differently, setting up materials and animations requires specific steps, and small errors can lead to broken geometry, missing textures, or bloated project files. This guide breaks down every step of importing 3D models to Unity, from preparing your file outside the engine to optimizing it for performance, so you can avoid common mistakes and get your models into your project ready to use.
Preparing Your 3D Model Before Export
The import process actually starts before you ever open Unity. Poor preparation in your 3D modeling software is the most common cause of import errors, from missing UVs to broken normals that leave your model looking grainy or distorted. Taking 15 minutes to clean up your model before export will save you hours of troubleshooting later.
Clean Up Geometry and Topology
Before you export, remove any unnecessary elements from your scene. Delete hidden faces, stray vertices, unused materials, and empty groups that add bloat to your file. If you’re importing a model for a real-time game or interactive experience, keep your polygon count in mind: high-poly models designed for 3D rendering will slow down Unity, so use a decimation modifier or retopologize your model to reduce triangle count while preserving shape. For mobile projects, aim for fewer than 10,000 triangles per character; for desktop AAA projects, you can push up to 100,000 triangles per on-screen character, but always prioritize optimization where possible.
Check UVs and Normals
UV unwrapping is what maps 2D textures to your 3D model, so incorrect UVs will leave your textures stretched or misaligned in Unity. Before exporting, confirm that your UVs have no overlapping faces (unless you intentionally need overlapping for tiling textures) and that you’ve packed UV islands with enough padding to avoid bleeding. For normals, decide whether you want Unity to recalculate your normals or use the normals you’ve already baked in your modeling software. If you’ve manually smoothed hard edges or baked high-poly detail into a normal map, you’ll want to export normals with your file to preserve that work.
Supported File Formats for Unity
Unity supports two main categories of 3D model files: proprietary source files from modeling tools, and generic export formats like FBX and glTF. Many new creators wonder if they can import raw Blender (.blend) or Maya (.ma) files directly into Unity, and the answer is yes—Unity can read these source files natively if you have the modeling software installed on your computer. However, most professional developers prefer to export to FBX, the industry standard for real-time 3D assets. Here’s a quick breakdown of common formats:
- FBX (.fbx): The most widely supported format, compatible with all modeling tools and designed specifically for real-time engines. It supports meshes, textures, materials, rigs, animations, blend shapes, and cameras.
- glTF (.gltf/.glb): A modern open-source format that preserves all model data in a single file, making it ideal for web-based Unity projects and cross-platform sharing. Unity has built-in support for glTF 2.0.
- OBJ (.obj): A simple older format that only supports static meshes and basic material data. It works for static props but does not support animations or rigs.
- Source files (.blend, .ma, .mb): Convenient for rapid iteration, as any changes you make to the source file will automatically update in Unity. However, they are larger than FBX, rely on your modeling software being installed, and can cause compatibility issues when sharing projects with other developers.
When exporting from Blender, Maya, or another tool, make sure to enable the export of location, rotation, and scale (often called “bake transforms”) to avoid unexpected scaling issues in Unity. Also, if you have multiple objects in your scene, you can export them as a single combined file or separate files depending on how you plan to use them in Unity.
Step-by-Step Import Process
Once your model is prepared and exported, getting it into Unity is straightforward. The process is the same whether you’re using Unity 2021 LTS, the latest 2024 tech stream, or any version in between. Follow these steps to import your model correctly.
1. Import the Model File Into Your Project
The easiest way to import a 3D model is to simply drag and drop your FBX (or other format file) directly into the Project window in Unity. Unity automatically copies the file into your project’s Assets folder, where it will be processed and stored. You can also right-click in the Project window, select Import New Asset, and navigate to your saved model file on your computer. Either method works equally well.
As a best practice, organize your assets in logical folders from the start. For example, create a folder structure like Assets/Models/Environments/Castle or Assets/Models/Characters/Player to keep your project organized. Storing all your models in a single messy folder will make it much harder to find assets later as your project grows.
2. Configure Import Settings in the Inspector
When you click on your imported model file in the Project window, the Inspector window will display all of Unity’s import settings. This is where you control what parts of the model are imported, how it’s scaled, and how meshes and animations are processed. Let’s break down the most important settings:
- Model tab: This is where you adjust mesh-related settings. The Scale Factor setting is one of the most common sources of error: different modeling tools use different default units (Blender uses meters by default, Maya uses centimeters, for example), so your model may import 100 times too big or too small. A good rule of thumb: if you modeled your object as 1 meter tall in Blender, set Scale Factor to 1 to get a 1 unit tall object in Unity (since Unity uses 1 unit = 1 meter by default). Check Mesh Compression to reduce file size, but increase the compression level gradually to avoid distorting your geometry. You can also choose whether to import normals from your file or let Unity calculate them here.
- Rig tab: If your model is a static prop with no animation, leave the Animation Type set to None. If it’s a rigged character with skeletal animation, set Animation Type to Humanoid for characters that will use Unity’s animation system and IK, or Generic for non-humanoid rigged objects like mechanical arms. For most human characters, leave the Avatar Definition set to Create From This Model to automatically generate an avatar that works with Unity’s animation tools.
- Animation tab: If you’re importing animations with your model, check Import Animation. You can split a single animation clip with multiple animations (for example, a walk cycle, jump, and attack all in one timeline) into separate clips using the Clips section. Here you can set the start and end frames for each animation and name them for easy access in your project.
- Materials tab: By default, Unity will try to import any materials embedded in your model file. If you prefer to create new materials manually in Unity, you can check Import Materials off, and Unity will just import the model’s mesh and UVs. This is often the cleaner approach, as it lets you use Unity’s modern shader system to match materials to your project’s render pipeline.
3. Spawn the Model in Your Scene
Once you’ve adjusted your import settings, click the Apply button in the Inspector to confirm your changes and reprocess the model. To add the model to your scene, simply drag it from the Project window into the Scene view or Hierarchy window. You can also right-click in the Hierarchy, select 3D Object > Imported Model, and select your model from the project window.
When you drop the model into the scene, it will appear as a GameObject in your Hierarchy. If your model has multiple sub-meshes, they will appear as child GameObjects under the root parent object. You can move, rotate, and scale the model just like any other GameObject in Unity.
Troubleshooting Common Import Issues
Even with careful preparation, you may run into common problems when importing 3D models to Unity. Knowing how to identify and fix these issues will save you hours of frustration. Here are the most frequent problems and their solutions:
Model Is Too Big or Too Small
This is the most common issue new developers face, and it’s caused by mismatched units between your modeling software and Unity. If your model imports as huge enough to fill the entire scene or tiny enough that you can’t even find it, go back to the Model tab in your import settings and adjust the Scale Factor. If your model is 100 times too big, set Scale Factor to 0.01; if it’s 100 times too small, set it to 100. Click Apply and check the size again. As a quick reference: 1 Blender unit = 1 Unity unit when Scale Factor is set to 1, so if you model a human character that’s 1.8 units tall in Blender, it will be 1.8 meters tall in Unity, which is correct.
Textures Are Missing or Pink
Pink materials in Unity almost always mean that the material or texture is missing. By default, when Unity imports a model with materials, it can’t automatically find the texture files unless they’re in the right place in your project folder. To fix this:
- Make sure all texture files for your model are imported into your Unity project’s Assets folder, ideally stored in a dedicated Textures folder next to your model.
- Select the material that appears pink, then in the Inspector, drag the correct texture into the Albedo (or Base Map) slot of the material. If you’re using URP or HDRP, make sure the material is using the correct shader for your render pipeline (for example, the Universal Render Pipeline/Lit shader instead of the default Built-in Render Pipeline standard shader).
- If you’d prefer to reimport all textures automatically, go to the Materials tab of your model import settings, click the Extract Textures button, and select a folder to save them. Unity will extract all embedded textures from your model file into your project automatically.
Broken Geometry or Missing Faces
If parts of your model are missing or look distorted after import, the first thing to check is your normals. Double-sided rendering is not enabled by default in Unity, so if your model has flipped normals, back faces will be invisible and appear as holes in your mesh. To fix this, you can go back to your modeling software, recalculate normals, flip the reversed faces, and re-export. Alternatively, you can enable double-sided rendering on your material by checking the Double Sided Global Illumination box in the material settings, though this has a small performance cost.
Another common cause of broken geometry is too much mesh compression. If your model’s shape looks blocky or distorted after import, go back to the Model tab and lower the Mesh Compression setting (or turn it off entirely) to see if that fixes the issue.
Animations Are Broken or Don’t Play
If your imported animations don’t play correctly, start by checking the Rig tab to confirm you selected the correct animation type. If you imported a humanoid character but set the rig to Generic, the avatar won’t map correctly, and animations will be distorted. For humanoid characters, click the Configure button on the Rig tab to confirm that Unity correctly mapped all the bones to the humanoid avatar. If any bones are missing, you can map them manually.
If animations don’t play at all, check the Animation tab to confirm that Import Animation is checked, and that your animation clips have the correct start and end frames. A common mistake is accidentally setting the end frame before the animation actually ends, resulting in a static or truncated animation.
I’ve seen more new Unity developers get stuck on bad 3D imports than on coding mechanics. The biggest mistake people make is skipping preparation: cleaning up your mesh, checking your units, and organizing your textures before you ever drag the file into Unity will eliminate 90% of the problems you’ll face.
Optimizing Imported Models for Performance
Even if your model imports correctly, a poorly optimized model can drag down your frame rate, increase load times, and make your project incompatible with mobile or web platforms. Taking a few extra steps to optimize your model during import will ensure your project runs smoothly across all devices.
Reduce Polygon Count and Mesh Compression
We mentioned decimating your polygon count before export, but Unity can also help reduce file size with mesh compression. In the Model tab of your import settings, set Mesh Compression to Medium or High depending on how much detail you need to preserve. Higher compression reduces the file size of your model significantly with little to no visible quality loss for most assets. For very large environment models, you can also combine multiple meshes into a single mesh to reduce draw calls—Unity has a built-in Merge Meshes tool, or you can combine them in your modeling software before export.
Use Level of Detail (LOD)
Level of Detail (LOD) is a technique that automatically uses lower-polygon versions of your model when it’s far away from the camera, reducing the number of triangles Unity has to render per frame. Unity makes it easy to set up LODs for imported models:
- In your modeling software, export 2-4 versions of your model with decreasing polygon counts (for example, LOD0 = 10,000 triangles, LOD1 = 5,000 triangles, LOD2 = 1,000 triangles, LOD3 = 100 triangles).
- Import all four meshes into Unity, drag them into your scene, and parent them to the same root GameObject.
- Add a LOD Group component to the root GameObject, then drag each LOD mesh into the corresponding slot in the LOD Group inspector.
- Adjust the camera distance ranges for each LOD so Unity switches to lower detail as the model moves further away.
Unity can also automatically generate LODs for you when you import your model, by checking the Generate LODs box in the Model tab. This is a quick option that works well for many assets, though manually generated LODs usually give better quality.
Optimize Materials and Textures
Importing large, high-resolution textures that you don’t need will bloat your build size and slow down performance. When importing textures for your model, set the maximum texture size in the Texture import settings to match your needs: for a small prop that’s never close to the camera, 1024x1024 is more than enough, while a main character up close can use 2048x2048 or 4096x4096. You can also enable texture compression to reduce file size—for most platforms, the default automatic compression works well, with minimal visible quality loss.
If you have multiple meshes that use the same material, make sure they share the same material instance instead of creating separate copies. This reduces draw calls and improves performance, especially for environments with lots of small props.
Batch Static Objects for Baking
If you’re importing multiple static objects for an environment (like walls, rocks, or trees), mark them as Static in the Inspector by checking the Static box in the top right corner. This enables Unity’s static batching, which combines multiple static objects into a single batch to reduce draw calls, significantly improving performance for large environments. For lightmapping, make sure that Contribute GI is checked in the Static options so Unity can bake lightmaps for your static objects correctly.
Working With Animations and Rigs
Importing rigged and animated models adds an extra layer of complexity compared to static models, but following the right steps will get your animated characters working correctly. If you’re importing a ready-to-animate character from a site like Mixamo or Sketchfab, the process is even simpler, as most pre-rigged models are already exported correctly as FBX files.
For custom rigged characters, after importing the FBX file, navigate to the Rig tab in the Inspector. As a rule of thumb, use Humanoid for any bipedal character that will use Unity’s animation system, inverse kinematics, or animation retargeting. Retargeting lets you use the same animation on multiple different humanoid characters, which saves a huge amount of time when creating multiple player models or NPCs. Use Generic for non-human characters like animals, vehicles, or mechanical objects that don’t fit the standard humanoid bone structure. If you’re unsure, Generic is a safe default that will work for any rig.
When it comes to importing animations, you have two options: import the animations with the character mesh in the same file, or import animations as separate files. For most small projects, keeping the animations in the same file is simpler. If you want to retarget animations from one character to another, import animations as separate FBX files, and assign them to any character with a matching avatar.
One common tip for animation imports: check the Optimize Bone Weights box in the Model tab. This removes any unused bone influences from your mesh, reducing the file size and improving animation performance without any downside for most characters.
Conclusion
Importing 3D models to Unity doesn’t have to be a confusing or frustrating process. The key to success is preparation: cleaning up your geometry, matching your units, and organizing your textures and materials before you export will eliminate most common errors before they happen. Once you import your model, taking the time to configure your import settings correctly for your use case—whether you’re working with a static prop or a fully rigged animated character—ensures your model will work as expected in your scene. Finally, optimizing your models for performance during import keeps your project running smoothly across all platforms, from mobile phones to high-end desktop PCs.
As you gain experience, you’ll develop your own workflow that fits your projects, whether you’re creating models from scratch in Blender or downloading assets from the Unity Asset Store. By following the steps and best practices outlined in this guide, you’ll be able to import any 3D model into Unity with confidence, and focus on what matters most: building your project.