
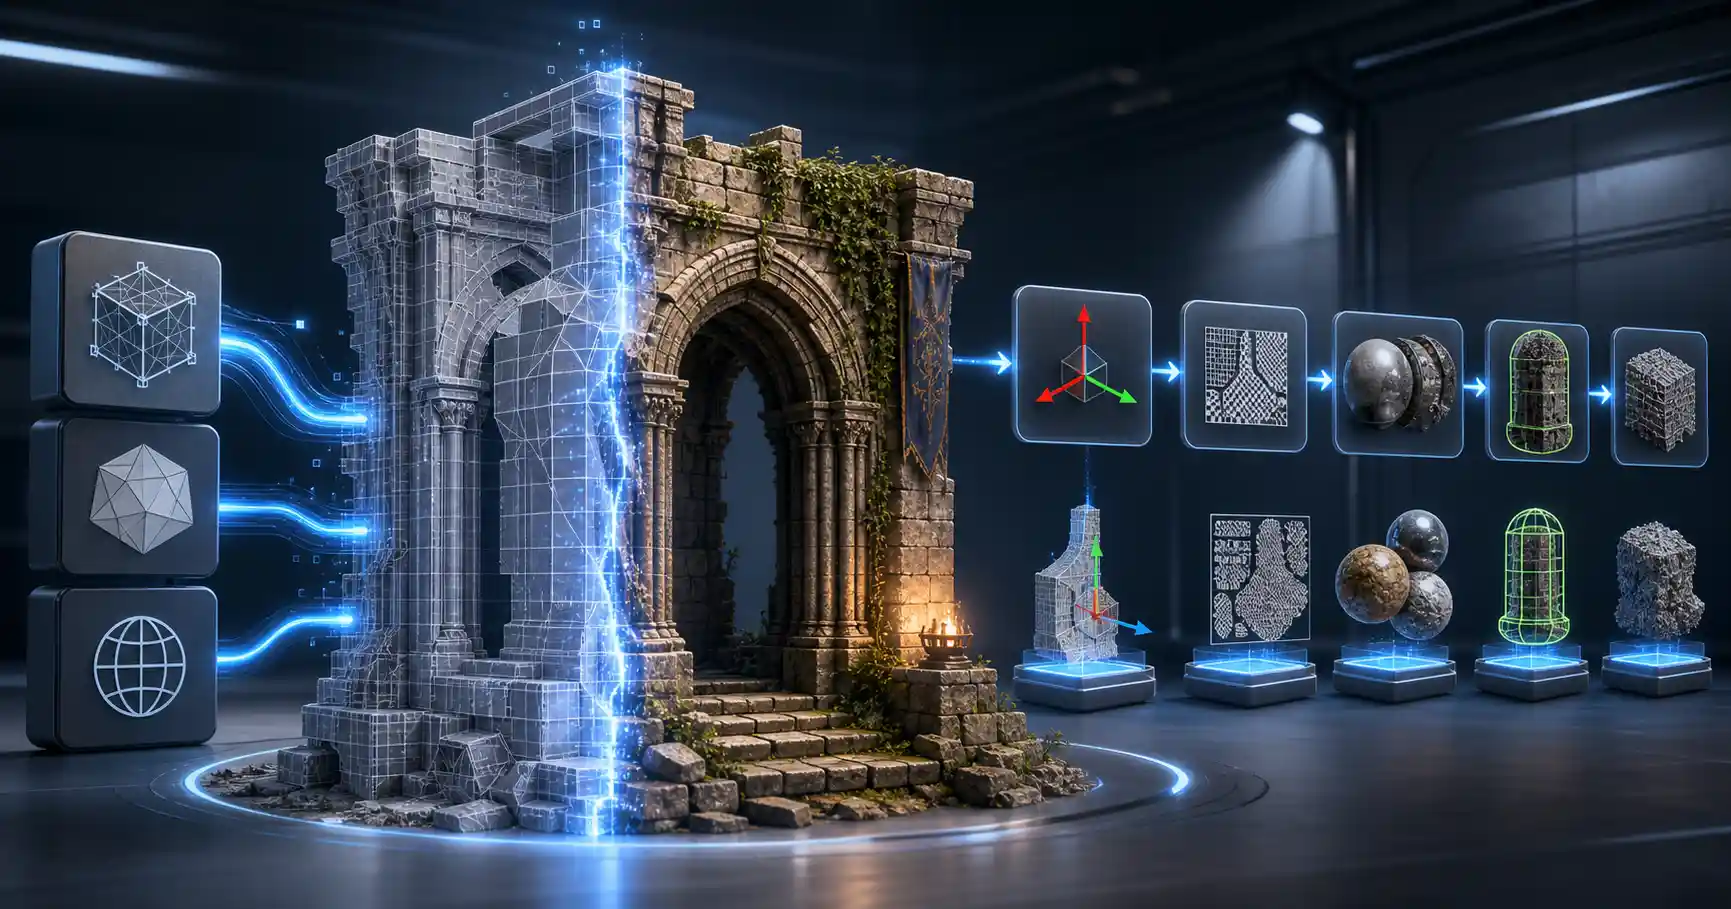
Whether you’re building a cinematic scene, designing a next-gen game, or creating an interactive architectural visualization, the quality of your 3D assets defines what you can achieve in Unreal Engine 5. Epic Games’ flagship engine has redefined real-time graphics with features like Nanite virtualized geometry and Lumen global illumination, but even the most powerful tools are useless if you can’t get your custom 3D models into the editor correctly. Importing 3D models into UE5 isn’t as simple as dragging and dropping a file—small mistakes in scale, orientation, or UV mapping can lead to broken lighting, performance issues, or hours of rework later. This step-by-step guide walks you through every stage of the process, from preparing your model in a third-party 3D tool to troubleshooting common errors in Unreal Engine 5.
Preparing Your 3D Model Before Export
The import process starts long before you open Unreal Engine 5. The most common import errors—from flipped normals to incorrect scale—don’t originate in UE5; they come from poor preparation in your 3D modeling software, such as Blender, Maya, 3ds Max, or ZBrush. Taking 30 minutes to clean up your model before export will save you hours of troubleshooting after import.
Core Geometry Cleanup
Unreal Engine 5’s Nanite technology eliminated the old rule of thumb that you need to keep polygon counts under 10,000 triangles per asset. Nanite can handle billions of polygons directly in the engine, so you no longer need to create multiple levels of detail (LODs) for most assets. That said, bad geometry will still break your import or your final scene. Start by checking for common issues:
- Delete unused vertices, hidden faces, and duplicate geometry that adds unnecessary file bloat. Even with Nanite, extra unused data slows down import and increases your project file size.
- Check for non-manifold geometry: edges connected to more than two faces, open edges, or faces with zero area. Most 3D tools have a built-in "find non-manifold" function to locate and fix these issues, which can cause rendering errors in UE5.
- Fix flipped normals so all faces point outward. While UE5 allows you to recalculate normals after import, fixing this before export ensures consistent shading from day one.
Scale and Orientation
Unreal Engine 5 uses centimeters as its default unit of measurement, which is an industry standard for game development and interactive content. If you model in meters or inches (common in architectural visualization), your model will import at 1/100th or 1/2.54th of its correct size, forcing you to rescale it manually after import. To avoid this, set your 3D tool’s scene unit to centimeters before you start modeling, or adjust the scale during export. For orientation, UE5 uses a Y-up coordinate system for 3D space, while many modeling tools like Blender default to Z-up. Most export dialogues have a checkbox to convert Z-up to Y-up automatically—always check this if you’re working with Z-up, or you’ll end up with your model importing sideways or upside down.
UV Mapping and Texturing Prep
If you plan to use traditional baked textures alongside your model (or even if you’re using the new layered materials in UE5), you need proper UV mapping before export. For non-Nanite assets, and for any asset using baked texture maps, UV unwrapping needs to follow standard rules: avoid overlapping UV islands unless you’re intentionally sharing texture space, add enough padding between islands to prevent texture bleeding, and keep the UV scale consistent across adjacent assets. If you’re using a 3D modeling program that automatically assigns UVs, double-check that they’re clean before export—auto-unwrap features often create messy islands that lead to visible texture artifacts.
You should also organize your textures into a consistent naming convention before import. For example, name your base color map AssetName_BaseColor, your normal map AssetName_Normal, and your roughness map AssetName_Roughness. UE5’s automatic material import tool recognizes these naming conventions and will connect your texture maps to the right slots in your material automatically, saving you a lot of manual setup time.
Choosing the Right File Format for Export
Not all 3D file formats work equally well in Unreal Engine 5. The format you choose depends on what you’re importing—whether it’s a single static mesh, a skeletal mesh with animations, or a full scene with multiple assets—and what data you need to bring into the engine. Below are the most common formats and their use cases.
FBX: The Universal Standard
FBX is the most widely used file format for importing 3D assets into UE5, and it’s supported by every major 3D modeling tool. It supports all the data UE5 needs: geometry, uvs, normals, texture paths, skeletal rigs, animations, and blend shapes. For most users, FBX is the safest choice. When exporting FBX, make sure you use the FBX 2020 or 2021 preset—newer versions can sometimes have compatibility issues with UE5, while older versions don’t support newer features like better normal map encoding.
What should you check when exporting FBX? Enable the options to export smooth groups, embedded textures (if you want to include them in the file, though linking external textures is usually more efficient), and convert your scene orientation to Y-up if needed. For static meshes, you don’t need to export camera or lighting data, so you can disable those options to keep the file size smaller.
glTF: The Modern Alternative
glTF (and its compressed variant, glb) is a newer open standard that’s becoming increasingly popular for Unreal Engine 5 projects. glTF stores 3D data in a compact, efficient format that’s designed for real-time transmission and rendering, which makes it ideal for web-based Unreal projects or large projects with hundreds of assets. UE5 has built-in support for glTF, and it preserves all the same data as FBX, including PBR texture information. The main downside of glTF is that some older 3D modeling tools don’t export it perfectly, so you may run into compatibility issues with complex assets.
Other Common Formats
For users importing assets from sources like Quixel Megascans or Sketchfab, you may encounter formats like OBJ or USD. OBJ is a simple format that works for basic static meshes, but it doesn’t support rigging, animations, or multiple texture sets, so it’s not a good choice for anything more complex. USD (Universal Scene Description) is gaining traction for large collaborative projects, especially in film and architectural visualization, and UE5 has growing support for USD imports. If you’re working with a full scene with multiple layered assets from multiple sources, USD may be a better choice than FBX for preserving hierarchy and organization.
"The biggest mistake new users make is bringing raw, unprocessed models into Unreal Engine 5 without checking the export settings. A 10-second check of unit scale and orientation during export saves an hour of fixing broken assets later."
Step-by-Step Import Process in Unreal Engine 5
Once your model is prepared and exported correctly, importing it into UE5 is straightforward. There are two main ways to import assets: dragging and dropping directly into the Content Browser, or using the Import menu. Both methods work, but dragging and dropping is faster for most users. Below is a step-by-step walkthrough for both static and skeletal meshes, including how to adjust import settings for Nanite and other UE5-specific features.
Importing a Static Mesh
Static meshes are non-animated assets like walls, furniture, rocks, or props—they’re the most common type of 3D asset imported into UE5. Follow these steps for a smooth import:
- Open your Unreal Engine 5 project and navigate to the folder in the Content Browser where you want to store your asset. It’s best practice to organize your assets into folders by type (e.g.,
Content/StaticMeshes/Environment) to keep your project easy to navigate. - Drag your exported FBX or glTF file from your computer’s file explorer directly into the Content Browser. Alternatively, right-click in an empty space in the Content Browser and select Import to to choose your file manually.
- The Import Static Mesh window will open, showing all your import settings. Most of the default settings work well for most assets, but there are a few key settings you need to adjust:
- Transform > Unit Conversion: Check "Convert Scene Unit" to automatically adjust your model’s scale to match UE5’s centimeter units. If you already set your model to centimeters in your 3D tool, this will make no change, but it’s a useful safety net for any scaling mistakes.
- Transform > Orientation: Check "Convert Bend Axis to UE5 Format" if you’re coming from a Z-up modeling tool to automatically correct orientation.
- Geometry: If you’re using Nanite (which you should be for most static assets in UE5), check "Import Nanite". This lets UE5 build the Nanite data for your model during import, so you can take advantage of the engine’s high-polygon rendering capabilities. For very small assets or assets that will be procedurally deformed, you can leave this unchecked, but it’s enabled by default in new UE5 projects for a reason.
- Normal & Tangents: Check "Import Normals" and "Import Tangents" if you baked these in your 3D tool. If you didn’t, leave them unchecked and UE5 will calculate them automatically during import.
- Materials: Check "Import Materials" and "Import Textures" to let UE5 automatically create a material instance and connect your texture maps based on your naming convention.
- Once you’ve adjusted your settings, click Import All if you’re importing multiple files, or Import if you’re importing one asset. Unreal will process the model and add it to your Content Browser folder, along with any textures and materials it created automatically.
Importing a Skeletal Mesh with Animations
Skeletal meshes are rigged assets that you want to animate, like characters, enemies, or moving mechanical parts. The import process is similar to static meshes, but there are a few extra settings to pay attention to:
- When you import a skeletal mesh, you’ll have the option to import the skeleton separately or use an existing skeleton in your project. If you’re importing multiple animations for the same character, use the existing skeleton to keep all your animations linked to the same rig.
- Check "Import Bone Weights" to ensure your skinning data is imported correctly.
- For animations, you can choose to import all animations as a single sequence, split them into separate sequences based on timecode, or import only the skeleton. Most 3D tools export animations as a single take, so you’ll use the split option to break them into individual animations like idle, walk, and jump after import.
- Enable "Import Morph Targets" if your character has blend shapes for facial animations or other deformations.
Working with Nanite During Import
As mentioned earlier, UE5 automatically enables Nanite for imported static meshes in new projects. That means you don’t have to do anything special to get your high-polygon assets working with Nanite—just check the import box, and UE5 handles the rest. If you’re importing an asset that you want to deform (for example, a landscape that you’ll sculpt in UE5, or a cloth asset that you’ll simulate), you’ll need to disable Nanite during import, because Nanite doesn’t support deformed geometry yet. For all other static assets, leaving Nanite enabled gives you the best performance and visual quality.
Post-Import Setup and Optimization
Once your model is imported into UE5, you need to do a little setup to get it ready for your scene. This step ensures your model looks good, performs well, and works with other UE5 features like lighting and collision.
Checking Scale and Placement
The first thing to do after import is drag your model into a blank level to check its scale. If you prepared it correctly, it should be the right size, but it’s easy to make a small mistake in unit conversion that leaves your 2-meter-tall character importing as 2 centimeters tall (or 20 meters tall). To fix incorrect scale after import, you can adjust the Uniform Scale setting in the Static Mesh Editor, or rescale the asset when you place it in the level. It’s better to fix the scale in the Static Mesh Editor, though, because that sets the default scale for every instance of the asset you place in the future.
Adding Collision
Collision is what lets Unreal Engine calculate how objects interact with each other—whether it’s a player walking on a floor mesh, or a projectile bouncing off a wall. If you don’t add collision to your static mesh, the player will fall through the floor, or projectiles will pass straight through props. You can import collision from your 3D modeling tool (by naming collision volumes with a prefix like UCX_ before export), or you can generate collision automatically in UE5 after import. For simple convex shapes, automatic collision works well: open the Static Mesh Editor, go to Collision > Auto-Generate Convex Collision, and UE5 will create a collision volume that matches your model’s shape. For complex static meshes like terrain, you can use a simple box collision or a single convex hull, which is faster for performance than a complex collision mesh.
Setting Up Materials
If you used a consistent naming convention for your textures, UE5 will automatically set up your material for you, but you’ll still want to check it to make sure all the texture maps are connected correctly. Common mistakes include normal maps being imported as 8-bit sRGB instead of linear, or roughness maps being connected to the metallic slot. Open the auto-generated material instance, check each texture slot, and adjust any incorrect connections. If you’re using UE5’s new Substrate material system, you can take advantage of advanced features like multiple material layers and more accurate PBR shading by converting your auto-generated material to a Substrate base material.
Performance Optimization
Even with Nanite handling polygon rendering, there are still a few optimization steps you should take to keep your project running smoothly:
- For large open worlds with hundreds of identical assets, enable Instanced Static Mesh rendering to reduce draw calls. This is especially useful for foliage props like trees and rocks.
- Adjust the Screen Size LOD setting for assets that are viewed from far away. This tells UE5 to stop rendering the asset when it’s smaller than a certain number of pixels on the screen, which improves performance for distant assets.
- Compress your textures appropriately: use BC1 compression for opaque base color maps, BC5 for normal maps, and BC7 for transparent or high-quality color maps. UE5 automatically compresses textures on import, but you can adjust the compression setting to get a better balance between quality and file size.
Troubleshooting Common Import Problems
Even with careful preparation, you can run into issues when importing 3D models into UE5. Here are the most common problems and how to fix them quickly:
Model is the wrong size or upside down
This is almost always a unit or orientation issue during export. Go back to your 3D tool, confirm your scene units are set to centimeters, check the orientation conversion box in the export settings, and re-export. If you don’t want to re-export, you can adjust the scale in the Static Mesh Editor’s Transform settings, and rotate the mesh 90 degrees on the X axis to fix orientation. But re-exporting with the correct settings is the cleaner long-term solution.
Textures are missing or the model is solid gray
If your model imports as solid gray, that means UE5 couldn’t find or load your textures. The most common cause is incorrect file paths: if you moved the texture files after exporting the FBX, the FBX can’t find them. To fix this, import the textures manually into your project, then assign them to the material yourself. Using UE5’s automatic naming convention will prevent this problem 90% of the time, because UE5 will find the textures based on their naming even if the file path is broken.
Model looks grainy or has visible texture bleeding
Texture bleeding is almost always caused by insufficient padding between UV islands. Go back to your 3D tool, increase the padding between UV islands, re-export the model, and reimport. If that doesn’t fix it, check your texture compression settings—too much compression can cause graininess on high-resolution textures.
Nanite is not working on my imported model
If Nanite is grayed out or not working, check if you enabled the Import Nanite option during import. If you didn’t, you can enable Nanite after import in the Static Mesh Editor under the Build menu: just check "Enable Nanite" and rebuild the mesh. The only time you can’t enable Nanite is if your mesh is deformed or uses certain features like World Position Offset, which isn’t compatible with Nanite yet.
Import is crashing UE5
If UE5 crashes during import, the most common cause is a corrupted export file or too much unused geometry. Go back to your 3D tool, clean up unused geometry, check for non-manifold geometry, and re-export with a different FBX version (if you’re using the latest version, try FBX 2020 instead). If you’re importing a very high-polygon model, make sure you have enough free RAM on your computer—UE5 needs enough memory to process the Nanite data for large assets.
Conclusion
Importing 3D models into Unreal Engine 5 is a straightforward process once you understand the key steps that prevent common errors. The most important rule is to prepare your model correctly in your 3D tool before export: clean up your geometry, match UE5’s unit scale and orientation, and organize your textures with consistent naming. Choosing the right file format (FBX for most use cases, glTF for compact modern assets) and adjusting the key import settings for Nanite, materials, and collision will get your asset into the engine ready to use. A little post-import setup—checking scale, adding collision, and optimizing textures—ensures your asset looks good and performs well in your final scene.
Unreal Engine 5’s new features like Nanite have made importing high-quality assets easier than ever, removing the old need to simplify geometry and create custom LODs for most projects. By following the steps in this guide, you can avoid the most common mistakes that new and even experienced users make, and spend more time building your scene instead of troubleshooting broken assets. Whether you’re working on a small indie game, a cinematic, or a large architectural visualization, a smooth import process sets the foundation for a successful project.