
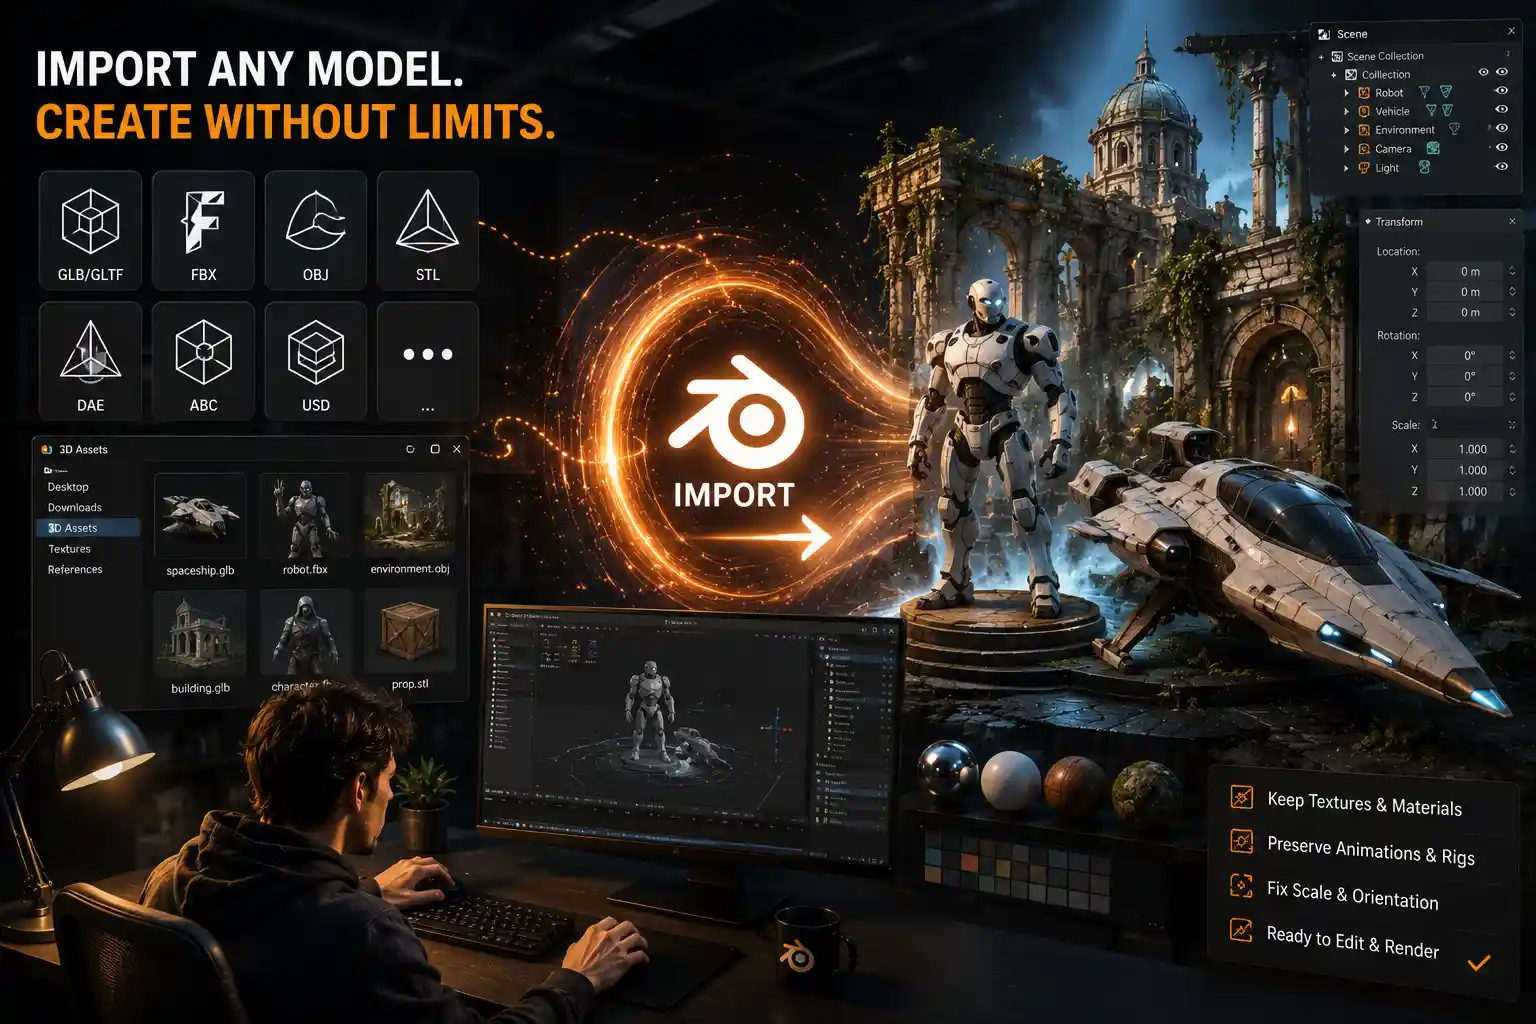
If you’ve ever spent hours sculpting a character or building a game environment from scratch in Blender, you’ve probably wondered: can I skip the groundwork and bring in a pre-made model instead? Whether you’re a freelance 3D artist working to a tight deadline, a hobbyist putting together a fan animation, or a student learning the ropes of 3D design, importing existing 3D models can save you hours of work and open up new creative possibilities. The short answer is yes—Blender supports importing a huge range of 3D model formats, from common industry standards to niche files exported from other tools like Maya, ZBrush, or SketchUp. But the process isn’t always as simple as clicking “import” and getting a perfect, ready-to-use model. File compatibility, broken textures, scale issues, and licensing restrictions can all trip up new and experienced users alike. This guide breaks down everything you need to know about importing 3D models into Blender, from supported formats to step-by-step workflows and troubleshooting common problems.
Which 3D File Formats Does Blender Support for Importing?
Before you try to import a 3D model into Blender, the first thing to check is whether your file type is compatible. Blender’s open-source design means it supports more file formats than most proprietary 3D tools, but not every format works equally well. Some formats preserve full model data like textures, rigging, and animations, while others only import the raw geometry. Below are the most common formats you’ll encounter, and how they perform in Blender.
Universal Standard Formats
These are cross-platform formats designed to work across every major 3D application, and they’re the most reliable choice for importing into Blender.
- GLB/GLTF (Graphics Language Transmission Format): Widely considered the modern standard for 3D model sharing, GLB (the binary version of GLTF) preserves geometry, textures, materials, rigging, animations, and even camera data in a single small file. Blender has built-in support for GLB/GLTF, and imports are almost always error-free. This is the default format for most 3D marketplaces like Sketchfab, and it’s ideal for game assets, AR/VR projects, and animated models.
- FBX (Filmbox): A longtime industry standard developed by Autodesk, FBX is still the go-to format for animated and rigged models used in game development and VFX. It supports all the same data as GLTF, and Blender has had native import support for FBX for many years. That said, older versions of FBX can occasionally have issues with scale or bone rotation when imported into Blender, so it’s best to use the most recent export version when possible.
- OBJ (Wavefront Object): One of the oldest and most widely supported 3D formats, OBJ is a simple format that stores only geometry and texture UV coordinates. It doesn’t support animations, rigging, or embedded materials, so it’s best for static models like architectural assets, 3D printable objects, or environment props. OBJ imports are almost always reliable, though you’ll need to reload textures manually after importing.
- STL (Standard Tessellation Language): The standard format for 3D printing, STL only stores surface geometry with no texture or material data. Blender has excellent built-in support for importing STL files, making it a popular tool for editing and repairing 3D printable models downloaded from sites like Thingiverse.
Niche and Proprietary Formats
If you’re importing a model exported from another 3D software, you may encounter these less common formats. Most work natively or with free add-ons in Blender.
- Formats from other DCC tools: Blender supports native import for ABC (Alembic, used for VFX caching), USD (Universal Scene Description, used in large studio pipelines), and DAE (Collada, an older open standard). For proprietary formats like Maya’s MA/MB or 3ds Max’s MAX, you’ll need to export the model as FBX or OBJ from the original software first, since Blender can’t import these raw files directly.
- SketchUp SKP: Blender doesn’t natively support SketchUp’s SKP format, but the free SketchUp Importer add-on from the Blender Market adds full support, making it easy to import architectural models created in SketchUp.
- ZBrush ZTL: ZBrush’s native ZTL format can’t be imported directly into Blender, but ZBrush can export models as OBJ, GLB, or FBX for import. There are also third-party add-ons that let you import ZTL files directly if you need to preserve subdivision levels.
For most users, sticking to GLB, FBX, or OBJ will eliminate 90% of compatibility issues before you even start the import process. These formats are universally supported on 3D marketplaces and by all major 3D software, so they’re the safest choice when downloading or sharing models.
Step-by-Step Guide to Importing 3D Models into Blender
Importing a 3D model into Blender is a straightforward process, but the exact steps vary slightly depending on whether you’re using Blender 3.0 or later (the current stable version as of 2024) or an older legacy build. This guide assumes you’re using Blender 3.x or 4.x, which is what 90% of users now work with.
Pre-Import Preparation
Before you click import, take two quick steps to avoid common issues: First, check the file format against Blender’s supported list, as we covered above. If you have a proprietary format like SKP or ZTL, export it to a universal format from the original software or install the required add-on first. Second, unzip any compressed files (ZIP, RAR, 7z) before importing. Many 3D marketplaces package models with multiple texture files in a compressed folder, so extracting everything to the same folder will help Blender find textures automatically during import.
- Open Blender and create a new project or open the existing project you want to add the model to. If you’re starting a new project, you can delete the default cube that appears in the viewport by right-clicking it and selecting “Delete,” or leave it in place if you don’t mind extra geometry.
- Navigate to the top menu bar and click File > Import. This will open a dropdown menu with all supported import formats listed. Select the format that matches your 3D model file (for example, if you’re importing a GLB file, click “glTF 2.0 (.glb/.gltf)”.
- Use Blender’s file browser to navigate to the folder where your 3D model is saved. If your model has external texture files, make sure you’re in the same folder that contains both the model file and the textures—this helps Blender automatically locate and link textures during import.
- Adjust import settings in the panel on the right side of the file browser. The default settings work for most models, but there are a few common adjustments you may need:
- For FBX files: Uncheck “Automatic Scale” if your model imports with the wrong size, or check “Import Bones” if you’re bringing in a rigged animated character.
- For OBJ files: Check “Import Materials” if you have a separate MTL material file that goes with your OBJ, to let Blender automatically load material settings.
- For all animated models: Make sure the “Import Animations” box is checked if you want to bring in the model’s existing motion data.
- Click the “Import [filename]” button in the top right corner of the file browser. Blender will process the file and add the model to your viewport.
Once the model imports, it may not appear immediately in your viewport. That’s usually because it’s located far away from the current view or it’s on a hidden collection. To fix this, press the A key twice to select all objects, then press Shift + F or the period key on your numpad to frame the selected objects in your view. This will zoom directly to your imported model automatically.
“Importing a model is only half the process. The other half is cleaning it up: fixing scale, reconnecting missing textures, and retopologizing messy geometry that will cause problems down the line. Even a perfectly imported free model from a marketplace will usually need 10 to 15 minutes of adjustments before it’s ready to use in a project.”
That quote from 3D artist and Blender educator Jonathan Lam points to a common mistake new users make: they expect an imported model to be ready to go straight away, but almost all models require at least minor adjustments after importing. In the next section, we’ll cover the most common post-import issues and how to fix them.
Common Post-Import Problems and How to Fix Them
Even when you follow all the steps correctly, you may run into issues with your imported 3D model. These are the most common problems Blender users face, and simple fixes for each one.
The Model Is the Wrong Scale
One of the most frequent issues after import is a model that’s far too big or far too small for your scene. This happens because different 3D software use different default unit systems: for example, Maya uses centimeters by default, while Blender uses meters. The simplest fix is to use Blender’s Measure tool to check the size of the model against a reference object (like a default 2m cube for a human character), then scale the entire model uniformly. To do this, select all parts of the model, press S to activate scale mode, type the correct scale factor (for example, type 0.01 to shrink a model that’s 100x too big), then press Enter. For a more permanent fix, you can check the “Apply Scalings” dropdown in the FBX import menu and set it to “Unit Scale” before importing, which automatically converts the model’s scale to match Blender’s unit system.
Textures Are Missing or the Model Is All Black
This is the second most common issue, and it usually happens when textures are stored as separate files that Blender can’t locate, or when the model uses a material format that Blender doesn’t support natively. If your model imports as solid gray or black, first check the Shader Editor: switch the shading mode from “Solid” to “Rendered” or “Look Dev” in the top right corner of the viewport. Many new users forget that Blender’s default solid shading doesn’t display textures by default. If it’s still black after switching to Look Dev, check the file path of each texture in the Shader Editor. If the path is red, that means Blender can’t find the image file. Navigate to the texture folder on your computer, re-link the image file, and the texture will appear immediately. For models that use PBR textures (the standard for most modern models), you can use a free add-on like Simple PBR to automatically set up all texture maps (albedo, normal, roughness, metallic) in one click, instead of connecting them manually.
The Model Is Broken or Has Missing Geometry
If your model imports with holes, missing faces, or overlapping geometry, the issue is usually with how the model was exported from the original software, not Blender. First, try re-exporting the model from the original program as a different format—for example, if an OBJ import is broken, try exporting as GLB instead, which handles complex geometry more reliably. If that’s not an option, you can repair missing geometry in Blender using the Merge Vertices tool to close small holes, or the Fill tool to fill larger gaps. For messy models downloaded from 3D scanning sites, you may need to use Blender’s built-in Remesh or Retopo tools to clean up messy geometry before you can use it.
Rigging or Animations Didn’t Import
If you imported a rigged character but the armature or animations are missing, the first thing to check is your import settings. For FBX and GLTF files, make sure the “Import Armature” and “Import Animations” boxes were checked when you imported the model. If you forgot to check them, you’ll need to re-import the model with the correct settings. If the armature imported but the model doesn’t move when you pose it, that usually means the vertex weights (which define how the model deforms with the armature) didn’t import correctly. You can fix this by using Blender’s Auto Weights tool to reassign weights automatically: select the armature, select the model, click Object > Parent > Armature Deform > With Automatic Weights, and Blender will generate new weights that work with the existing rig.
The Model Is Too High-Poly for My Project
Many 3D models—especially 3D scans or models designed for high-resolution rendering—have millions of polygons that can slow down Blender or make your project unworkable. If your imported model is too high-poly, you can reduce its polygon count easily in Blender using the Decimate modifier. Add a Decimate modifier to the model, adjust the “Ratio” slider to reduce the polygon count (a ratio of 0.5 will cut the polygon count in half, for example), and click “Apply” when you’re happy with the balance between detail and performance. For game assets, you can also use Blender’s Remesh tool to create a clean, uniform topology that’s easier to work with.
Legal and Licensing Considerations for Imported Models
Importing a pre-made 3D model into Blender can save you hours of work, but it’s critical to pay attention to the model’s license before you use it in a personal or commercial project. Many new artists accidentally infringe on copyright by using a model they downloaded for free without checking the terms of use, and that can lead to legal issues, takedown requests, or lost revenue. Here are the most common license types you’ll encounter on 3D marketplaces and sharing sites:
- Public Domain (CC0): Public domain models are free to use, modify, and distribute for any purpose, including commercial projects, with no attribution required. This is the safest license for commercial work, and most free models on sites like Sketchfab and BlenderKit are released as CC0.
- Creative Commons Attribution (CC BY): This license allows you to use the model for personal or commercial use, as long as you credit the original creator. Some creators require attribution in the credits of your project or on your website, so make sure you follow the exact terms listed.
- Creative Commons Non-Commercial (CC BY-NC): This license allows you to use and modify the model for personal projects only. You cannot use it in any commercial project that you sell or monetize, without explicit permission from the creator.
- Commercial/ Royalty-Free License: Most paid models from marketplaces like TurboSquid, CGTrader, or the Blender Market come with a royalty-free commercial license that lets you use the model in commercial projects, usually with some restrictions (for example, you can’t resell the model itself as a standalone product, but you can use it in a game, animation, or rendered artwork that you sell).
- Exclusive License: For higher-priced models, some creators offer an exclusive license that gives you sole ownership of the model, so no other user can use it after you purchase it.
A common gray area is models downloaded from file-sharing sites or ripped from existing games, movies, or other copyrighted works. Even if you find a 3D model of a popular movie character available for free download, that model is almost always copyrighted, and using it in a commercial project will lead to a takedown or copyright claim. If you want to use copyrighted characters in fan art, that’s usually acceptable for personal non-commercial use, but you can’t monetize it without permission from the copyright holder.
For most Blender users, the best place to find legally safe models to import is: Sketchfab (which has a huge library of free CC0 models), BlenderKit (a subscription service with thousands of high-quality royalty-free models for Blender), CGTrader, and TurboSquid (for paid commercial models). All of these platforms clearly list the license for every model, so you know exactly how you can use it before you download.
Top Tips for Working with Imported Models in Blender Projects
Once you’ve imported and cleaned up your model, there are a few best practices that will make your workflow smoother and help you avoid issues later in your project.
First, organize your model into collections immediately after import. Blender puts all imported objects into the active collection by default, which can quickly clutter your scene if you’re importing multiple models. Create a new collection for each imported asset, name it clearly (for example, “Living Room Couch” instead of “Object_012”), and move all parts of the model into that collection. This makes it easy to hide, select, or move the entire model later, and keeps your outliner from becoming a mess of unlabeled objects.
Second, apply all transformations after you adjust the scale and position of your model. When you scale or move a model in Blender, the software stores the transformation as a separate data value, rather than applying it directly to the model’s geometry. This can cause issues when you export the final project, or when you use modifiers like Subdivision Surface on the imported model. To fix this, select all parts of the model, press Ctrl + A to open the Apply Transform menu, then select “Scale” and “Location” to apply the transformations permanently. This takes 10 seconds and prevents a lot of frustrating issues later.
Third, check for overlapping materials and merge them if possible. Many exported models have duplicate materials (for example, “Metal” and “Metal.001”) that add unnecessary bloat to your project file. Go to the Material Properties panel, delete any duplicate materials, and reassign the correct material to all faces that use the duplicate. This will reduce your project file size and make it easier to adjust materials later.
Finally, if you’re importing multiple models from the same source or project, save your import settings as a preset. Blender lets you save custom import settings for each format, so if you frequently import FBX files with the same scale settings, you can save the preset and select it in one click next time, instead of adjusting the settings every time. This is a small time-saver that adds up if you import models regularly.
Conclusion
Blender’s robust import support makes it one of the most flexible tools for working with 3D models from any source. Whether you’re importing a 3D printable STL to edit, a rigged game character from Sketchfab, or an architectural model from SketchUp, Blender can handle almost any file format with the right settings or a free add-on. The key to a smooth import process is sticking to universal formats like GLB, FBX, or OBJ when possible, checking your import settings before you click import, and knowing how to fix common issues like missing textures or wrong scale after import. Most importantly, always check the license of any model you import to make sure you’re using it legally, especially for commercial projects.
For new Blender users, importing pre-made models is also a great way to learn: you can examine how other artists structure their models, rig their characters, and set up materials, and use those techniques in your own work from scratch. As long as you follow best practices for cleaning up and organizing imported assets, they can be a huge time-saver and a valuable addition to any Blender project.