
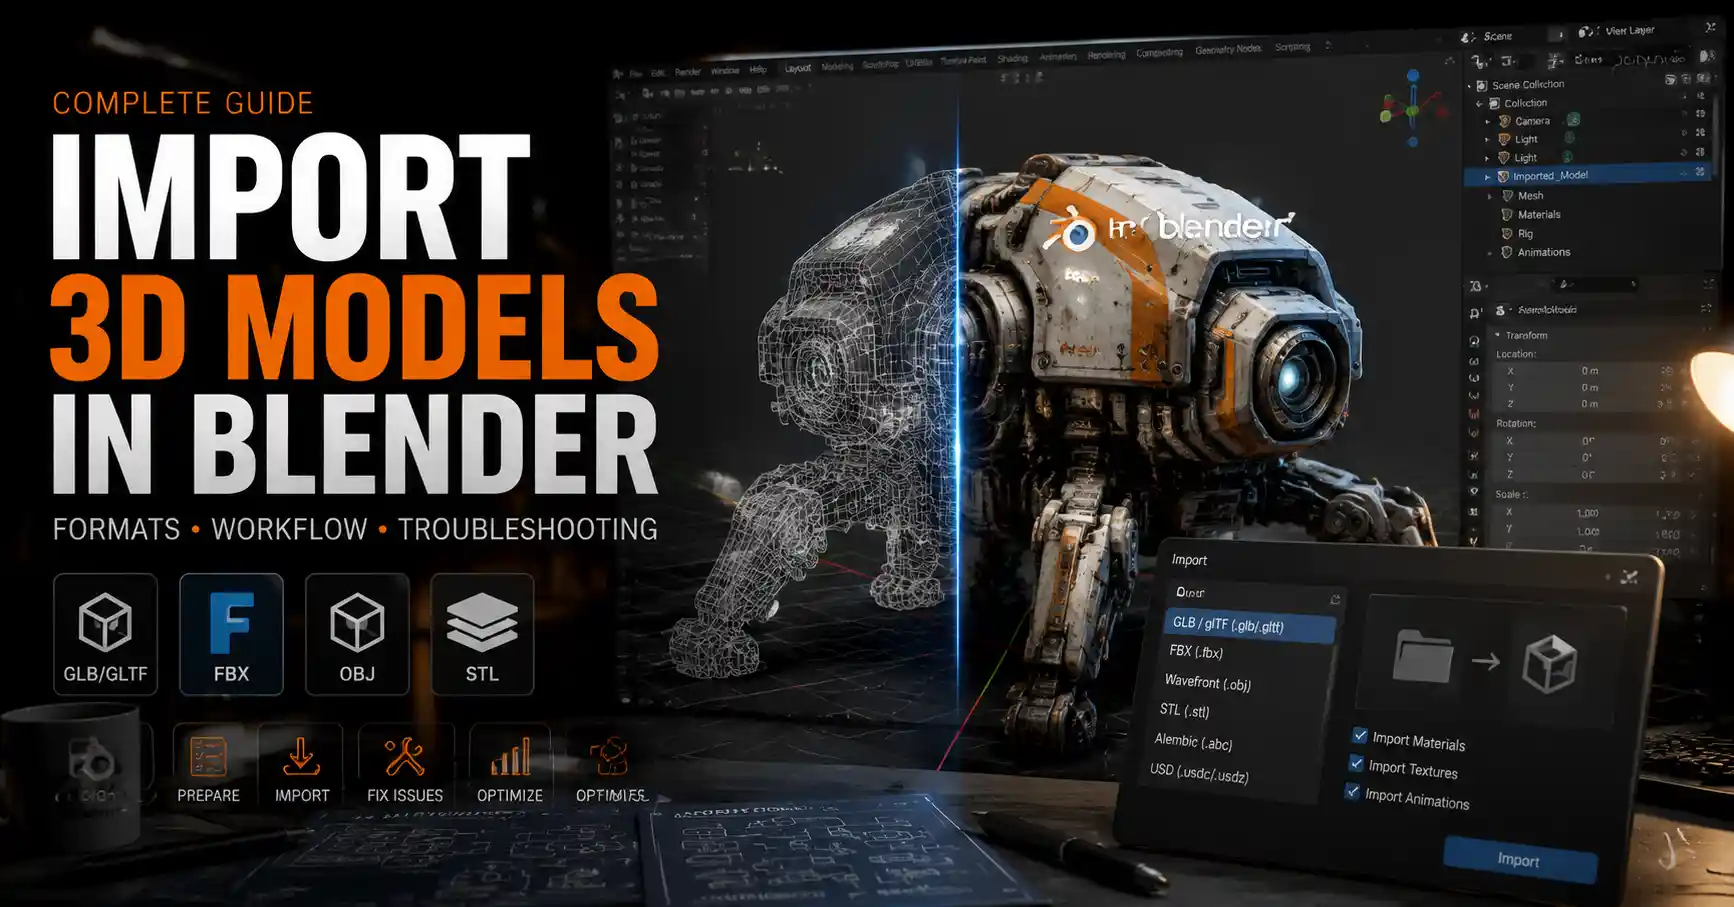
Whether you’re a 3D artist building a scene from multiple assets, a game developer integrating custom models from online marketplaces, or a hobbyist experimenting with designs created in other software, knowing how to import 3D models into Blender is a foundational skill. Blender’s open-source flexibility means it supports dozens of file formats, but that variety can also lead to confusion: why does your imported model look broken? Why are textures missing? How do you fix scaling issues that throw off your entire project? This step-by-step guide walks you through every stage of the process, from preparing your model before import to troubleshooting common problems that even experienced users encounter.
Preparing Your 3D Model for Import
Before you even open Blender, taking a few minutes to prepare your 3D model will save you hours of troubleshooting later. Not all 3D files are created equal, and small issues with the original file can cause major problems once you bring it into your Blender project. Preparation looks different depending on where your model comes from, so we’ve broken down the most common scenarios.
Models Downloaded From Online Marketplaces
Platforms like Sketchfab, TurboSquid, CGTrader, and Poly Haven host thousands of free and paid 3D assets, but these files often come packaged with extra data that can clutter your Blender scene. First, check what file formats are available for download. For best results with Blender, prioritize these formats when choosing your download:
- GLB/GLTF: Ideal for models with embedded textures and simple topology; this format preserves materials and node setups better than most alternatives for general use.
- FBX: The go-to format for animated models and assets created in programs like Maya, 3ds Max, or ZBrush; it supports rigs, skinning, and multiple object hierarchies.
- OBJ: A common legacy format that works well for static models, but it usually saves textures as separate files rather than embedding them in the main file.
- STL: Only for raw mesh data; used primarily for 3D printing, it does not support textures or materials at all.
After downloading, unzip the file to a dedicated project folder on your hard drive. Keep all texture files in the same folder as the main 3D model file—if you move textures after import, Blender will lose the file path and display your model as a solid gray. For paid assets, check if the model includes multiple LODs (level of detail) versions; keep only the LOD you need for your project to keep your Blender file size manageable.
Models Created in Other 3D Software
If you’re exporting a model from another program to bring into Blender, double-check your export settings before saving. For example, when exporting from ZBrush, enable “Composite” and “Flip UVs” if you’re using an FBX to avoid flipped texture mapping. When exporting from SolidWorks or other CAD programs, reduce polygon count if possible—high-poly CAD models can have millions of extra faces that will slow Blender to a crawl before you even start editing. It’s also good practice to apply scaling and rotation in your original software before export, which prevents mismatched transforms when you import into Blender.
Step-by-Step Import Process for Common File Formats
Blender’s import menu is designed to be intuitive, but each file type has unique settings that can change how your model appears in the viewport. Below, we break down the import process for the most widely used formats, with optimal settings for different use cases.
Starting the Basic Import Workflow
No matter what file type you’re importing, the initial steps to open the import menu are the same. Open Blender and create a new project or open the existing project you want to add the model to. If you start with the default General project, you can keep the default cube and camera, or delete the cube to make room for your new model. To access the import menu, navigate to the top left of the Blender window and click File > Import. You’ll see a list of all supported file formats; simply click the format that matches your downloaded or exported model. From there, a file browser will open, allowing you to navigate to the folder where you saved your model. Select the main model file, then adjust the import settings on the right-hand side of the browser before clicking the “Import” button in the top right corner.
Importing GLB/GLTF Files
GLB and GLTF have become the standard for shareable 3D assets because they pack all textures, materials, and model data into a single file (for GLB) or a small set of linked files (for GLTF). Blender has built-in support for these formats, so you don’t need any extra add-ons to import them. For most use cases, the default import settings work perfectly: keep “Import Cameras” and “Import Lights” unchecked if you only want the model, and check “Import Materials” and “Import Textures” to bring over all shading data. If your model has animations, leave “Import Animations” checked to bring those into Blender’s timeline. Once you adjust the settings, select your .glb or .gltf file and click “Import.” In most cases, your model will appear fully textured and ready to use within a few seconds.
Importing FBX Files
FBX is the most common format for animated and rigged models, so it’s widely used for game assets and character designs. The default import settings for FBX in Blender work for most cases, but there are a few key adjustments to make depending on your model. If you’re importing a rigged character with animations, check “Automatic Bone Orientation” to prevent issues with bone rotation that can break your rig. If your model was exported from a program that uses a different forward axis (like Maya, which uses Y as the up axis instead of Blender’s Z), the “Forward” and “Up” dropdown menus in the import settings will automatically correct the orientation—for most programs, setting Forward to `-Z Forward` and Up to `Y Up` will fix any axis flipping. Keep “Import Materials” and “Import Textures” checked, and if you’re importing multiple objects as a single FBX, leave “Groups” checked to keep them organized as separate objects in Blender’s Outliner.
Importing OBJ Files
OBJ is a simple, widely compatible legacy format that works well for static models, but it almost always stores textures as separate files instead of embedding them. When importing an OBJ, the most important setting is “Import Materials”—make sure this is checked so Blender automatically searches the same folder for your MTL (material template) file that links to the texture images. If you don’t check this box, your model will import as a solid gray mesh even if you have the texture files in the right folder. Like FBX, OBJ can have axis orientation issues, so adjust the Forward and Up settings if your model imports sideways or upside down. Once imported, you may need to reconnect the textures manually in the Shader Editor if the MTL file didn’t load correctly, which we’ll cover later.
Importing STL Files
STL files only store raw mesh geometry, no materials, textures, or animations. They’re almost exclusively used for 3D printing. When importing an STL, you don’t need to adjust any special settings beyond the file location. Just select your STL file and click import. The model will import as a solid gray mesh, which you can then edit, repair, and export for 3D printing. If you plan to 3D print the model, use Blender’s 3D Print Toolbox add-on (enabled in Preferences > Add-Ons) to check for holes or non-manifold geometry after import.
Fixing Common Issues After Import
Even with careful preparation, it’s common to run into issues after importing a 3D model into Blender. Most problems have simple fixes, and knowing what to look for will help you resolve them in minutes. Below are the most common issues and step-by-step solutions for each.
The biggest mistake new Blender users make after import is ignoring transforms. A model that looks fine in the viewport can have hidden scaling issues that break modifiers, simulations, and export later on.
Missing Textures and Gray Models
This is the most common issue, especially with OBJ and older FBX files. If your model imports as solid gray, the first thing to check is the file path for your textures. Open the Shader Editor (make sure you’re in “Object Mode” and selected your model, and set the Shader Editor to “Use Nodes” in the header). Look for the Image Texture node in your material setup. If the file path is red, that means Blender can’t find the texture image. Click the file name on the Image Texture node, navigate to your project folder where you saved the textures, and select the correct image. Repeat this for any other texture maps (normal, roughness, displacement) that are missing. For GLB files that import without textures, make sure you’re using Blender 3.0 or newer—older versions had incomplete GLB support that often caused missing materials.
Incorrect Scale and Orientation
It’s extremely common for imported models to be the wrong size: a character model might be 100 meters tall when it should be 2 meters, or a coffee mug might be so small you can’t see it in the viewport. To fix this, first select your imported model, then press N to open the Transform sidebar on the right. Check the Scale values—if they’re something like 0.01 or 100, that’s your problem. Once you’ve adjusted the scale to the correct size (for reference, the default Blender cube is 2 meters on each side), you need to apply the scale. To do this, press Ctrl + A to open the Apply menu, then select “Scale.” This locks in your new scale and prevents issues with modifiers later. For orientation issues (your model is sideways or upside down), go back to the import settings and double-check the Forward and Up axis settings—re-importing with the correct axis is faster than manually rotating and applying transforms in most cases.
Too Many Polygons and Slow Performance
If your imported model causes Blender to lag or stutter when you move the viewport, it’s likely because the model has far more polygons than you need for your project. This is especially common with CAD models or high-poly sculpts downloaded from marketplaces. There are two easy fixes for this:
- Use Blender’s built-in Decimate Modifier. Select your model, go to the Modifiers tab (the wrench icon in the Properties panel), add a Decimate Modifier, and adjust the “Ratio” slider to reduce the polygon count. A ratio of 0.5 will cut the polygon count in half, and you can go as low as 0.2 for background assets without noticeable quality loss. Click “Apply” once you’re happy with the result.
- If you need to keep the high-poly model for rendering or displacement mapping, enable Viewport Subdivision turned off and only enable it when you need to work on fine details. This keeps the viewport lightweight while preserving the high-poly data for final renders.
Broken Normals and Black Facets
If your imported model has strange black patches or inverted faces that look see-through, the issue is almost always incorrect normals. Normals are directions that tell Blender which side of a face is the front and which is the back. To fix this, select your model, enter Edit Mode by pressing Tab, press A to select all faces, then click Mesh > Normals > Recalculate Outside in the top menu. This will flip all normals to point outward, which fixes most black face issues. If there are still a few inverted faces, select them individually in Edit Mode and press Alt + N to flip their normals manually.
Organizing Imported Models in Your Blender Project
Once your model is imported and all issues are fixed, taking a few steps to organize it will make your workflow much smoother, especially if you’re working on a large scene with multiple assets. Good organization prevents you from losing track of objects, reduces file bloat, and makes it easier to export your final project later.
Combine Objects or Separate Them As Needed
Sometimes an imported model comes as a single mesh when you need it to be separate objects, or as dozens of small objects when you want it to be one. For example, a table model might import as separate objects for the table top and four legs, but you want to move it as a single piece. To combine multiple objects into one, select all the objects you want to join in Object Mode, then press Ctrl + J to join them into a single mesh. If you need to separate a single mesh into multiple objects (for example, if you want to change the material of the handle of a cup that imported as one mesh), enter Edit Mode, select the faces you want to separate, then press P and select “Selection” to split them into a new object.
Use Collections to Keep Your Outliner Clean
Blender’s Collections system is designed to organize multiple objects in a scene. After importing a model (or multiple models from the same asset pack), create a new Collection by clicking the “New Collection” button in the Outliner, name it something descriptive like “Living Room Couch” or “Main Character,” then drag all objects related to that model into the new collection. You can disable visibility of the entire collection by clicking the eye icon next to the collection name, which is useful when you’re working on other parts of the scene and don’t need the imported model to clutter your viewport.
Pack External Resources Into Your Blender File
If you plan to share your Blender project or move it to another computer, you should pack all external textures into the .blend file to avoid broken file paths. To do this, click File > External Data > Pack Resources. This embeds all texture images and other external files directly into the Blender file, so you don’t have to worry about moving textures separately. Keep in mind that this will increase the size of your .blend file, so it’s best to only pack resources when you’re done with the project or ready to share it. If you just need to copy the project to another computer and keep textures linked, use File > External Data > Copy Resources to Project Folder to automatically move all texture files into the same folder as your .blend file.
Advanced Tips for Special Use Cases
For standard static models, the steps above will cover almost all your needs. But if you’re working with animated models, multi-object assets, or files from professional CAD software, these advanced tips will help you avoid common pitfalls.
Importing Rigged and Animated Models
When importing a rigged character with animations (like a model downloaded from Mixamo or exported from Maya), always keep “Import Animations” and “Import Bones” checked in the FBX import settings. After import, check the Blender timeline to make sure all animation clips are imported correctly—some FBX exports combine multiple animations into one timeline, so you may need to split them into separate actions in the Dope Sheet. To fix bone scaling issues, select the armature after import, press Ctrl + A, and apply “Scale” to all bones to prevent deformation issues when you animate.
Importing CAD Models for Engineering or 3D Printing
CAD models from programs like Fusion 360, SolidWorks, or AutoCAD often have very high polygon counts and messy topology when imported into Blender. For these files, use the “Import as Mesh” option if available, and after import, use the Remesh Modifier to clean up messy geometry before you edit it. If you have a STEP file (the standard CAD format that Blender doesn’t support natively), export it as an STL or FBX from your CAD software first, or use the free STEP Import add-on for Blender to import it directly.
Batch Importing Multiple Models at Once
If you need to import dozens of models into the same scene (for example, a set of environment assets for a game), you don’t have to import them one by one. Blender supports batch importing through the file browser: just hold Ctrl (Windows/Linux) or Cmd (Mac) and click all the model files you want to import, then click the “Import” button. Blender will import all of them in order, placing each one in a separate object in your scene. For even better organization, enable the “Import into New Collection” option in the import settings to put all imported models into a single new collection automatically.
Conclusion
Importing 3D models into Blender doesn’t have to be confusing, even when things go wrong. By preparing your files before import, choosing the right file format for your use case, and knowing how to fix common issues like missing textures or incorrect scaling, you can integrate almost any 3D asset into your Blender project in minutes. The key takeaway is to keep your files organized, keep all textures in the same folder as your model and Blender file, and always apply transforms after adjusting scale to avoid hidden issues later. Whether you’re building a 3D printable model, a game scene, or an animated short, mastering this foundational skill will speed up your workflow and open up a world of custom assets you can integrate into your work.