
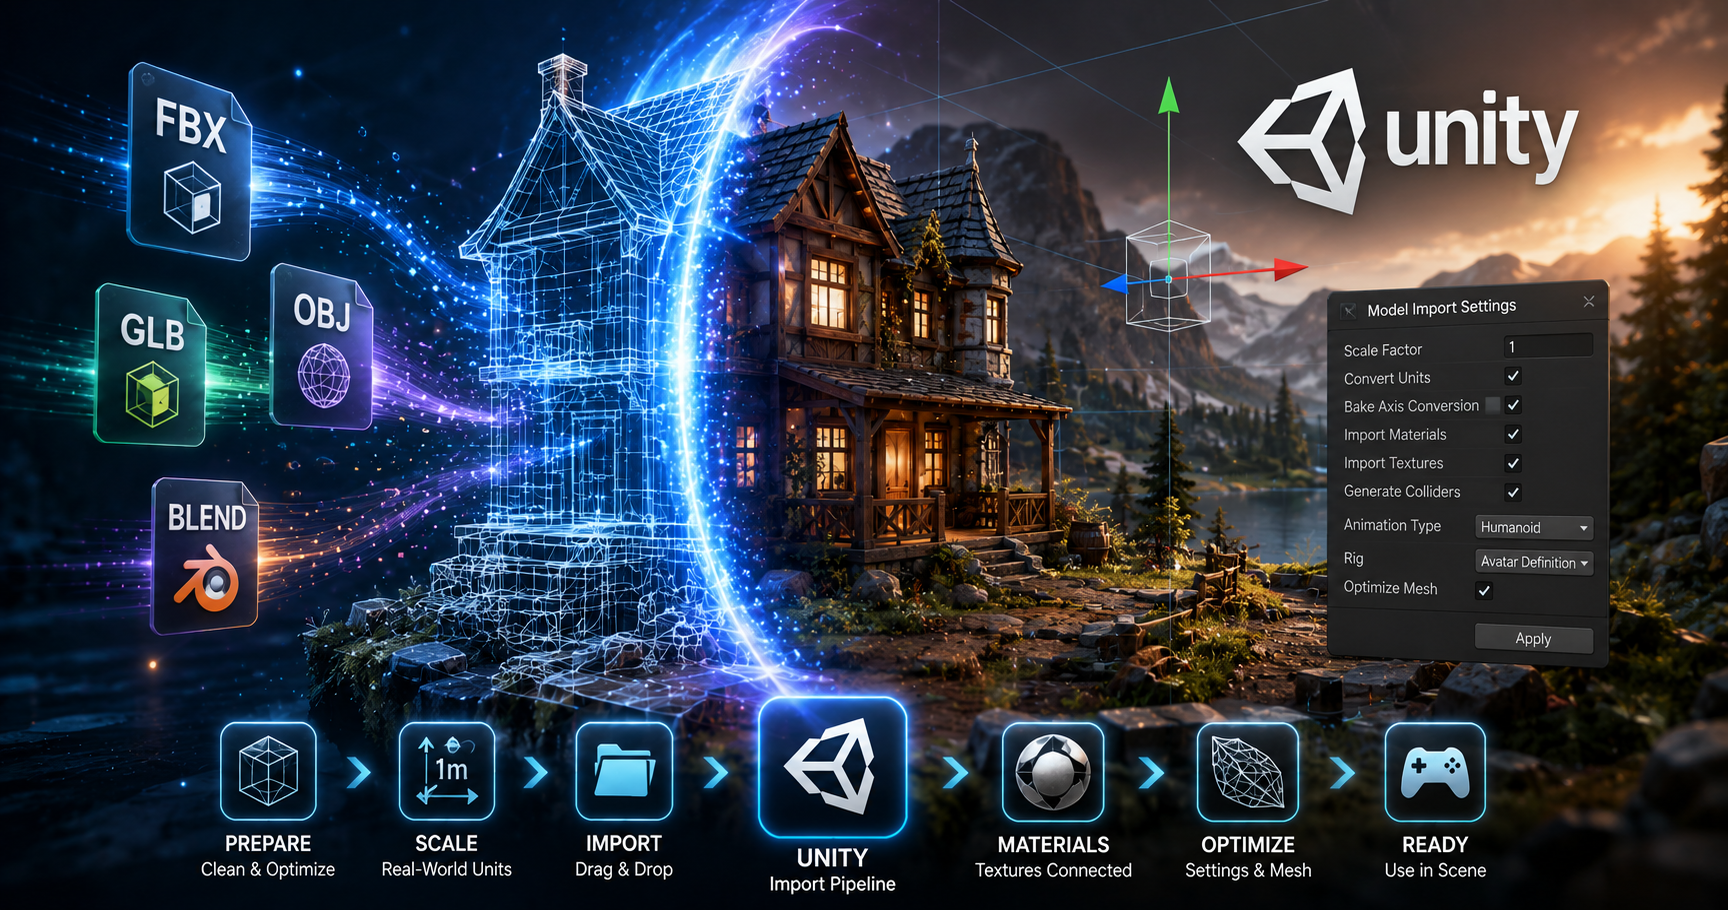
Importing custom 3D models is one of the first core skills every new Unity developer learns, and it remains a critical step for building everything from indie mobile games to AAA VR experiences. Whether you’re importing a simple crate for a platformer, a complex character for an open-world adventure, or a architectural model for an interactive visualization, a smooth import process prevents frustrating bugs, performance issues, and broken assets down the line. Many new developers struggle with inconsistent model scaling, missing textures, or broken animations after import, but these problems are almost always avoidable with the right preparation and settings. In this guide, we’ll walk through every step of importing 3D models into Unity, from prepping your file in a 3D modeling tool to troubleshooting common issues that pop up after import.
Preparing Your 3D Model for Unity Before Export
Before you even open Unity, the most important work to ensure a smooth import happens in your 3D modeling software of choice, whether that’s Blender, Maya, 3ds Max, or ZBrush. Unity supports dozens of 3D file formats, but not all are created equal, and poor preparation at this stage leads to 90% of the most common import errors.
Choose the Right File Format
Unity natively supports two primary file types for 3D models, with different use cases for each. The most common for working developers is the FBX format, which is universally compatible across 3D tools and preserves mesh data, materials, textures, and animations reliably. The other popular option is GLB/GLTF, an open-source format that is ideal for web-based projects or assets that need to include all texture data in a single file. Some developers prefer to export native files like .blend or .ma directly into Unity, but this approach requires the original modeling software to be installed on every machine working on the project, making it a poor choice for team environments.
For most use cases, FBX remains the industry standard. When exporting, always choose the FBX 2018 or 2020 version—newer versions can sometimes cause compatibility issues with current Unity builds, while older versions may lack support for modern features like 4K texture arrays or blend shape data.
Check Common Pre-Export Settings
Before you export your model, there are a few key checks that will save you hours of rework later. Unity uses a Y-up coordinate system by default, which matches most 3D modeling tools, but some programs default to Z-up, which will import your model upside down or rotated incorrectly. Always make sure your export settings match Unity’s coordinate system to avoid manual rotation fixes after import.
Scaling is another common pain point. Unity measures all objects in meters by default, so modeling your asset at real-world scale before export will make integration much easier. A 2-meter tall human character should be 2 units tall in your modeling software, which will translate directly to 2 meters in Unity. If you model a character at 200 units because you’re working in centimeters, you’ll end up with a 200-meter giant in your scene that requires manual scaling fixes. A quick real-world scale check before export eliminates this issue entirely.
Finally, clean up your model before export to remove unnecessary data that will bloat your Unity project:
- Delete any hidden or unused objects, extra cameras, or lights from your model file
- Combine duplicate materials where possible to reduce draw calls later
- Remove unneeded edge loops or extra geometry that doesn’t contribute to the model’s final shape
- Apply all scale, rotation, and location transforms to your mesh to avoid unexpected offset after import
These simple steps cut down on file size and eliminate many of the most unexpected import errors.
The Step-by-Step Import Process Into Unity
Once your model is prepped and exported, importing it into your Unity project is straightforward, but understanding how Unity organizes assets and applies import settings will help you avoid mistakes. Unity treats all imported assets as part of your Project window library, so you’ll never import a model directly into your scene—instead, you import it to your library, then drag it into your scene from there.
Basic Drag-and-Drop Import
The quickest way to import a model is to simply drag your exported FBX or GLB file directly from your computer’s file explorer into Unity’s Project window. You can also copy the file into your project’s Assets folder through your operating system’s file manager, and Unity will automatically detect and import it when you return to the editor. Either way, Unity will process the file and create three core assets by default: the 3D mesh, a prefab, and one or more materials that reference your model’s textures. If your textures are saved in the same folder as your FBX, Unity will usually automatically connect them to the material during import, but you may need to reassign them manually if they’re saved elsewhere.
Organizing Your Project Assets
Good project organization keeps your import process manageable, especially as you add dozens or hundreds of models to your project. Many new developers dump all models into a single "Models" folder, but this gets unwieldy quickly. A common industry practice is to organize assets by type or by game level. For example, you might have a folder structure like this:
- Assets > Models > Environment > Desert > Rocks
- Assets > Models > Characters > Player
- Assets > Models > Props > Furniture > Chairs
Keeping textures in the same folder (or a subfolder named Textures) next to their corresponding model also helps Unity automatically connect materials during import, so you don’t have to hunt for missing textures later.
Understanding the Model Import Settings Inspector
When you click on your imported model in the Project window, the Inspector window will display all of Unity’s import settings for that asset. This is where you customize how Unity processes your model, and incorrect settings here are the second most common cause of import issues after poor pre-export preparation. The Inspector is divided into several key tabs, the most important of which are the Model, Rig, Animation, and Materials tabs.
One of the most common mistakes new Unity developers make is ignoring import settings and leaving everything at the default. The default import settings are designed for general use, but they’re rarely optimal for your specific model or project. Taking two minutes to adjust settings after import saves hours of debugging later.
For static models like environment props or architectural assets, most default settings work fine, but you’ll still want to double-check a few key values. For animated characters or moving objects, you’ll need to adjust additional settings to get animations working correctly. We’ll break those down in the next section.
Configuring Import Settings for Different Model Types
Not all 3D models are the same, so your import settings should change depending on what you’re using the model for. Below we’ll cover the most common model types and the optimal settings for each.
Static Models (Environment, Props, Architecture)
Static models are objects that don’t move or deform in your scene—things like walls, rocks, trees, furniture, and level geometry. For these models, your primary goal is to optimize polygon count and enable Unity’s built-in optimization features like static batching to improve performance.
Start in the Model tab of the Import Settings:
- Check the Scale Factor: If you modeled your asset at real-world scale, set this to 1. If you modeled in centimeters, set this to 0.01 to convert to Unity’s meter scale. Click the "Apply" button and drag a new instance into your scene to check if the size feels correct before moving on.
- Check Mesh Compression: Setting this to Medium or High reduces file size and memory usage with little to no visible quality loss for most static models. Use Low or Off for high-priority models that need perfect edge quality.
- Enable Read/Write Enabled only if you plan to modify the mesh at runtime via script. For most static models, leaving this off saves memory.
Next, move to the Rig tab. For any static model that doesn’t have animations, set the Animation Type to None. This tells Unity not to waste processing power looking for animation data that doesn’t exist.
Finally, in the Materials tab, you can choose to let Unity import materials from your FBX, or create a new material manually. If you’ve already set up your material project-wide, you can disable "Import Materials" and assign your existing material manually to keep project consistency. Always click "Apply" after changing any import settings to save your changes.
Animated Character Models (Rigged Characters)
Rigged and animated characters require additional configuration to get bone weighting and animations importing correctly. Most characters use a skinned mesh renderer that allows the mesh to deform when the bones of the rig move, so Unity needs specific settings to import the rig correctly.
Start with the same basic checks in the Model tab: confirm scale, set mesh compression, and leave Read/Write Enabled enabled if you plan to modify the mesh at runtime. Most characters use blend shapes for facial animations, so make sure "Import Blend Shapes" is checked if your model includes them.
Next, the Rig tab is the most critical part of importing a rigged character. Set Animation Type to Humanoid if you’re importing a human-shaped character that will use Unity’s animation retargeting system—this allows you to reuse animations from other humanoid characters without adjusting them. Set it to Generic for non-human characters like animals, robots, or creatures that don’t match the human bone structure. Choose Legacy only if you’re working with older projects that use Unity’s original animation system (most modern projects use Humanoid or Generic).
For Humanoid rigs, Unity will automatically attempt to map your character’s bones to the standard humanoid bone structure. In most cases, the automatic mapping works well, but you can click the "Configure..." button to manually adjust bone assignments if Unity misses any bones. This is especially common for custom rigs that use non-standard bone naming conventions.
Finally, in the Animation tab, check that "Import Animation" is enabled, and confirm that Unity has detected the correct animation clips from your file. If you have multiple animations in a single FBX (for example, a walk, run, and idle animation all in one file), you can split them into separate clips by defining the start and end frames for each animation directly in the Animation tab. This is a common workflow that keeps all of a character’s animations organized in a single asset.
Importing Models with Multiple Meshes
Many complex assets like cars, furniture, or level sections include multiple separate meshes in a single FBX file. By default, Unity will import these as separate child objects under a parent root object, which is what most developers want. If you want to combine all meshes into a single mesh for optimization, you can enable the "Combine Meshes" option in the Model tab. This is useful for static environment assets that don’t need to be moved separately, as it reduces the number of draw calls and improves performance.
Troubleshooting Common Import Problems
Even with careful preparation and correct settings, you may run into common issues after importing your 3D model. Most of these have simple fixes that you can apply in a few minutes once you know what to look for. We’ve compiled the most frequent problems and their solutions below.
My Model Is the Wrong Size or Upside Down
This is almost always caused by incorrect scale or coordinate system settings during export. First, check your Scale Factor in the Model tab of the Import Settings. If your model is 10x too big, try reducing the Scale Factor by 10x and clicking Apply. If you modeled in centimeters instead of meters, a Scale Factor of 0.01 will almost always fix the size.
If your model is upside down or rotated 90 degrees incorrectly, the issue is usually a mismatched coordinate system. When exporting from your 3D tool, make sure you enabled "Y-up" in the export settings. If you don’t want to re-export, you can fix this by checking the "Mesh Compression" (wait, no—correct fix is enabling the "Swap UVs" or "Root Motion" no, actually, the common fix for rotation is to check the "Preserve Model Tranforms" option? No, the easy fix is that you can enable the "Convert Units" option and adjust the up axis in newer versions of Unity. If that’s not available, simply rotate the model in your modeling tool, re-export, and reimport—it takes 30 seconds and avoids confusing workarounds.
All My Textures Are Missing or Pink
Pink materials in Unity are the universal sign that a material’s shader or texture is missing. First, check that your texture files are actually imported into your Unity project. If you didn’t include them with the FBX or copy them into your Assets folder, Unity can’t find them, so it defaults to a pink error material. If the textures are in your project, open the material and check that the texture slots are correctly assigned. Sometimes Unity fails to automatically connect textures during import, especially if they’re saved in a different folder. Just drag the correct texture into the Albedo slot of your material and the pink error will disappear.
If the textures are assigned but the material is still pink, the issue is usually a missing shader. This is common if you’re using a custom shader from the Asset Store or a third-party package that hasn’t been imported into your project. Just import the shader package, and the material will return to normal.
My Animations Don’t Work or Are Broken
If your character’s animations are distorted, missing, or don’t play after import, the first thing to check is your rig settings. If you chose Humanoid, did Unity correctly map all the bones? Open the Rig tab, click Configure, and check that all bone slots are correctly assigned. If any are missing, manually assign them and re-save the settings.
If your animation clips are the wrong length or start in the wrong place, open the Animation tab and adjust the start and end frames for each clip. Many new developers export all animations as a single long take, so splitting the clips correctly here fixes most timing issues. If your animation is jittery or the character deforms incorrectly, check that you exported the mesh with correct bone weights from your modeling tool—9 times out of 10, the issue originates in the export process, not Unity’s import.
My Imported Model Is Causing Performance Problems
If your frame rate drops after importing a new model, the issue is usually too many polygons or unoptimized import settings. First, check the polygon count of your model—you can see this in the Statistics section of the Model tab in Import Settings. A single prop shouldn’t have more than 10,000 triangles for most mobile or VR projects, while a main player character can have up to 50,000-100,000 triangles depending on your target platform. If your model has more triangles than that, go back to your modeling tool and reduce the polygon count with a decimate or retopology tool before re-importing.
Also, check that you don’t have Read/Write Enabled enabled for static models, as this forces Unity to keep a copy of the mesh data in system memory unnecessarily. Enabling Mesh Compression also reduces memory usage without noticeable quality loss for most assets.
Optimizing Imported Models for Better Performance
Beyond fixing errors, there are several simple optimization steps you can take during the import process to improve your project’s overall performance, especially for mobile or VR platforms where performance is critical.
First, use LOD groups (Level of Detail) for large models or models that are placed far from the camera. Unity can automatically generate LODs for your imported model during import: just enable "Generate LODs" in the Model tab, and Unity will create progressively lower-polygon versions of your model that are used when the model is far from the camera. This can cut down on polygon count significantly for open-world scenes with hundreds of props.
Second, for static environment models, enable Contribute GI in the model’s Mesh Renderer settings after placing it in your scene. This allows Unity to include the model in baked global illumination, which improves lighting quality without costing runtime performance. For static objects that don’t move, baked lighting is always faster than real-time lighting.
Third, compress textures correctly for your target platform. When you import textures alongside your model, adjust the texture import settings to use the correct compression format for your target platform (for example, ASTC compression for mobile, BC7 for PC). This reduces texture memory usage by 50-75% with little to no visible quality loss.
Finally, use prefabs for any model you use more than once in your scene. When you import a model, Unity automatically creates a prefab by default, which means all instances of the model share the same mesh and material data. This saves memory compared to importing the same model multiple times, so always use prefab instances instead of reimporting the same model multiple times.
Conclusion
Importing 3D models into Unity is a straightforward process once you understand the core steps: prepare your model correctly in your 3D tool before export, choose the right file format, configure your import settings based on whether the model is static or animated, and troubleshoot common issues with the simple fixes we’ve outlined. The most important habit to build is checking your settings after import instead of relying on defaults—taking two minutes to confirm scale, rig settings, and material assignments saves hours of debugging later in development. With practice, you’ll develop a consistent workflow that lets you import models quickly and reliably, so you can spend more time building your project and less time fixing broken assets.