
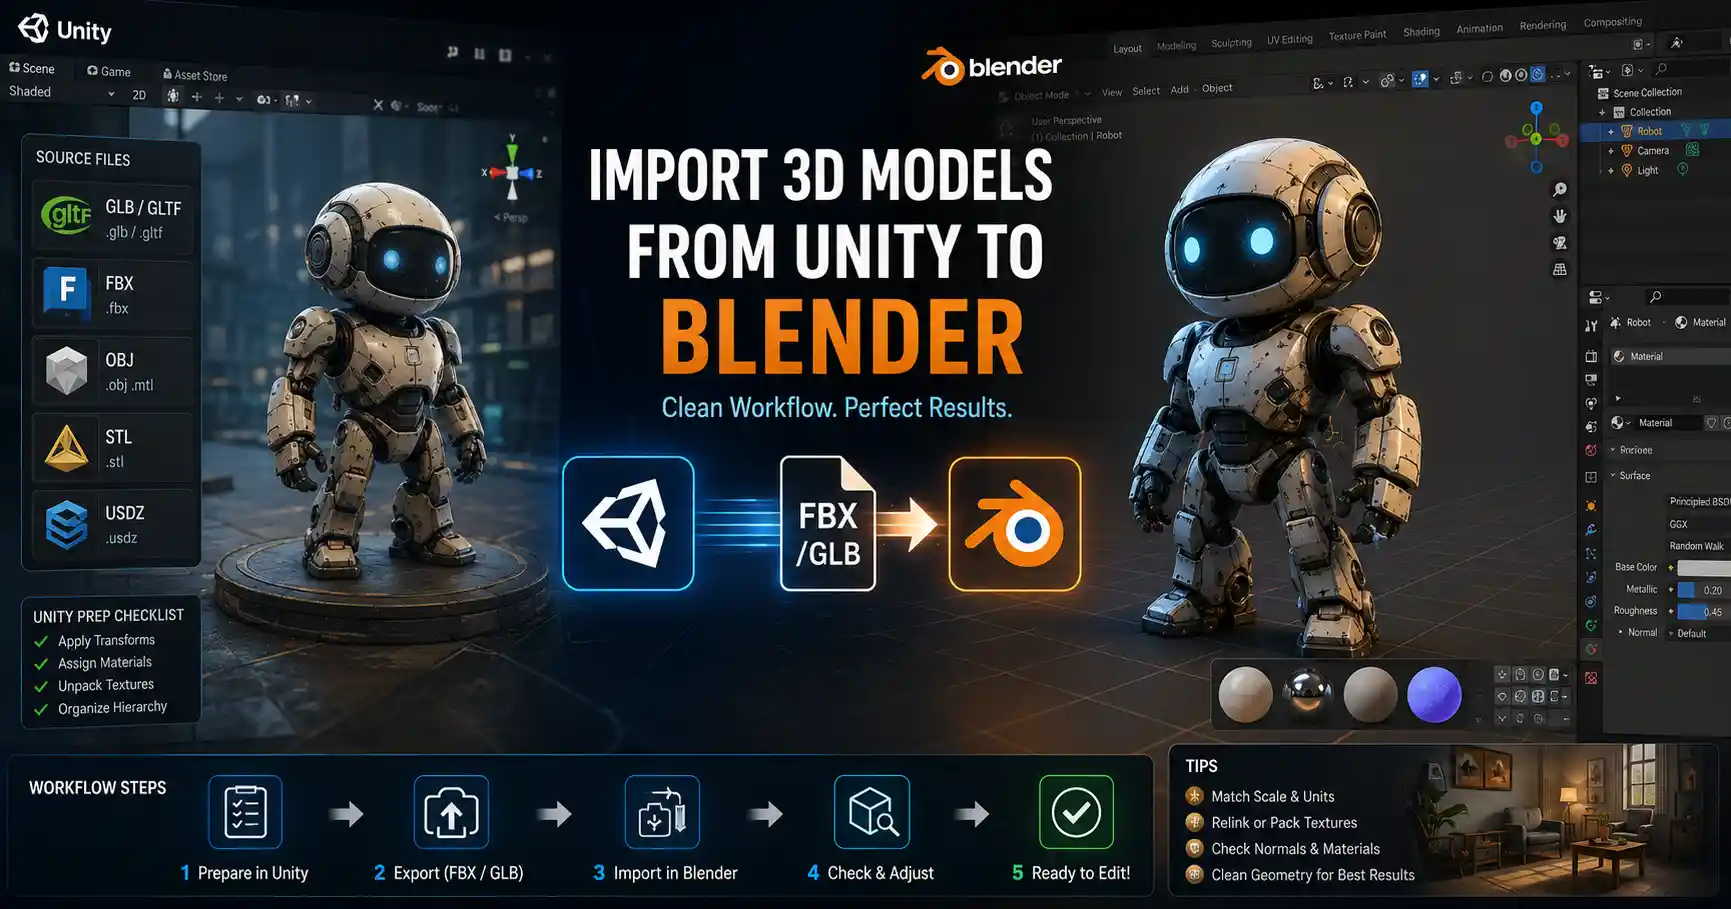
Whether you’re a game designer building a custom level, a 3D artist assembling assets for a short film, or a hobbyist experimenting with 3D printing, chances are you won’t model every object you need from scratch. Blender, the free, open-source 3D creation suite, supports importing nearly every common 3D file format, letting you pull pre-made models into your scene to save hours of work. But importing a 3D model isn’t always as simple as clicking “File > Import.” Issues like mismatched scale, broken textures, incompatible file formats, and messy geometry can turn a quick import into a frustrating troubleshooting session. This guide walks you through every step of the process, from preparing your source files to fixing common problems after import, so you can get your model ready for editing or rendering in no time.
Preparing for Import: Check File Formats and Source Files
Before you even open Blender, a little preparation can prevent most common import errors. Not all 3D file formats are created equal, and choosing the right one for your project will make a huge difference in how your model imports.
Common 3D File Formats Supported by Blender
Blender supports more than a dozen 3D file formats out of the box, but some are more reliable than others for importing assets. The most widely used formats for imported models include:
- GLB/GLTF (Graphics Language Transmission Format): A modern, open format that stores geometry, textures, materials, and even animations in a single file. This is the gold standard for most 3D assets today, and Blender handles GLB imports seamlessly with almost no missing data.
- FBX (Filmbox): A legacy format originally developed for motion capture, still widely used in game development and VFX. FBX supports rigging, animations, and multiple objects, but it can occasionally have issues with material translation between different software.
- OBJ (Wavefront Object): A simple, plain-text format that’s been around since the 1980s. OBJ stores geometry and basic texture references, but it doesn’t support animations, materials, or rigging. It’s still common for static 3D printing models and simple assets.
- STL (Standard Tessellation Language): The industry standard for 3D printing. STL only stores surface geometry (no textures or materials), so it’s exclusively used for static printable models.
- USDZ, Collada, 3DS, PLY, and X3D: Niche formats used for specific use cases, like augmented reality (USDZ) or point cloud data (PLY). Blender supports these, but they’re far less common for general asset import.
Verify Your Source Files Before Opening Blender
If you downloaded a model from a marketplace like Sketchfab, TurboSquid, or CGTrader, it will almost always come as a compressed ZIP or RAR file. Never try to import a model directly from inside the compressed archive—always extract all files to a single folder on your local drive first. Many models come with separate texture image files that are stored in the same folder as the main 3D file; if you don’t extract everything, Blender won’t be able to find the textures, and your model will import as a plain gray shape.
It’s also a good idea to check the model’s license before you import it, even if you downloaded it for free. Many models on public marketplaces are for personal use only, and some require attribution for commercial projects. Confirming usage rights ahead of time avoids legal headaches later.
Step-by-Step: Importing Your Model into a Blender Scene
Once your files are prepared, importing the model into Blender is a straightforward process. The steps are nearly identical for Blender 3.0 and newer versions (the most common current releases), regardless of whether you’re using Windows, Mac, or Linux.
1. Open Blender and Set Up Your Scene
Start by opening Blender. If you’re starting a new project, you can use the default General workflow scene, which includes a camera, a light, and a default cube. If you don’t need the default cube, you can delete it by right-clicking the cube in the 3D Viewport and selecting Delete, or pressing the X key after selecting it.
If you’re importing a model into an existing scene, just open that .blend file as you normally would before proceeding. Blender will import the new model into your existing scene, preserving all your existing objects, cameras, and settings.
2. Open the Import Menu
Navigate to the top-left corner of the Blender window and click File > Import. This will open a flyout menu with all the supported 3D file formats. Select the format that matches your downloaded model—for example, if you have a file called chair.glb, click glTF 2.0 (.glb/.gltf).
3. Adjust Import Settings for Your File Type
One of the most common mistakes new users make is ignoring the import settings panel on the right side of the file browser. Different file types have different settings that can drastically change how your model imports. Below are the recommended settings for the most common formats:
- For GLB/GLTF:
Leave the default settings checked: Import Camera, Import Lights, Import Materials, and Import Animation are all enabled by default, which works for most cases. If you don’t want to import cameras or lights included in the GLB file, just uncheck those boxes. For most asset imports, you can leave everything as-is and click Import.
- For FBX:
FBX import settings require a bit more attention. The most important setting here is Scale. By default, Blender uses a scale of 1.0, but many FBX models exported from other software (like Autodesk Maya or 3ds Max) use a different unit system. If your model imports tiny or huge later, this is almost always the culprit. For most models, set the scale to 1.0, but if you know the model was exported from a program that uses centimeters instead of meters, set the scale to 0.01 to match Blender’s default meter-based units. Also, check Automatic Bone Orientation if you’re importing a rigged animated character to avoid broken rigs.
- For OBJ:
Similar to FBX, check the scale setting. Many OBJ models are modeled in centimeters, so a scale of 0.01 will often get you the correct size in Blender. Make sure Import Materials is checked if the model comes with texture files, so Blender will automatically create a basic material with the referenced textures.
- For STL:
STL files for 3D printing don’t have materials, so the only setting you need to check is scale. Most 3D modeling programs export STLs in millimeters, so setting the import scale to 0.001 will convert it correctly to Blender’s meter-based units.
4. Select Your File and Import
Navigate to the folder where you extracted your 3D model, select the main model file, and click the Import XXX button in the top-right corner (the button name changes based on the file format, for example “Import GLTF” for GLB files). Blender will process the file and add the model to your scene.
The biggest mistake new Blender users make when importing models is skipping the pre-import check for texture files and ignoring scale settings. Nine times out of ten, a “broken” import is just a misplaced texture or a 1000% scale error that could have been avoided in 10 seconds before clicking import.
Fixing Common Post-Import Issues
Even with perfect preparation, you might run into issues after importing your model. Most of these are easy to fix with a few simple adjustments. Here are the most common problems and how to resolve them:
Your Model Is Too Big or Too Small
If your model imports so big it fills the entire scene, or so small you can’t even see it, the problem is almost always mismatched unit scaling between the software that exported the model and Blender. Blender defaults to meters as its base unit, while many other programs use centimeters or millimeters. To fix this:
First, select the imported model, then check its dimensions in the Item tab on the right side of the 3D Viewport. If you know the model should be 1 meter tall and it’s 100 meters tall, you just need to scale it down by a factor of 0.01. Press S to activate the scale tool, type 0.01, and press Enter. That will resize the model correctly.
To avoid this in future imports, just adjust the scale setting in the import menu before importing, as we covered in the previous section.
All Textures Are Missing (Model Is Plain Gray)
This is the second most common issue, and it almost always happens because Blender can’t find the texture image files that came with your model. For formats like OBJ and FBX, the model file only references texture files stored separately—it doesn’t embed them like GLB does. To fix this, you’ll need to reload the textures manually:
- Open the Shader Editor from the dropdown menu at the top of the 3D Viewport (switch from Object Mode to Shader Editor, or split the viewport to show the Shader Editor alongside your 3D view).
- Select the material of your gray model. You’ll see a Image Texture node in the node graph with a yellow exclamation mark, indicating the image file is missing.
- Click the exclamation mark and navigate to the folder where you extracted your model. Select the corresponding texture image file (usually labeled something like chair_basecolor.png).
- Repeat this for any other missing texture maps (normal maps, roughness maps, etc.) until all materials display correctly.
If you imported a GLB file and textures are still missing, this usually means the model was exported incorrectly from the original software. You may need to re-download the model or export it again from the original source to embed the textures correctly.
Imported Model Has Messy or Broken Geometry
Sometimes models downloaded from free sources have messy geometry: overlapping faces, flipped normals, non-manifold edges, or hidden internal faces that mess up rendering or 3D printing. To clean up common geometry issues:
- Flipped normals: If parts of your model are see-through or black, that means the normals (the side of the face that’s supposed to be visible) are flipped. To fix this, go into Edit Mode, select all faces with A, then go to Mesh > Normals > Recalculate Outside.
- Extra hidden objects: Many models come with extra cameras, lights, or helper objects that you don’t need. Open the Outliner panel on the right side of the screen to see all objects in your scene, and delete any you don’t want.
- Non-manifold geometry (for 3D printing): If you’re importing an STL for 3D printing, non-manifold edges will cause errors when you export the model for slicing. Blender has a built-in tool to fix this: go to Edit Mode > Select All > Mesh > Clean Up > Make Manifold to resolve most common issues.
Animations or Rigs Are Broken
If you imported a rigged animated character and the animations don’t play or the rig doesn’t move, the issue is usually incorrect import settings for FBX files. Double-check that you enabled Import Animations and Automatic Bone Orientation in the FBX import settings before importing. If the rig is already imported, you can try re-importing with the correct settings, as fixing a broken rig after import is much more time-consuming than getting the settings right the first time.
Optimizing Your Imported Model for Your Project
Once your model is imported and any issues are fixed, you’ll usually want to optimize it for your specific use case. Whether you’re rendering a still image, animating a short film, or preparing a model for 3D printing, a few quick optimizations will make your workflow much smoother.
Join or Separate Objects for Organization
Many imported models come as dozens of separate objects: for example, a table model might be split into a table top, four legs, and screws. If you want to move or scale the whole model as one, you can join all the separate objects into a single object. To do this, select all the objects that belong to the model by holding Shift and clicking them in the Outliner or 3D Viewport, then press Ctrl+J (or go to Object > Join).
Conversely, if you need to edit just one part of a single imported model, you can separate it into its own object. Go into Edit Mode, select the faces you want to separate, then press P and choose Selection to split it into a new object.
Reduce Polygon Count for Game Development or Animation
If you’re importing a high-poly model (a model with millions of polygons) for a game or real-time animation, it will slow down your viewport and your game engine. You can reduce the polygon count directly in Blender using the Decimate Modifier:
- Select your model, go to the Modifiers Properties tab (the wrench icon) on the right sidebar.
- Click Add Modifier and select Decimate from the Generate menu.
- Adjust the Ratio slider to reduce the polygon count. A ratio of 0.5 will cut the polygon count in half, while 0.1 will reduce it to 10% of the original. Keep adjusting the slider until you get a good balance between performance and visual quality.
- Click Apply to keep the changes once you’re happy with the result.
For 3D printing, on the other hand, a higher polygon count is usually fine, but you’ll want to make sure the model is watertight (no holes in the surface) before exporting it to your slicer. Blender’s 3D Print Toolbox add-on (enabled by default in recent versions) has a built-in tool to check for and fix holes and non-manifold geometry.
Adjust Materials to Match Blender’s Render Engine
Imported materials often don’t translate perfectly between different software, especially if you’re using Blender’s Cycles or Eevee render engines. For example, a PBR material imported from an FBX might have the roughness and normal maps connected incorrectly. To fix this, you can use Blender’s built-in Principled BSDF shader, which is designed for PBR workflows. Just connect your base color map to the Base Color input, your normal map to the Normal input (via a Normal Map node), your roughness map to the Roughness input, and so on. This will ensure your materials render correctly in both Eevee and Cycles.
For users working on real-time projects, you can also bake high-poly details to a low-poly model directly in Blender, reducing polygon count while keeping all the fine details of the original high-poly import. This is a common workflow for game art, and Blender’s built-in baking tools make it straightforward even for new users.
Conclusion
Importing a 3D model into Blender doesn’t have to be complicated. By preparing your files ahead of time, choosing the right file format, adjusting import settings for your use case, and knowing how to fix the most common post-import issues, you can save hours of frustration and get straight to working with your model. Whether you’re using imported assets as a base for your own edits, assembling a scene for rendering, or preparing a model for 3D printing, the process boils down to a few key steps: extract all files to a single folder, choose the right import settings based on your file format, check for scale and texture issues, and clean up the geometry to match your project’s needs. With this guide, you’ll be able to import any 3D model into Blender with confidence, and take advantage of the huge library of free and paid 3D assets available online to speed up your workflow.