
If you’ve ever dipped your toes into photogrammetry or 3D modeling from photography, you’ve probably stared at a pile of photos wondering why your final model comes out lumpy, blurry, or full of weird gaps. The quality of a 3D model generated from images depends almost entirely on the source material: not just how good your camera is, but which subject you choose, how you frame it, and what features it has that work with 3D reconstruction software. Whether you’re a hobbyist turning a favorite souvenir into a 3D printable model, a game developer creating assets for a new level, or an archaeologist documenting a historic artifact, picking the right subject and capturing it the right way makes all the difference. So what makes an image (and a subject) good for 3D modeling, and which types of subjects should you prioritize for the best results?
Key Characteristics of a Good Subject for Image-Based 3D Modeling
Before we dive into specific subject types, it’s important to understand what features make a subject easy for 3D reconstruction software to process. Modern photogrammetry tools work by identifying the same feature across multiple images, then using triangulation to calculate its 3D position. If the software can’t match features between photos, it can’t build an accurate model. That means the best subjects share a few core traits that make feature matching straightforward.
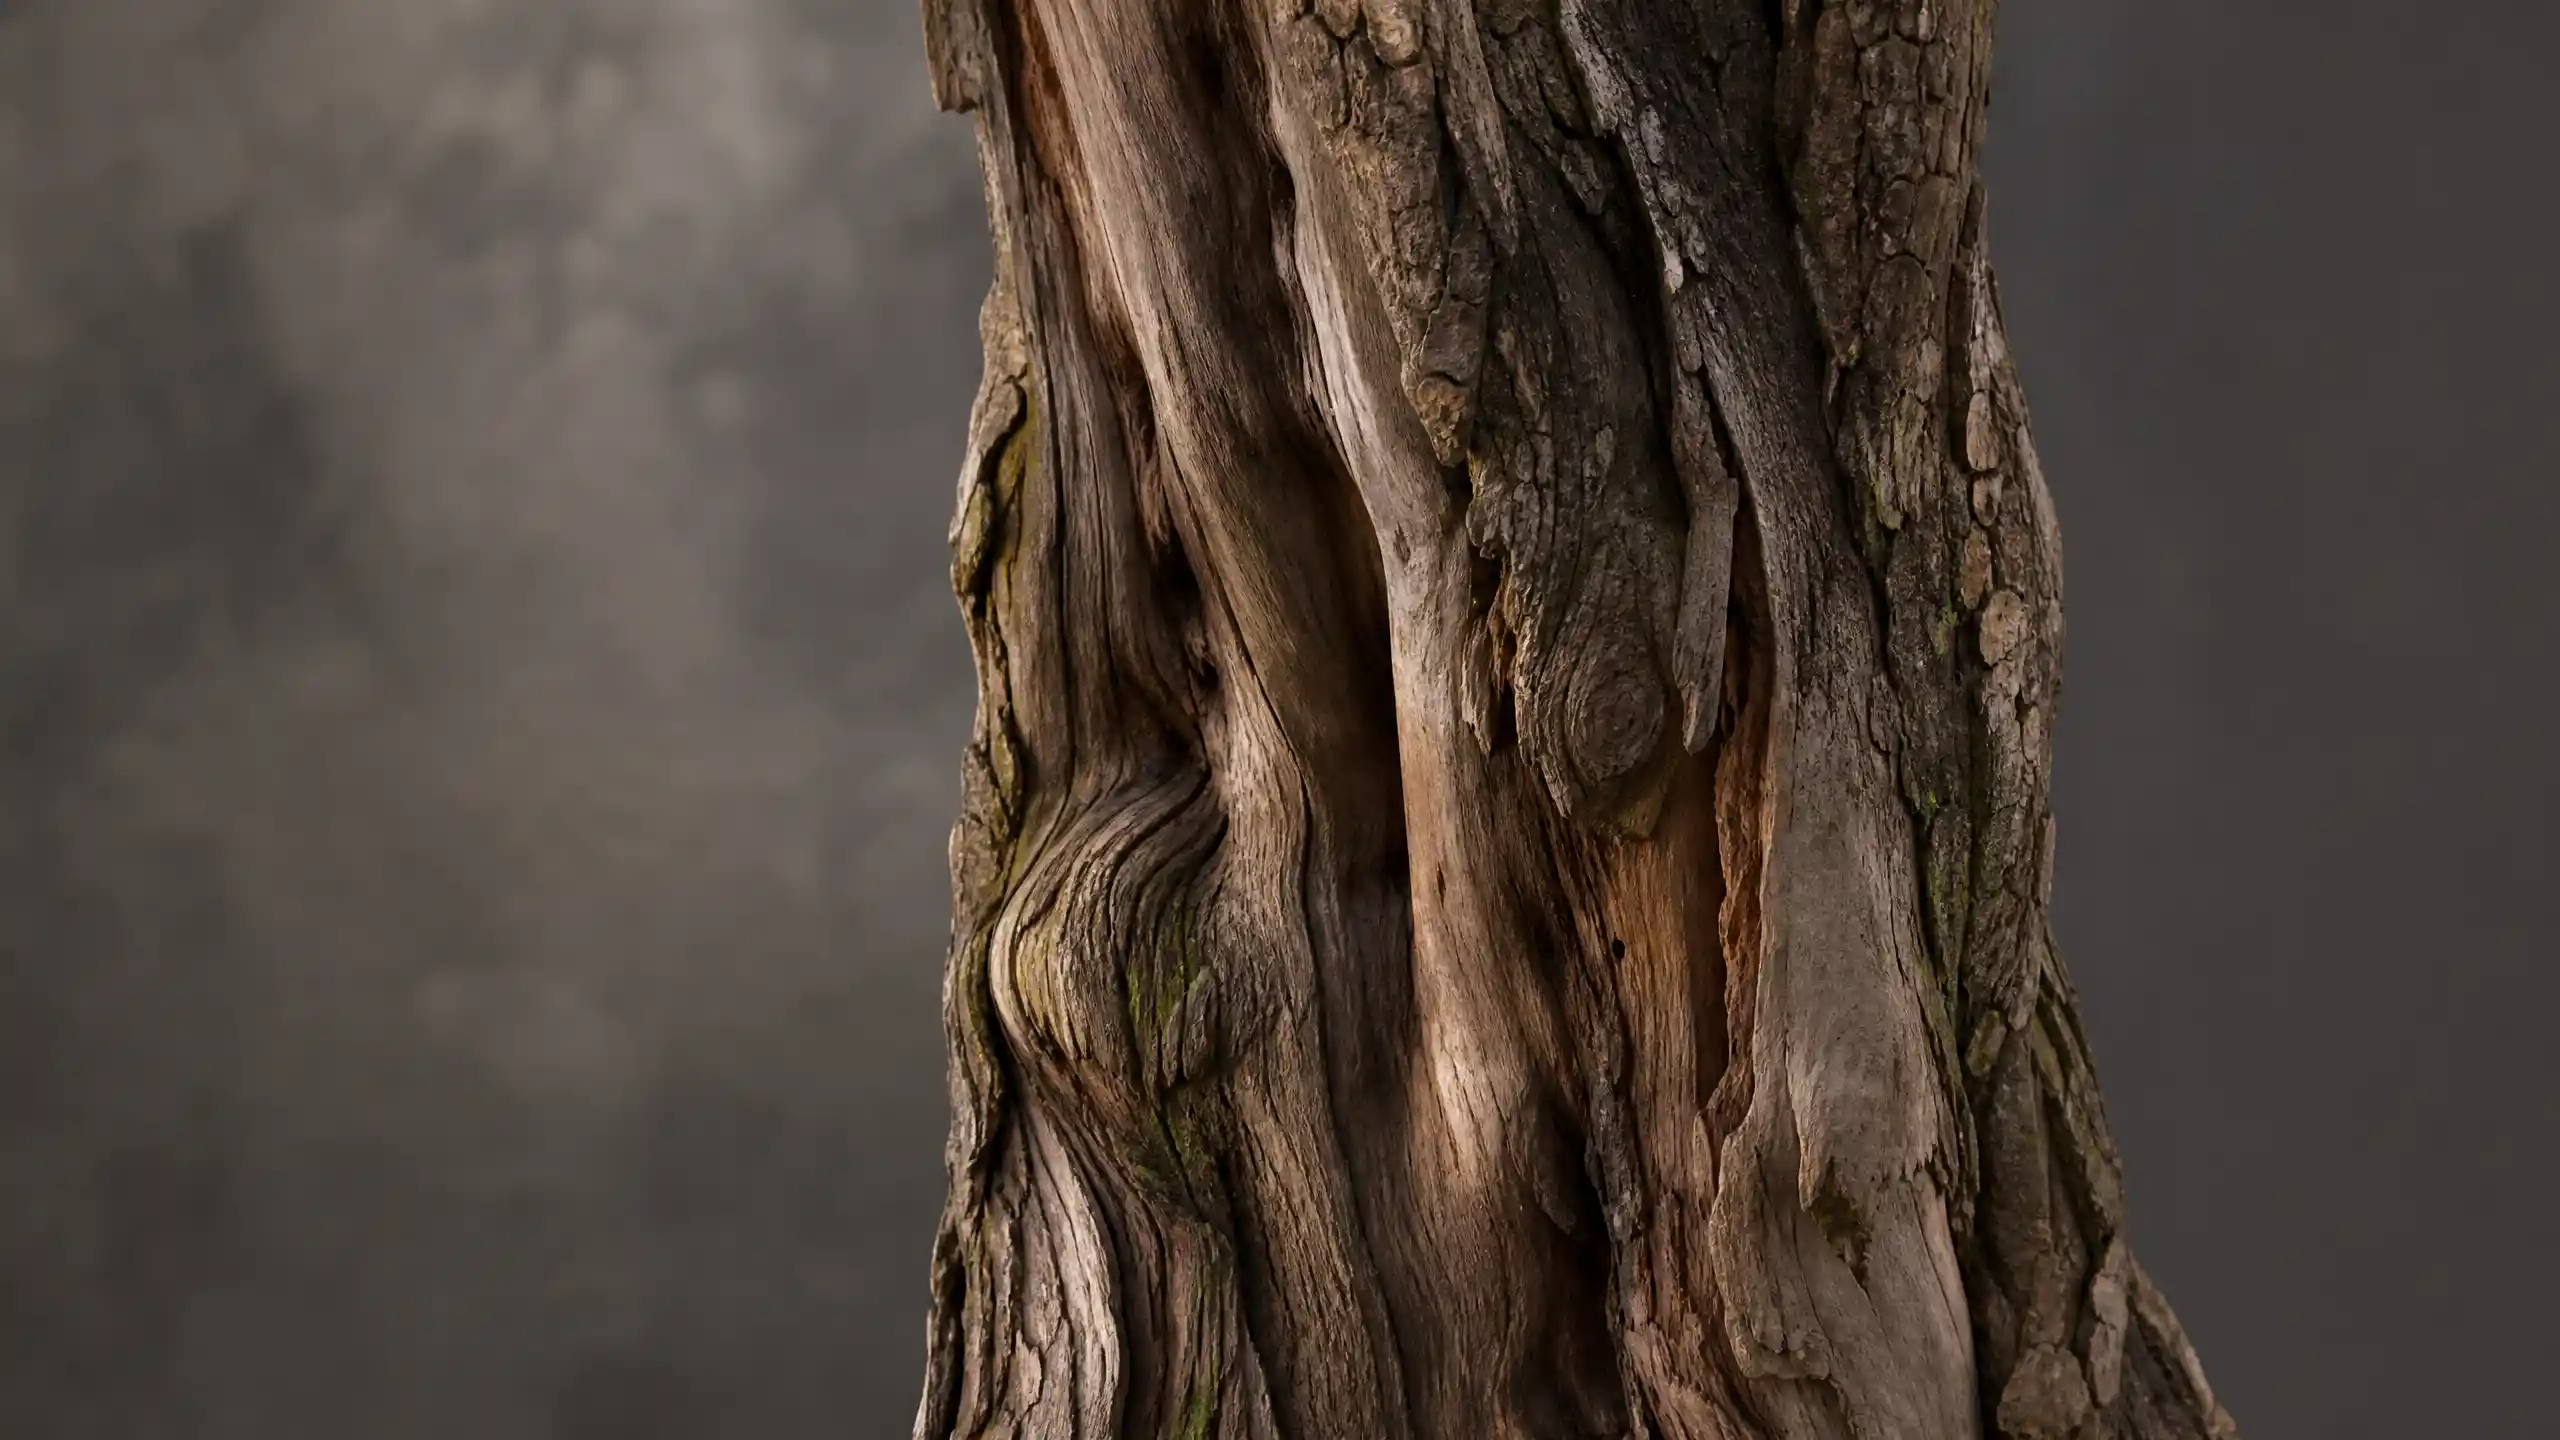
High, Consistent Textural DetailTexture is the single most important factor for successful image-based 3D modeling. Software relies on unique visual features to align images, so subjects with lots of varied, fine-grained texture work far better than smooth, uniform surfaces. A tree trunk with rough bark, for example, has thousands of unique bumps and ridges that the software can easily match across 20 different photos. A polished marble sphere, by contrast, has almost no unique features—software can’t tell one side of the sphere from another, so it will often fail to align images correctly.
That doesn’t mean completely smooth subjects can’t be 3D modeled, but they require extra work. Many photographers spray temporary texture powder or add random stickers to smooth surfaces to give the software features to track. For most hobbyists and professionals, though, starting with a naturally textured subject eliminates this extra step and produces far better results.
Distinct Edges and Fixed GeometryGood subjects have a fixed shape and clear boundaries between themselves and their background. Moving subjects are the bane of photogrammetry: if a tree branch sways between shots or a person blinks or shifts position, the software will get conflicting data about where that feature is in 3D space, leading to a distorted, messy model. Even small movements, like a leaf blowing in the wind, can throw off an entire reconstruction.
Distinct edges also help the software separate the subject from its background. If your subject blends into a background with a similar color and texture (for example, a brown wooden statue sitting on a brown wooden table), the software may incorrectly merge the subject and background into a single model, creating extra unwanted geometry that you’ll have to edit out later.
No Transparency or High ReflectivityTransparent, translucent, and highly reflective surfaces are extremely difficult for photogrammetry software to process. Glass, water, clear plastic, and polished metal change appearance depending on the angle you shoot from, so the same point on the surface looks completely different in two different photos. The software can’t match these changing features, leading to holes, distorted geometry, or a complete failure to generate a model.
Again, workarounds exist for these surfaces—you can coat glass in a thin layer of matte spray to eliminate reflectivity and transparency, for example—but again, this adds extra time and effort. For beginners looking to get a good result on their first try, avoiding these problematic surfaces is the best approach.
Manageable Size and AccessibilityTo get a complete 3D model, you need to be able to shoot the subject from every angle that you want to reconstruct. A small statue sitting on a table is easy to walk around and shoot from 360 degrees. A 100-meter tall cliff face, by contrast, can only be shot from the ground and maybe a drone, leaving the back of the cliff completely unreconstructed. Size also impacts processing time: a very large subject with lots of fine detail requires hundreds of high-resolution images, which can take hours or even days to process on a consumer desktop computer.
Top 5 Best Subjects for Image-Based 3D Modeling
Now that we know what traits to look for, let’s break down the best types of subjects for 3D modeling from images, along with why they work so well and what they’re most commonly used for. This list is ordered from most beginner-friendly to more advanced, so you can start with the easiest options and work your way up as you gain experience.
- Small, Solid Natural Artifacts
It’s hard to find a better beginner subject than a small natural object like a rock, a pinecone, a dried flower, or a piece of driftwood. These objects are almost always textured, solid, fixed in shape, and small enough to place on a table and walk around for a full 360-degree shoot. They also have unique, organic shapes that are difficult to model by hand in CAD software, so image-based 3D modeling is the perfect way to capture their form.
For example, if you want to create a 3D model of a unique rock you found on a hike, you can prop it up on a small stand, take 20–30 photos walking around it, then take another 20–30 photos from above and below to capture the top and bottom. Most photogrammetry software will process this into a clean, accurate model in less than an hour on a standard laptop. These models are perfect for 3D printing, game asset creation, or educational documentation.
- Handcrafted Sculptures and Artifacts
Handmade objects like pottery, wood carvings, bronze statues, and clay sculptures are another excellent option. Most handcrafted objects have plenty of surface texture from the creation process: finger marks in clay, tool marks in wood, or irregularities in glazing that give photogrammetry software plenty of features to track. They’re also solid and fixed, so no movement between shots to mess up the reconstruction.
For larger sculptures, you may need to take more photos to capture all the detail, but even life-size sculptures are manageable for most consumer setups. Many artists use photogrammetry to create 3D models of their physical sculptures for digital portfolios, 3D printing reproductions, or even to adapt for use in digital art and animation.
- Buildings and Architectural Facades
Architectural subjects are one of the most common uses for professional image-based 3D modeling, and for good reason. Buildings have tons of unique texture: brickwork, window frames, decorative carvings, mortar lines, and roof shingles all create thousands of trackable features for software to align. They’re also completely fixed in place, so you never have to worry about movement ruining your model.
While full 360-degree models of entire buildings require drone access to capture the roof and far side, even a simple 3D model of a single facade is easy to capture for beginners. Many historical preservation groups use photogrammetry to document historic buildings at risk of damage or demolition, creating accurate 3D archives that can be accessed by researchers around the world. Game developers also regularly use 3D models of real buildings to create realistic environments for open-world games.
- Outdoor Landscapes and Geological Features
Medium-sized outdoor features like rock formations, small caves, waterfalls, and even entire hillsides work very well for image-based 3D modeling, especially when captured with a combination of ground and drone photography. Like small natural artifacts, these features have tons of natural texture from rock, vegetation, and soil, giving software plenty of features to match. Geologists use 3D models of outcrops to study rock formations without having to travel to the site, and ecologists use them to document changes in landscapes over time.
The main challenge with landscapes is scale: capturing a large area requires hundreds of images, and processing the model requires a powerful computer. But for hobbyists looking to capture a favorite hiking spot or a unique rock formation, it’s entirely achievable with a mid-range drone and a good photogrammetry workflow.
- Human Faces and Body Parts (With Caveats)
Human faces are a surprisingly good subject for image-based 3D modeling, as long as you can get your subject to hold still for the 1–2 minutes it takes to capture all your photos. Faces have lots of natural texture: pores, wrinkles, freckles, and hair all provide great features for tracking. 3D models of faces are used for everything from special effects in movies to custom prosthetics to personalized 3D printed figurines.
The main catch here is that people move, even when they’re trying to hold still. A tiny twitch of the mouth or blink of an eye can throw off the alignment, so you need to shoot quickly to minimize movement. You also have to be careful with shiny surfaces like sweat or moisturizer, which can create reflections that mess up feature matching. For experienced users, though, faces produce excellent, highly detailed 3D models that are almost impossible to create by hand.
Common Subjects That Are Bad For 3D Modeling (And When To Avoid Them)
Just as some subjects are naturally suited for image-based 3D modeling, others are almost guaranteed to produce poor results, even for experienced users. Knowing which subjects to avoid (or what extra work you’ll need to do to make them work) can save you hours of frustration.
Highly Reflective or Transparent ObjectsAs we mentioned earlier, polished metal, glass, clear plastic, and water are extremely difficult to process. A glass drinking glass, for example, is see-through, so the camera sees the background through the glass instead of the glass surface itself in most shots. Reflective stainless steel shows the reflection of the camera, the room, and you, so the appearance of the surface changes completely from every angle. The software can’t match these changing reflections to build a coherent model.
If you absolutely need to model one of these objects, you can use a temporary matte coating like talcum powder or a specific photogrammetry spray to eliminate reflectivity and transparency. Just keep in mind that this coating can change the shape of very small features, and you’ll have to clean it off the object afterwards, which may damage delicate or valuable items.
Empty Sky, Bodies of Water, and Uniform SurfacesUniform surfaces like a blank white wall, a blue sky, or a calm lake have no texture at all, so there are no features for the software to track. If you’re shooting a landscape that includes a lot of sky or open water, the software will usually leave those areas as holes in the model, which you’ll have to fill in later in post-processing. For subjects that are entirely uniform, like a blank sheet of paper or a plain plastic ball, the software will usually fail to align the images at all.
Very Large, Inaccessible SubjectsIt’s impossible to get a complete 3D model of a subject you can’t shoot from all angles. A mountain that you can only climb halfway, for example, will only have partial coverage, leaving the entire back side of the mountain missing from the model. That’s fine if you only need the front face for your project, but if you need a complete 3D model, inaccessible subjects are not a good choice.
Living, Moving SubjectsAnimals, people moving around, growing plants, and wind-blown trees all change shape or position between shots, which leads to distorted models. Even small movements like a dog breathing will create blur and misalignment in the final model. While it’s possible to capture 3D models of moving subjects with a rig of multiple cameras that all shoot at the exact same time, that’s an expensive setup that’s out of reach for most hobbyists and small businesses. For most users, it’s best to stick to fixed, non-moving subjects.
Practical Tips for Capturing The Best Images For 3D Modeling
Even the best subject will produce a bad model if you don’t capture the right images. Follow these practical tips to get the best possible results from your 3D modeling workflow:
- Overlap your images by 70–80%. Every part of the subject should appear in at least 3–5 different photos. This gives the software multiple references to align features correctly. It’s better to take too many photos than too few.
- Use consistent, diffuse lighting. Avoid harsh direct sunlight that creates strong shadows or bright highlights, which can obscure texture and change the appearance of the subject between shots. Overcast days are perfect for outdoor shooting, and soft box lighting works best for indoor small subjects.
- Keep your camera focused on the subject. Every part of the subject should be sharp and in focus. Blurry images don’t have clear features for the software to track, so they’re useless for 3D modeling.
- Change your angle frequently. Don’t just walk around the subject at the same height—shoot from above, below, and tilted angles to capture all the crevices and hidden features. This is especially important for objects with lots of nooks and crannies, like carvings or pinecones.
- Use a low ISO to reduce noise. Image noise obscures fine texture, making it harder for the software to match features. A low ISO (100–400) produces clean, sharp images with clear texture.
- Avoid moving the background. If you’re shooting a small object on a table, don’t move the object between shots—walk around the object instead. Moving the object changes its position relative to the background, which can throw off alignment.
"The biggest mistake new photogrammetry users make is taking too few photos from too few angles. They’ll take 10 photos of a statue, wonder why the model is full of holes, and give up. The sweet spot for most small objects is 50–100 photos: it’s enough to capture every angle without overloading your computer, and it almost always produces a clean model."
— Alex Burke, founder of Photogrammetry Hub, a community resource for 3D modeling enthusiasts
Another common mistake is using a phone’s digital zoom to get closer to small details. Digital zoom reduces image quality and adds noise, so it’s better to just physically move the camera closer to the subject to keep the image sharp. If you’re shooting very small objects like coins or jewelry, you can add a macro lens to your phone or camera to get sharp, detailed close-ups of small features.
It’s also important to consider the output you need when you’re capturing images. If you’re creating a 3D model for 3D printing, you need enough detail to capture all the small features that will show up in the print. That means taking more close-up photos of fine details to get high resolution in the final model. If you’re creating a low-poly model for a mobile game, you can get away with fewer photos and lower resolution, since you’ll be simplifying the model later anyway.
How To Choose The Right Subject For Your Skill Level
The best subject for you depends on your experience level, your equipment, and what you plan to use the model for. If you’re a complete beginner just learning how photogrammetry works, start small and simple. A small rock, a pinecone, or a textured mug is the perfect first subject. It requires only a phone camera, a table, and 30 minutes of your time, and you’ll get a good result that will teach you how the process works without the frustration of a difficult subject.
If you have some experience and a mid-range computer, you can move up to larger subjects like small sculptures, architectural facades, or medium-sized rock formations. These require more photos and more processing time, but they’re still manageable for most home setups. If you’re a professional or an experienced hobbyist with a powerful computer and a drone, you can tackle larger subjects like entire buildings, landscapes, or even faces—these require more skill to capture and process, but they produce impressive, useful results.
It’s also important to match your subject to your end goal. If you need a 3D model for 3D printing a miniature replica of a family heirloom, a small handcrafted artifact is the perfect subject. If you need a 3D model of a historic building for a documentary, an architectural subject is the obvious choice. Don’t try to tackle a difficult subject like a face or a large landscape when you’re just starting out—build your skills with easy subjects first, and you’ll get much better results in the long run.
Conclusion
At the end of the day, the best image for 3D modeling is an image of a subject that has plenty of natural texture, is fixed in shape, is easy to access from all angles, and doesn’t have problematic transparent or highly reflective surfaces. For beginners, that means starting with small, solid natural or handcrafted objects—they’re easy to shoot, process quickly, and almost always produce good results that build your confidence and skills. As you gain experience, you can move up to larger subjects like buildings, landscapes, and even faces, which open up new possibilities for documentation, art, and design.
The most important thing to remember is that image-based 3D modeling is a skill that improves with practice. Even if your first model doesn’t turn out perfect, adjusting your shooting technique and choosing a better subject will usually fix most common problems. By starting with the right subject and following basic best practices for image capture, you can create accurate, high-quality 3D models that meet your needs, whether you’re a hobbyist 3D printing a souvenir or a professional creating assets for a feature film.