
Whether you’re a beginner working on your first short animation, a freelance 3D artist speeding up a client deadline, or a hobbyist experimenting with a new design idea, pre-made 3D models can save you hours of tedious mesh modeling. Blender’s powerful free toolset makes it easy to import and customize external assets, but knowing where to find high-quality, legally safe models and how to add them to your project isn’t always intuitive. From free community-owned libraries to paid marketplaces with professional-grade assets, this guide walks you through every step of downloading 3D models for Blender, from choosing the right source to troubleshooting common import issues.
Understanding Compatible File Types for Blender
Before you start browsing for 3D models, it’s important to know which file formats Blender can import natively. Not all 3D model files work with Blender out of the box, and picking the wrong format can lead to broken meshes, missing textures, or hours of extra work fixing errors.
Native and Most Compatible Formats
Blender supports dozens of 3D file types, but some work far more reliably than others. The best formats preserve not just the 3D mesh, but also textures, materials, rigging, and animation data that you might need for your project:
- FBX (.fbx): This is the most common interchange format for 3D assets, and Blender handles it exceptionally well. FBX preserves rigs, animations, multiple objects, and basic material data, making it ideal for animated characters, props, and full scenes. Almost every 3D marketplace and free library offers FBX downloads for Blender users.
- glTF (.gltf/.glb): Developed as a modern, web-friendly standard, glTF is quickly becoming a favorite for Blender artists. It retains full PBR (physically based rendering) material data, textures, animations, and compression without losing quality. Many modern asset libraries prioritize glTF because of its small file size and flexibility.
- OBJ (.obj): A long-standing standard for static meshes, OBJ is simple, widely supported, and great for static props like furniture, architectural elements, or environment assets. The main downside is that it doesn’t preserve animation or rigging data, and materials are often saved as separate files that require manual setup in Blender.
- BLEND (.blend): If you download a model already saved in Blender’s native file format, you can directly open it or append assets into your current project without any import step. This is the most reliable option, as all materials, rigs, and animations are preserved exactly as the original creator saved them.
Formats to Approach With Caution
Other common formats like STL (used for 3D printing) work for static mesh models, but they don’t include any material or texture data. If you’re downloading an STL for 3D printing, that’s fine, but it won’t work well for rendering or animation. Formats like 3DS MAX (.max) or Maya (.ma) are native to other 3D software and can only be imported by Blender if you have the right converters, so they’re best avoided unless you have no other option. Always prioritize the formats listed above when downloading models for Blender to save yourself extra work later.
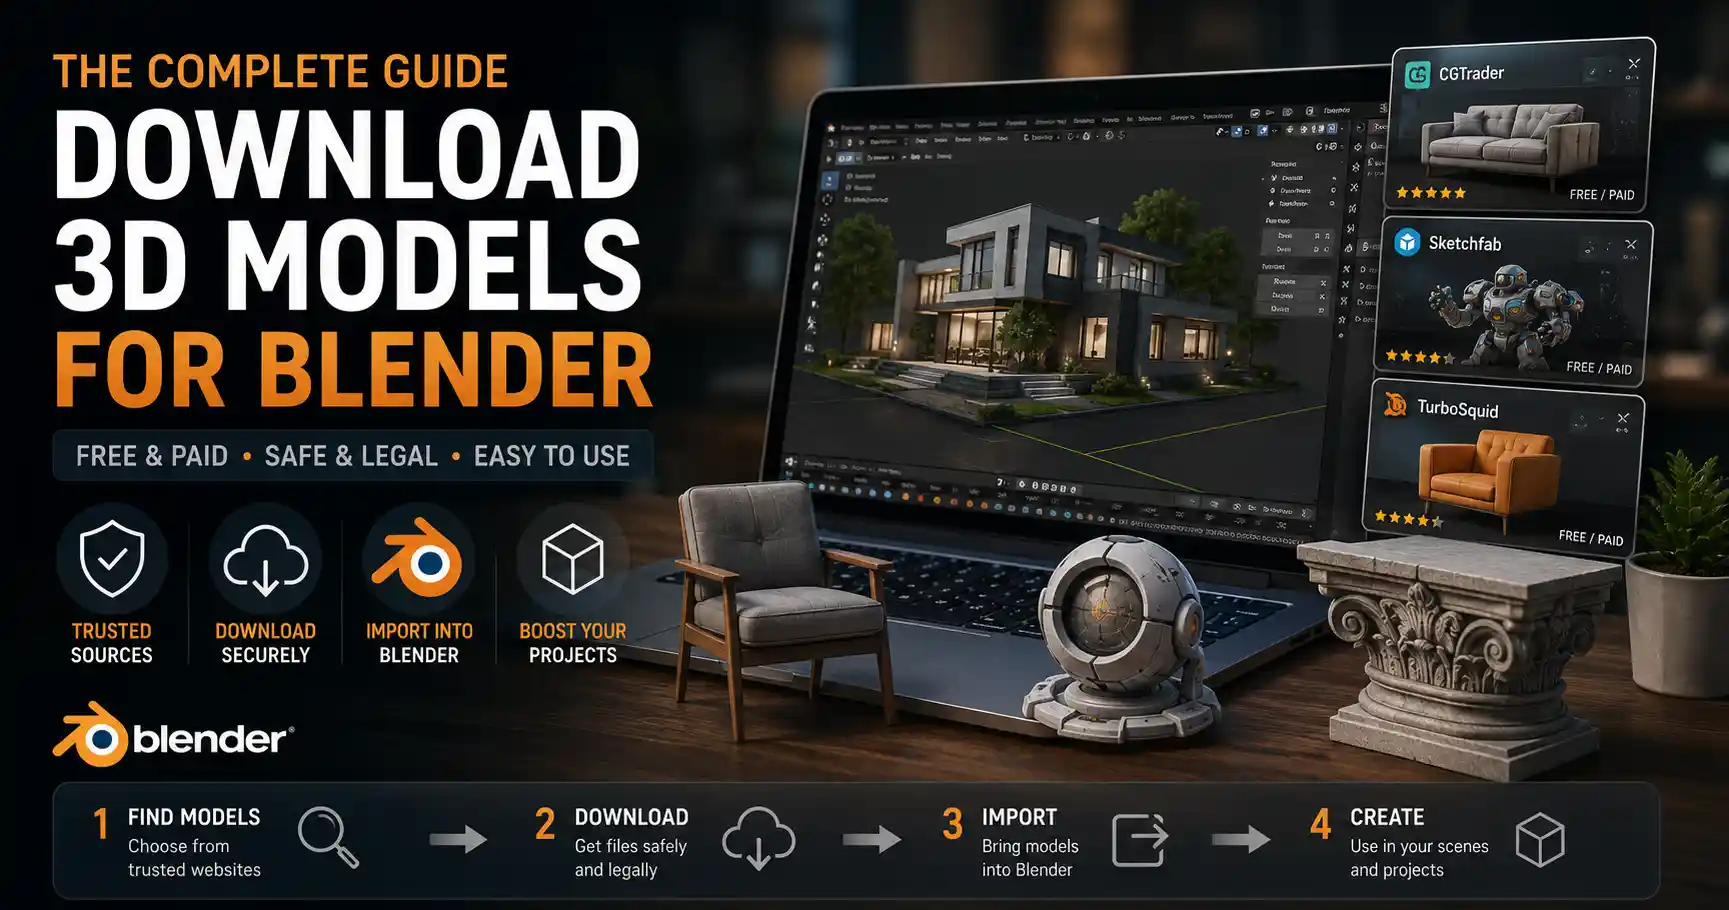
Where to Download Safe, Legal 3D Models for Blender
One of the biggest mistakes new Blender artists make is downloading unlicensed 3D models from random file-sharing websites. These files often come with hidden malware, broken meshes, or unclear copyright terms that can get you in trouble if you use the model for commercial projects. Below are the most trusted sources, split into free and paid options to suit every budget and project need.
Top Free Sources for Blender 3D Models
Free models are perfect for hobby projects, practice, and low-budget work, and many free libraries offer assets that are just as high-quality as some paid options. All of these sources have clear licensing terms for personal and often commercial use:
- BlenderKit: BlenderKit is integrated directly into the Blender interface, meaning you can browse, download, and import models without even leaving your project. The free plan gives you access to thousands of models, textures, and materials, with commercial use allowed for most free assets. A premium plan unlocks tens of thousands more professional assets, but the free tier is more than enough for most new users.
- Sketchfab: Sketchfab is one of the largest 3D model communities on the internet, with millions of user-uploaded models. You can filter search results by license type (including Creative Commons licenses that allow commercial use) and download most models in FBX, OBJ, or glTF format ready for Blender. Many creators also upload their models for free in exchange for attribution, which is a small price to pay for high-quality unique assets.
- Poly Haven: Formerly known as HDRI Haven, Poly Haven offers 100% free, CC0 (public domain) 3D models, textures, and HDRIs. All assets are completely free for personal and commercial use with no attribution required. The library is smaller than mass community sites, but every model is high-quality, properly cleaned up, and ready to use in Blender, making it a favorite among professional artists who need safe, quick assets.
- CGTrader Free Section: CGTrader is primarily a paid marketplace, but it has a large section of free models from independent creators. You can filter by file type to find FBX or OBJ models ready for Blender, and each listing clearly states the license terms so you know how you can use the asset.
- TurboSquid Free Section: Like CGTrader, TurboSquid is a leading paid marketplace with a robust free section. Most free models here are created by professional artists, and they come with clear commercial use licenses for most projects.
Top Paid Sources for Professional-Grade Models
If you’re working on a commercial project or need a specific high-quality model, paid marketplaces offer curated assets that come with guaranteed compatibility and clear commercial licenses. Prices range from a few dollars for individual props to $50+ for fully rigged animated characters:
- BlenderKit Premium: For a monthly or annual subscription, you get unlimited access to BlenderKit’s entire library of over 10,000 models, all pre-configured to work with Blender’s rendering engines (Eevee and Cycles). The direct integration makes it extremely fast to drop assets into your scene, making it a great investment for freelance artists.
- TurboSquid: TurboSquid is the largest paid 3D marketplace, with models for every use case from architectural visualization to game assets. Every model is checked for quality, and most come with multiple file formats including FBX and BLEND ready for Blender. You can buy individual models or get a subscription for frequent downloads.
- CGTrader: CGTrader not only sells pre-made models but also lets you commission custom models from artists if you can’t find what you need. All pre-made models come with clear licenses, and many artists specialize in Blender-compatible assets.
- ArtStation Marketplace: ArtStation is the leading portfolio platform for game and VFX artists, and its marketplace has a huge selection of high-quality 3D models for Blender. Many assets here are created for game development but work perfectly for Blender animation, rendering, and arch-viz projects.
One of the most common mistakes new 3D artists make is ignoring license terms. Even if a model is free to download, that doesn’t mean it’s free to use for commercial projects. Always check the license before you add a model to a client project or a product you plan to sell. A 10-minute check now can save you thousands of dollars in legal fees later.
Step-by-Step Guide to Downloading and Importing Models Into Blender
Once you’ve found the model you want and downloaded it to your computer, the next step is importing it into your Blender project. The exact process varies slightly depending on the file type, but the general steps are the same for almost all models. This guide works for Blender 3.0 and above, which includes all current supported versions of Blender.
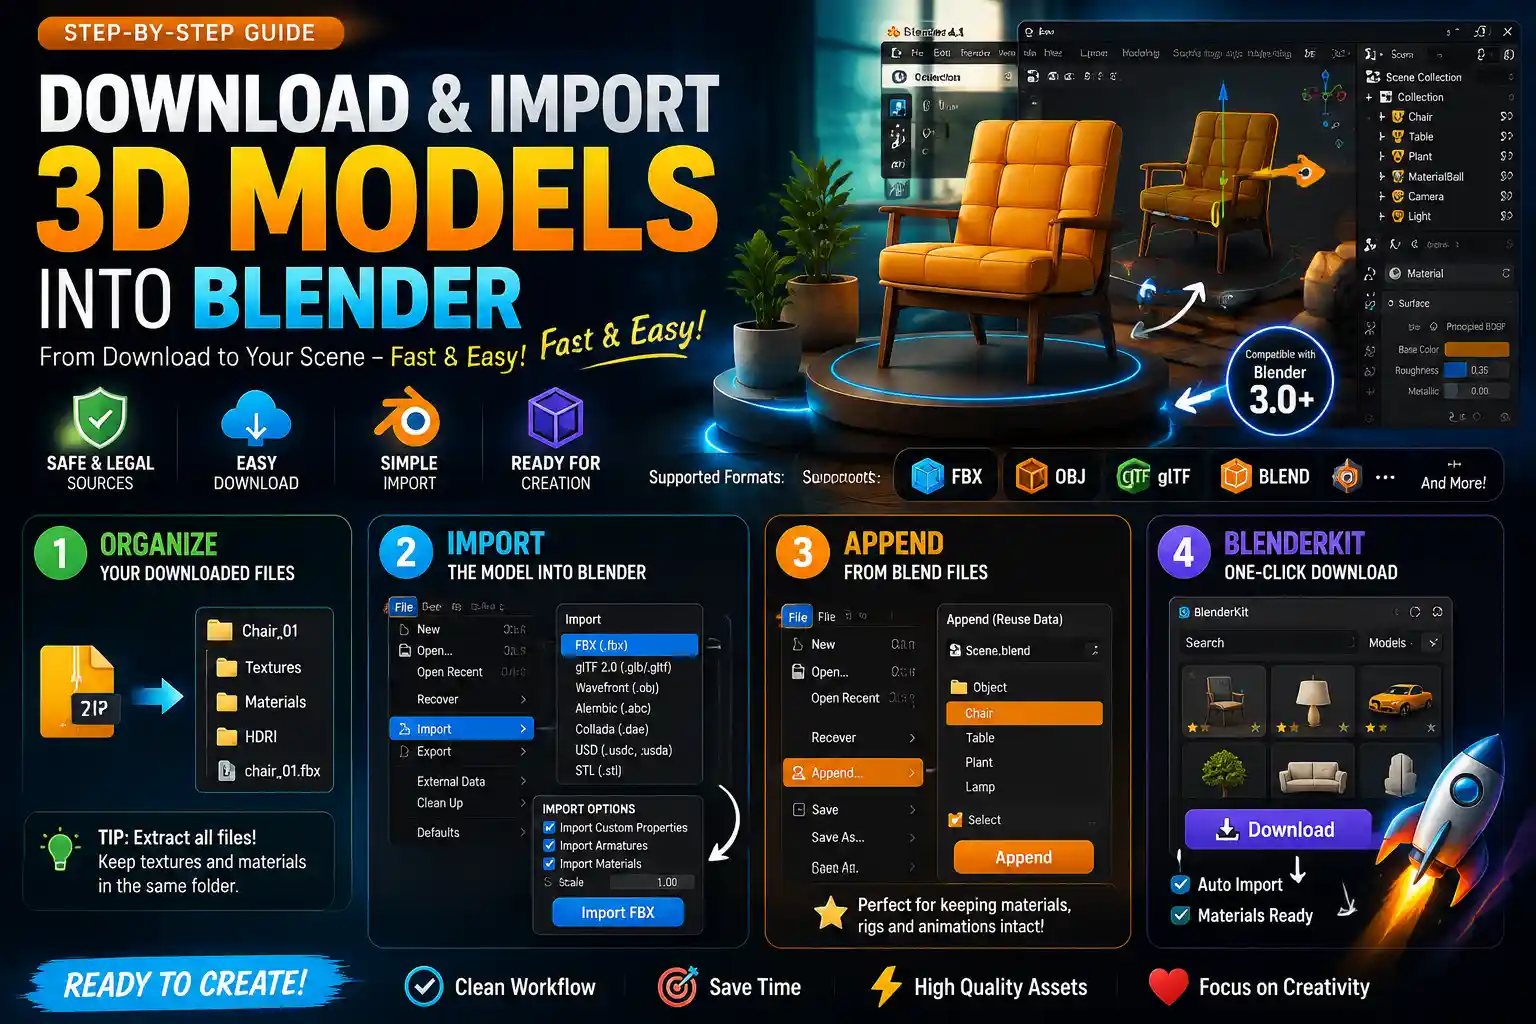
Step 1: Organize Your Downloaded Files
Before you open Blender, it’s a good idea to organize your downloaded files to avoid missing textures later. Most 3D model downloads come as a compressed .zip or .rar file, so the first thing you need to do is extract the entire contents to a dedicated folder on your computer. Don’t just extract the main model file – many zips include separate texture files that are saved in the same relative path as the model. If you extract only the model, Blender won’t be able to find the textures when you import it.
I recommend creating a dedicated "Blender Assets" folder on your hard drive, with subfolders for different categories (characters, props, environments, etc.) to keep everything organized. This makes it easy to find assets again for future projects.
Step 2: Import the Model Into Blender
Once your files are extracted, open Blender and either create a new project or open the existing project you want to add the model to. Follow these steps to import:
- From the top navigation menu, click File > Import. You’ll see a list of all compatible file types – select the file type of the model you downloaded (e.g., FBX, glTF, OBJ).
- Navigate to the folder where you extracted your model, and select the main model file. If you see multiple files (for example, a texture folder and the .fbx file), select the .fbx or other main model file.
- Check the import settings on the right-hand side of the import window. For most models, the default settings work fine, but there are a couple of tweaks that can help:
- For FBX files: Make sure Import Custom Properties and Import Armatures (if the model is rigged) are checked.
- For OBJ files: Check Import Materials to pull in any pre-made material textures.
- All formats: If the model is huge or tiny when it imports, you can adjust the Scale setting before importing to match your scene’s units.
- Click Import [Filename] in the top-right corner. Blender will process the model and add it to your current scene.
Step 3: Append Models From BLEND Files
If you downloaded a model in Blender’s native .blend format, you don’t need to import it – you can append or link the model directly into your current project. This preserves all materials, rigs, and animations perfectly. To do this, go to File > Append, navigate to the .blend file, click into it, then select the Object folder, choose the model object you want to add, and click Append. The model will appear in your scene exactly as it was in the original file.
Step 4: Use BlenderKit’s Built-In Download (For BlenderKit Users)
If you’re using BlenderKit, the process is even simpler. Once you’ve activated the add-on (it’s included with Blender by default, you just need to create a free account and log in), you can open the BlenderKit sidebar, browse for the model you want, and click Download. BlenderKit automatically downloads the model, imports it into your scene, and sets up all materials – no manual extraction or import steps required.
Troubleshooting Common Issues After Downloading
Even when you follow all the steps correctly, you might run into common issues after importing a downloaded 3D model. Most of these are easy to fix with a few quick adjustments, and knowing how to troubleshoot them will save you hours of frustration.
Missing Textures or Pink Materials
This is the most common issue new Blender users face. When you import a model and all the materials are bright pink, that means Blender can’t find the texture files the model references. This usually happens if you didn’t extract all the files from the zip, or you moved the texture files after importing.
To fix this, go to the Shading workspace, select the model, and find the texture node that has a bright pink error label. Click the error label, navigate to the extracted texture file in your asset folder, and select it. Blender will reload the texture, and the pink error will go away. To avoid this issue in the future, always keep texture files in the same folder relative to the model file, and use the "Pack Resources" option under File > External Data > Pack Resources to embed all textures into your Blender file once you’ve got everything working.
The Model Is Too Big or Too Small for My Scene
Different artists use different unit scales when creating 3D models, so it’s common for a downloaded model to be way bigger or smaller than the rest of your assets. The easiest fix is to use Blender’s scaling tool: select the model, press S (the shortcut for scale), drag your mouse to resize the model to fit your scene, and click to confirm. If you need precise scaling, you can check the dimensions of the model in the Item tab on the right sidebar and adjust the size numbers directly.
The Model Has Ngons or Non-Manifold Geometry
Low-quality free models often have messy geometry: Ngons (faces with more than four sides), overlapping vertices, or non-manifold edges that can cause issues when you try to sculpt, 3D print, or render the model. To fix this, you can use Blender’s built-in remesher or the Clean Up tool: select the model, go to Edit Mode, press A to select all geometry, then go to Mesh > Clean Up > Merge By Distance to remove overlapping vertices. For more serious issues, you can use the Remesh modifier to create a clean, new mesh that preserves the model’s shape.
Rigging or Animation Doesn’t Work
If you downloaded a rigged animated character and the armature or animations don’t work, the first thing to check is your import settings. For FBX models, make sure you checked the Import Armatures and Import Animations> options when you imported the model. If you still have issues, you might need to re-parent the armature to the mesh: select the mesh, then shift-select the armature, press Ctrl + P, and select Automatic Weights to re-bind the rig to the model.
Best Practices for Using Downloaded Models in Blender Projects
Using downloaded models doesn’t mean you can just drop them into your project and render – a little customization goes a long way to making your project feel unique and professional. Here are some best practices to follow:
Always Credit the Creator When Required
Many free licenses (like most Creative Commons licenses) require you to credit the original creator for their work. Even if it’s not required, crediting is a good practice that supports the 3D community, and it helps other artists find great assets too. For commercial projects, check if the license allows attribution-only use or if you need a commercial license – most marketplaces offer cheap commercial licenses that are well worth the cost to avoid legal issues.
Customize Assets to Avoid Generic Results
One of the biggest complaints about pre-made models is that overuse of the same popular assets makes projects look generic. You can easily avoid this by making small changes to the model: adjust the materials, change the texture color, add small details with sculpting, or combine multiple downloaded models to create a unique prop. Even 10 minutes of customization will make the asset feel original to your project.
Optimize Models for Your Project Type
Many high-poly 3D models have millions of polygons, which can slow down your Blender file and make rendering take much longer than necessary. For animation or game projects, use Blender’s Decimate modifier to reduce the polygon count while preserving the model’s shape. For still rendering, you can keep the high-poly mesh for maximum detail. Always delete any unused parts of the model (like hidden extra objects that came with the download) to keep your Blender file small and fast.
Back Up Your Assets
It’s a good idea to back up your downloaded 3D models to an external hard drive or cloud storage, so you don’t lose them if your computer crashes. Many marketplaces let you re-download assets you’ve purchased, but free assets can sometimes be removed from sites if the creator deletes their account, so backing up ensures you always have access to the assets you’ve collected.
Conclusion
Downloading 3D models for Blender doesn’t have to be complicated or risky, as long as you stick to trusted sources, use compatible file formats, and follow basic best practices for copyright and organization. Whether you’re a beginner using free assets from Poly Haven or a professional working with a BlenderKit subscription, pre-made models let you focus on the creative part of your project instead of spending hours modeling every detail from scratch. By following the steps and troubleshooting tips in this guide, you’ll be able to safely download, import, and customize any 3D model to fit your Blender project, no matter your skill level.