
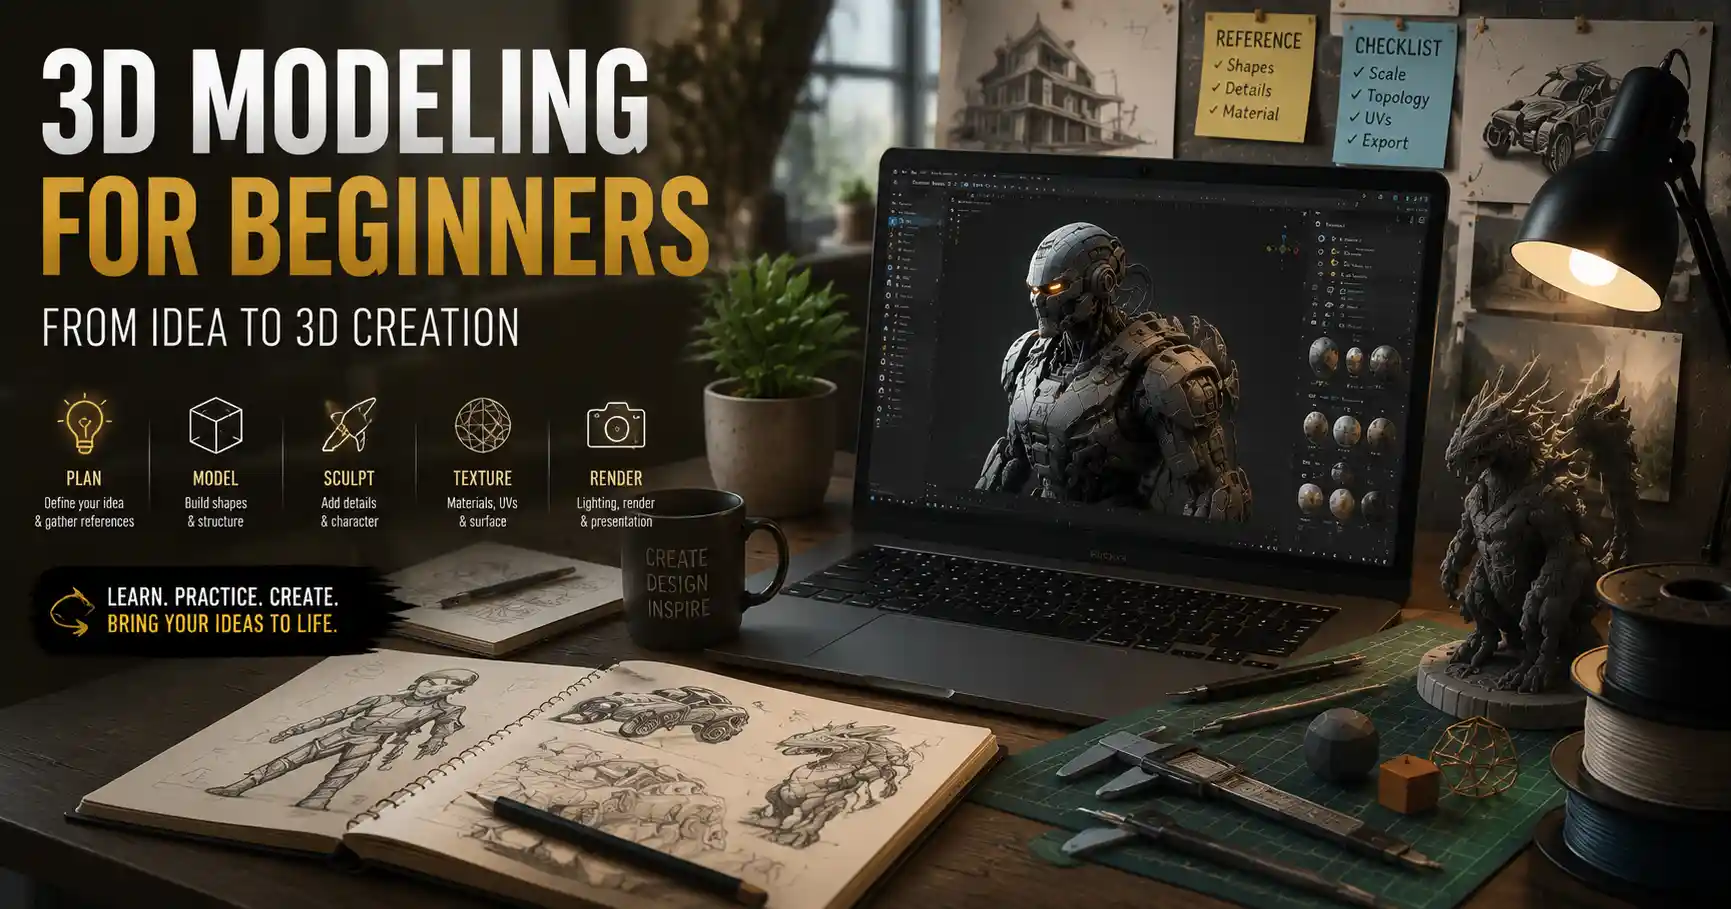
Once a tool reserved for Hollywood special effects teams and industrial design giants, 3D modeling is now accessible to anyone with a laptop and a creative idea. From independent game developers building open-world landscapes to small business owners prototyping custom products for 3D printing, 3D modeling has become a foundational skill across dozens of industries. Whether you want to design a custom phone case, animate a short film, or launch a 3D printable side hustle, the process of creating a 3D model follows a clear, learnable path that doesn’t require a four-year art degree to master.
Planning and Preparing Your 3D Model
Before you open any 3D modeling software, the most important step of the process happens off screen: planning. Skipping this step often leads to messy geometry, wasted hours reworking bad designs, and final models that don’t match your original goal. The planning phase ensures you know exactly what you’re building, what it will be used for, and what technical constraints you need to work within.
Define the purpose of your model
A 3D model for 3D printing has very different requirements than a 3D model for a mobile game, which is different again from a model for a feature film visual effect. For example, 3D printable models need to be watertight (no gaps in the surface geometry) and have wall thickness thick enough to print without breaking. Game models need to keep polygon counts low to avoid slowing down frame rates, while film models can afford millions of polygons for ultra-realistic detail.
Ask yourself a few key questions to narrow down your requirements:
- Will this model be 3D printed, used in a game, animated, or just rendered for still images?
- What is the final size of the model, if it will be produced physically?
- Does it need to move or be separated into multiple parts for assembly?
- What level of detail is required for the end use?
Gather reference material
Even the most experienced 3D artists don’t build models from memory. Reference images are your most valuable tool for capturing accurate proportions, textures, and small details. If you’re building an original character design, collect sketches, color palettes, and photos of real-world objects that inspired your design. If you’re modeling an existing object like a coffee mug or a vintage camera, take photos from every angle: front, back, sides, top, bottom, and close-ups of any unique details like logos or textures.
For more complex projects, you can even use photogrammetry software to generate a rough 3D base model from your photos, which you can then clean up and refine. This is a common trick for artists modeling real-world objects quickly.
Choose the right 3D modeling software
The 3D modeling space has options for every budget and skill level, and no single tool is right for every project. Beginners don’t need to pay for expensive software to get started: free options like Blender offer all the functionality most hobbyists and even professionals need. For 3D printing and industrial design, Fusion 360 offers a free license for hobbyists and is built specifically for parametric modeling, which makes it easy to adjust dimensions later. If you’re interested in architectural visualization, tools like SketchUp are intuitive for modeling buildings and interiors.
Paid options like Maya, 3ds Max, ZBrush, and SolidWorks are industry standards for professional studios, but they come with steep subscription costs and steeper learning curves. For beginners, starting with a free tool that matches your project goal is almost always the best choice.
Choosing a Modeling Workflow Based on Your Project
Not all 3D modeling is the same. Different workflows are designed for different types of projects, and understanding the differences will help you avoid frustration and choose the right approach from the start.
Polygon modeling (box modeling)
Polygon modeling, also called box modeling, is the most common starting point for beginners and the standard workflow for game art, character modeling, and animation. The process starts with a basic primitive shape: a cube, sphere, or plane. You then gradually subdivide the shape into smaller polygons, pushing and pulling vertices, edges, and faces to refine the shape into what you want.
For example, if you’re modeling a chair, you’d start with a cube for the seat, extrude four legs out from the bottom, add a backrest, and then round the edges to match your reference. Box modeling is flexible, works for almost any organic or hard-surface shape, and is supported by every 3D modeling program on the market. It’s also the best workflow for learning the core fundamentals of 3D geometry.
Parametric and CAD modeling
Parametric modeling, the core workflow for computer-aided design (CAD), is built for precision engineering and product design. Instead of pushing and pulling individual polygons, you build your model by defining exact dimensions and relationships between features. If you change the size of one part, the whole model updates automatically to match, which is incredibly useful when you’re iterating on a product design or need exact measurements for 3D printing or manufacturing.
For example, if you’re designing a custom bracket to mount a phone to a bike handlebar, parametric modeling lets you input the exact diameter of your handlebar and phone, and any adjustment you make to one measurement updates the entire design automatically. This workflow is preferred for industrial design, architecture, mechanical parts, and any project that requires precise dimensions.
Sculpting
Digital sculpting works like traditional clay sculpting, but in a 3D space. You start with a solid base mesh and use sculpting brushes to push, pull, pinch, and smooth the surface to add high-resolution detail. It’s the go-to workflow for organic shapes like characters, creatures, and busts, where you want natural, subtle details like skin pores, wrinkles, or muscle definition that are hard to get with box modeling.
Most professional character artists use a combination of workflows: they block out the basic shape with box modeling, sculpt high-resolution details in ZBrush or Blender’s sculpt mode, then retopologize the high-resolution sculpt into a clean, low-polygon model for game or animation use. Digital sculpting is incredibly intuitive for artists who come from a traditional art background, as it mimics the feel of working with physical clay.
“The best 3D model isn’t the one with the most polygons—it’s the one that perfectly serves its purpose. I’ve seen beginner artists waste weeks adding tiny details no one will ever see, when a simpler model would have done the job just as well.”
The Step-by-Step Modeling Process
Regardless of which workflow you choose, creating a clean, usable 3D model follows a standard step-by-step process. We’ll break it down into clear, actionable steps that apply to almost any 3D project.
- Block out the basic shape: Start with primitive shapes (cubes, spheres, cylinders) to block out the overall proportions and major forms of your model. Don’t worry about small details at this stage. Focus on getting the big shapes right: if the proportions of your basic blockout are wrong, no amount of detail added later will fix the model. For example, if you’re modeling a human head, your first blockout should capture the overall size, the position of the jaw, and the curve of the skull before you add eyes or nose.
- Refine the form and add major details: Once you’re happy with the blockout, start refining the shape and adding larger details. For a hard-surface model like a car, this means adding the wheel wells, the shape of the hood, and the outline of the windows. For a character model, this means defining the muscle groups, the shape of the facial features, and the outline of the hands and feet. At this stage, keep checking your reference images to make sure your proportions stay accurate. It’s common to flip your model horizontally every 10-15 minutes to reset your eye and catch proportion mistakes you’d otherwise miss.
- Add fine details: Once the major forms are correct, add small, fine details like bolts, buttons, skin texture, wood grain, or engravings. How much detail you add depends entirely on the end use of your model. If you’re making a 3D model for a 3D print that will be painted by hand, you only need to add details large enough to print clearly. If you’re making a model for a close-up film shot, you’ll need fine details that hold up when the camera is inches from the surface. A common rule of thumb: only add a detail if it will be visible in the final render or product.
- Clean up your geometry This is the step most beginners skip, and it’s the most common reason final models don’t work as intended. Cleaning up your geometry means removing unnecessary polygons, fixing inverted normals (faces that point the wrong way, which make the model see-through when rendered), closing any gaps in the surface, and ensuring your mesh is topologically clean. For game models, this means creating a clean topology (the arrangement of polygons) that deforms well when animated. For 3D printable models, this means making sure the model is watertight with no overlapping faces or holes that will cause the slicer software to fail.
- Unwrap UVs: If you’re going to add textures to your model, you need to unwrap UVs. UV unwrapping is the process of unfolding your 3D mesh into a flat 2D map, so you can apply 2D texture images to the surface. Think of it like creating a 2D pattern that you can wrap around a 3D shape, just like a sewing pattern for fabric. Most modern software has automatic UV unwrapping tools that work well for simple models, but complex models like characters usually require manual adjustment to get clean, distortion-free UVs.
One common mistake beginners make at this stage is holding onto bad geometry because they’ve already spent hours on it. If your blockout proportions are wrong, or your mesh is messy beyond repair, don’t be afraid to start over. Most 3D artists will redo a model two or three times before they get a result they’re happy with, and each attempt teaches you something new that makes the next version better.
Texturing, Shading, and Exporting Your Model
Once your 3D mesh is complete, the next step is adding color, texture, and material properties to make it look realistic or match your creative vision, then exporting it in a format that works for your end use.
Texturing and shading
Shading defines how your model interacts with light, while texturing adds color and surface detail. For example, a plastic water bottle and a stainless steel water bottle have the same shape, but different materials: plastic is matte and reflects light softly, while steel is shiny and reflects sharp highlights. A texture adds the specific color of the bottle, any logos, and small surface details like scratches or scuffs.
Modern PBR (physically based rendering) workflows make it easy to create realistic textures that look correct in any lighting environment, and this is the standard for games, film, and architectural visualization today. PBR uses a set of standard texture maps: base color, roughness, metallic, and normal maps. Normal maps let you add fine surface details like bumps or grooves without adding extra polygons to your model, which keeps file sizes and render times low.
Beginner-friendly options like Substance Painter make it easy to texture your model with thousands of pre-made smart materials that automatically add wear and tear, dirt, and other realistic details. If you’re on a budget, Blender also has built-in texture painting tools that work well for most projects.
For 3D printing, you don’t always need textures if you’re going to paint the model after printing. But if you’re using a multi-color 3D printer, you can add color textures to your model that the printer will use directly.
Checking for errors
Before you export your model for use, always run a final error check to catch issues that will cause problems later. For 3D printing, use a built-in analysis tool like Blender’s 3D Print Toolbox or Meshmixer to check for common issues like non-manifold geometry, overlapping faces, and holes. For game models, check your polygon count to make sure it fits within the limits of your target platform: a mobile game usually needs models under 10,000 polygons, while a high-end PC game can handle models with 100,000+ polygons.
Exporting in the right file format
Different end uses require different file formats, and using the wrong format can break your model or lose important data. Some of the most common formats include:
- STL: The standard file format for 3D printing. It only stores surface geometry, not textures or materials, which is fine for 3D printing but not useful for games or animation.
- OBJ: A universal format that stores geometry and UV information, so it works well for sharing models between different software programs. It’s supported by almost every 3D tool and 3D printing service.
- FBX and GLB/GLTF: The standard formats for games and interactive 3D. They store geometry, textures, materials, and even animation data, so they’re perfect for exporting models to game engines like Unity or Unreal.
- STEP: The standard format for CAD and manufacturing. It stores parametric data, so you can edit dimensions in other CAD programs, which makes it ideal for industrial design and mass production.
If you’re sharing your model online for others to download, it’s a good idea to export it in multiple common formats to make it accessible to as many users as possible.
Common Beginner Mistakes to Avoid
Every new 3D artist makes mistakes when they’re starting out, but being aware of the most common issues can help you fix them faster and avoid wasting hours of work.
Adding too much detail too early
It’s tempting to jump into adding small details like buttons or engravings as soon as you start modeling, but if your basic proportions are wrong, all that detail will be wasted. Always work from big shapes to small details: get the overall form right before you add any fine details. This is one of the most fundamental rules of 3D modeling, and it applies to every workflow from box modeling to digital sculpting.
Ignoring topology
Topology refers to how your polygons are arranged on the mesh. Beginners often end up with messy, irregular topology that causes problems when you try to subdivide, animate, or 3D print the model. Even if you’re just starting out, take the time to learn the basics of clean topology: keep polygons as four-sided quads where possible, avoid poles (points where more than four edges meet) in areas that need smooth deformation, and don’t leave unnecessary triangles or n-gons (polygons with more than four sides) scattered through your mesh. Clean topology makes every later step easier, from sculpting to animation to 3D printing.
Not saving iterations of your work
It’s not uncommon for a 3D file to become corrupted, or for you to realize a change you made an hour ago ruined the model. Always save incremental versions of your work as you go: for example, chair_blockout_v1.blend, chair_refined_v2.blend, chair_final_v3.blend. This way, if something goes wrong, you can always go back to an earlier version instead of starting over from scratch. Most software also has an auto-save feature, but it’s still good practice to save manual iterations at major milestones.
Comparing your beginner work to professional work
Social media is full of incredible, hyper-realistic 3D models made by artists with 10+ years of experience. It’s easy to get discouraged when your first model doesn’t look like that. Remember that every professional started exactly where you are, and creating a good 3D model is a skill that takes time and practice to build. Even your first lopsided cube is a step forward, and every model you make teaches you something new.
Conclusion
Creating a 3D model is a process that combines creative vision, technical precision, and practice. It can feel overwhelming when you’re just starting out, but breaking the process down into manageable steps makes it accessible to anyone. Start with a clear plan, choose the right software and workflow for your project, work from big shapes to small details, and don’t skip the critical step of cleaning up your geometry before exporting. As you practice, you’ll develop your own workflow and learn what works for your style and project goals.
The best way to learn 3D modeling is to start small, finish your first simple project, and then build on that experience. Instead of jumping straight into a complex 10-character animation, start with something simple like a coffee mug or a chair. Finishing even a small project will give you the confidence and skills to take on bigger, more complex projects later. With the abundance of free software, free tutorials, and online communities available today, there’s never been a better time to start learning 3D modeling.