
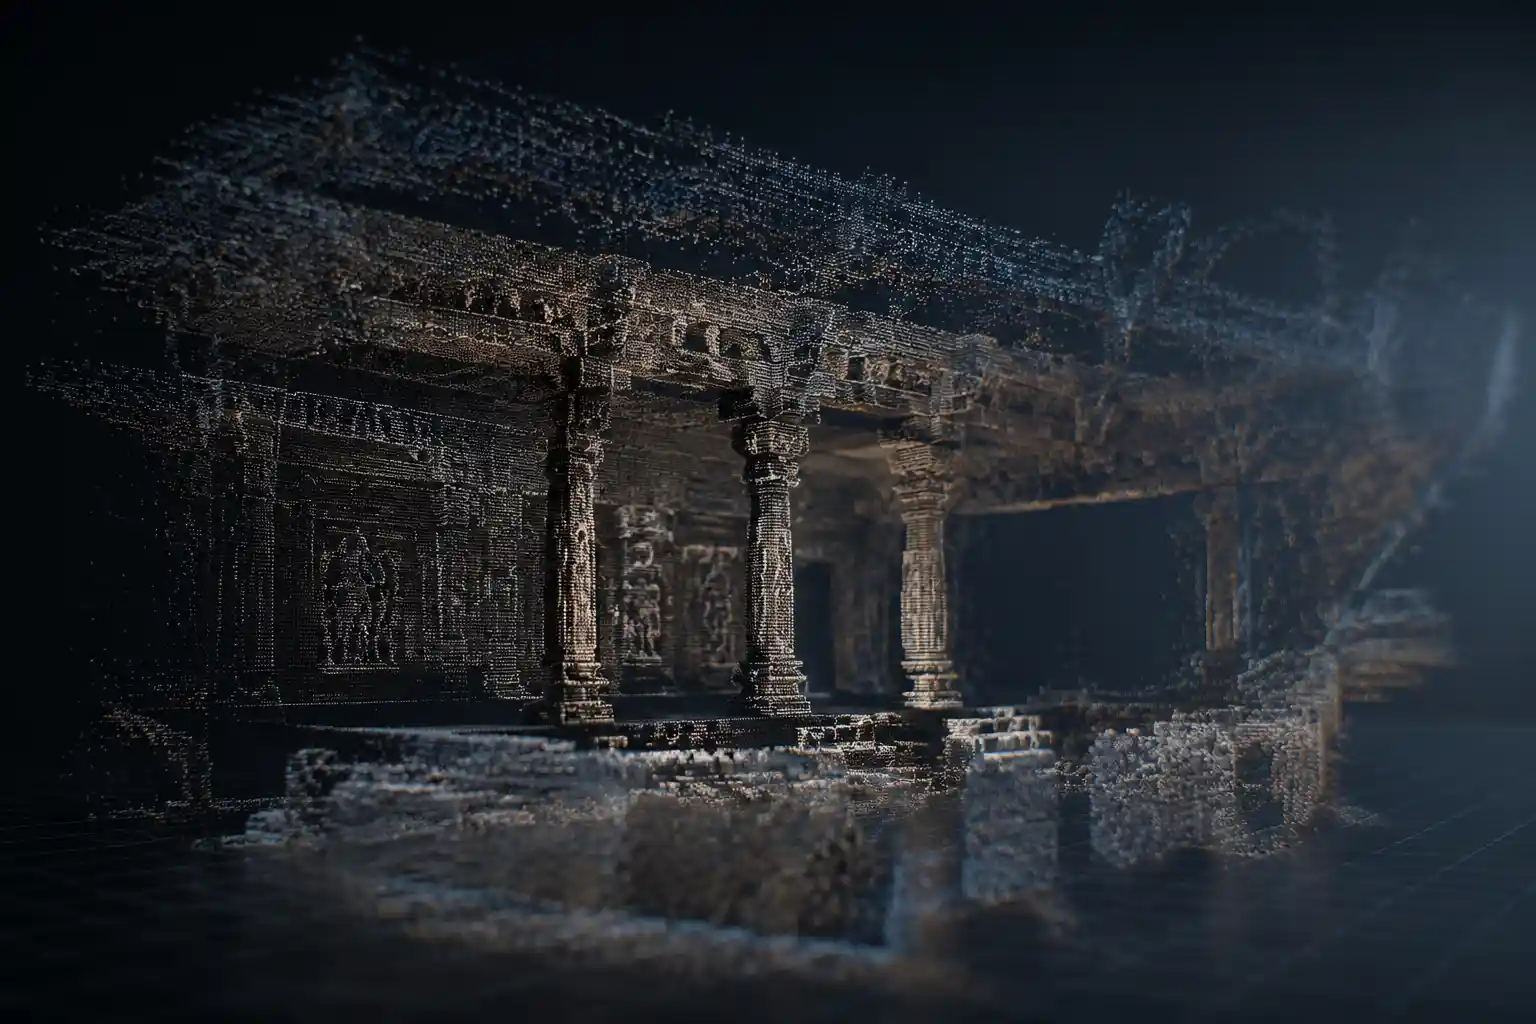
Walk through any modern construction site, archaeological dig, or automotive design studio these days, and you’ll likely spot a technician waving a handheld device over a physical object, capturing thousands of data points per second. That device is a 3D scanner, and the data it produces is called a point cloud: a massive collection of coordinate points that map the exact shape and surface of an object. While point clouds are incredibly useful for measurement and documentation, they aren’t usable 3D models for design, 3D printing, virtual reality, or simulation. Converting that raw point data into a clean, solid 3D model is a critical step that bridges the physical and digital worlds. Whether you’re a freelance designer, a civil engineer, or a hobbyist exploring 3D scanning, understanding this process will help you turn real-world objects into digital assets you can actually use.
What Is a Point Cloud, and Why Convert It?
Before diving into the conversion process, it helps to clarify what a point cloud actually is. When you scan an object with a LiDAR scanner, structured light scanner, or even a photogrammetry tool, the scanner records the X, Y, and Z coordinates of every surface it detects. Many scanners also add color (RGB) or intensity data to each point, so you can map texture onto the final model. The result is a loose collection of points that looks like a 3D “sketch” of the object, but it has no connected surfaces, no solid volume, and no defined geometry that 3D software can work with for most applications.
Raw point clouds are valuable on their own for surveying, volume calculations, and as-built documentation, but they can’t be used for most common downstream workflows. If you want to 3D print a replica of a scanned artifact, reverse-engineer a broken machine part, or add a scanned building to a video game environment, you need a 3D model. That means converting the unstructured point data into a polygon mesh (the most common 3D model format) or a solid CAD model for engineering applications.
Common use cases for point cloud to 3D model conversion- Architecture, Engineering, and Construction (AEC): Convert scanned as-built buildings to BIM (Building Information Modeling) models to plan renovations or confirm that new construction matches original designs.
- Archaeology and Cultural Heritage: Create digital 3D models of fragile artifacts to preserve them for future research and share them with museums around the world without risking damage to the original object.
- Reverse Engineering: Scan an existing physical part to create a CAD model that can be modified or reproduced, a common workflow in automotive, aerospace, and manufacturing.
- Entertainment and Media: Scan real props, actors, or locations to create realistic 3D assets for movies, video games, and virtual reality experiences.
- Hobbyist and Maker Projects: Scan a hand-carved wooden sculpture or a vintage part to 3D print copies for personal use or custom projects.
The complexity of the conversion process depends on the size of the point cloud, the level of detail required, and the intended use of the final model. A small artifact scanned for 3D printing can be processed in minutes with consumer software, while a full 10-story building point cloud can take days of work from a trained professional to turn into a usable BIM model.
Pre-Processing: Clean Your Point Cloud First
Even the best 3D scanners produce messy raw point clouds. Before you start converting to a 3D model, you need to clean up the data to remove errors and reduce file size. Skipping this step almost always leads to a messy, inaccurate final model, so it’s worth taking the time to do it right.
Key Pre-Processing Steps- Remove outliers and noise: Outliers are stray points that don’t belong to your object, often caused by dust in the air, reflections on shiny surfaces, or accidental capture of background objects. Most conversion software has automatic outlier removal tools that delete points that are far from the main point group, but you’ll usually need to manually delete remaining unwanted points with a selection tool. For example, if you scan a small vase sitting on a table, you’ll need to remove all points that belong to the table and the background wall before processing.
- Reduce point density: High-resolution scanners can produce tens of millions of points for even small objects, and hundreds of millions for large sites. More points don’t always mean a better model, and excess data will slow down your software and make conversion take much longer. Most tools let you downsample (or decimate) the point cloud to reduce the total number of points while preserving the key shape and detail of the object. As a general rule, only keep as many points as you need for the level of detail your project requires.
- Close gaps and fill missing data: Every scan has gaps, caused by occlusions (parts of the object hidden from the scanner’s view), reflective surfaces that don’t capture points, or dark materials that absorb the scanner’s light. Small gaps can usually be filled automatically during conversion, but large gaps will require manual editing. Some users fill large gaps by manually adding points, while others align multiple scans from different angles to cover missing areas before processing.
- Align and merge multiple scans: If you’re scanning a large object or a full site, you’ll need to take multiple scans from different angles to capture every side. Pre-processing is when you align (register) these separate scans into a single unified point cloud, matching common reference points between scans to ensure they fit together correctly.
One common mistake new users make is trying to work with raw, unedited point clouds directly in conversion software. This often results in extra geometry where background points were captured, holes in the model where gaps were left unfilled, and extremely long processing times that can crash less powerful computers. Spending 10-15 minutes cleaning a small point cloud before conversion will save hours of rework later.
Two Main Conversion Workflows: Mesh vs. CAD Model
Once your point cloud is cleaned up, the actual conversion process begins. The workflow you use depends entirely on what type of 3D model you need: a polygon mesh for visualization, 3D printing, or games, or a parametric CAD model for engineering, manufacturing, or BIM. These two workflows are very different, so it’s important to choose the right one before you start.
1. Converting Point Cloud to Polygon MeshA polygon mesh is the most common 3D model format, made up of connected triangles (or polygons) that form the surface of the object. This is the standard format for 3D printing, game assets, animation, and visualization. The conversion process from point cloud to mesh is called surface reconstruction, and most modern software does most of the work automatically.
The core algorithm behind most automatic mesh reconstruction is called Poisson surface reconstruction. This algorithm analyzes the position and normal direction (the direction each point is facing) of your points and generates a continuous surface that fits the point data, filling small gaps and smoothing out minor noise. For most simple to moderately complex objects, automatic reconstruction produces a usable mesh in just a few minutes.
After automatic reconstruction, you’ll usually need to do a bit of post-processing to clean up the mesh:
- Remove duplicate faces or non-manifold geometry (geometry that violates the rules of 3D modeling, which can break 3D printing or other downstream workflows)
- Decimate the mesh to reduce the total number of polygons, making it easier to work with
- Smooth uneven areas caused by scan noise, being careful not to remove important fine detail
- Close any remaining holes in the mesh, especially if you plan to 3D print the model
- Apply the original RGB color data from the point cloud as a texture map if you need a colored model
For example, if you scan a wooden bowl for 3D printing, automatic reconstruction will give you a basic mesh that matches the shape of the bowl. You’ll then close the small hole on the bottom left from an occlusion, reduce the polygon count so your 3D printer software can handle the file, and export it as an STL (the standard file format for 3D printing).
2. Converting Point Cloud to Parametric CAD ModelWhile mesh models work for visualization and 3D printing, engineering and construction projects require accurate, editable solid models with defined geometric features. That’s where parametric CAD (Computer-Aided Design) modeling comes in. Unlike a mesh, which is just a collection of surface triangles, a parametric CAD model is made of editable solid features (like holes, curves, and extrusion) that you can modify later. This is essential for reverse engineering, parts manufacturing, and BIM, where you need to change dimensions or add new features to the scanned object.
Converting a point cloud to a CAD model is almost never fully automatic. It’s a process of drawing new geometry that fits the point cloud data, rather than generating a surface directly from the points. The general workflow looks like this:
- Import the cleaned point cloud into your CAD software as a reference layer.
- Extract key geometric features from the point cloud: for example, the straight edge of a wall, the radius of a cylindrical machine part, or the position of a bolt hole.
- Build the solid model feature by feature, snapping each new geometry to the reference points from the scan.
- Compare the finished CAD model to the original point cloud to check for deviations and ensure accuracy meets your project’s tolerances.
For example, if you’re reverse-engineering an old aluminum car wheel that no longer has CAD files available, you’d start by importing the scanned point cloud into SolidWorks or Fusion 360. You’d then extract the center point of the wheel, the radius of the outer rim, the position of each bolt hole, and the curve of the spokes. You’d then build each feature as an editable solid, so you can later adjust the bolt pattern to fit a different car hub if needed.
“Point cloud to CAD conversion isn’t about copying the point data exactly — it’s about recapturing the design intent of the original part. A good CAD model will be editable and accurate to within the required tolerances, not just a pixel-perfect copy of every tiny surface scratch from the scanned part.”
There are now tools that can automate parts of the CAD conversion process, automatically detecting primitive shapes (cylinders, planes, boxes) and turning them into editable features. This speeds up the process a lot for objects with lots of standard geometric features, like building interiors or mechanical parts. But for complex organic shapes, like a custom car body or a sculpted artifact, you’ll still need to do a lot of manual work to create an editable parametric model.
Choosing the Right Software for Your Project
There are dozens of software options for point cloud conversion, ranging from free open-source tools for hobbyists to enterprise-level packages for professional AEC and manufacturing teams. The right tool for you depends on your budget, the size of your point cloud, and what type of model you need.
Free and Open-Source Options for Hobbyists and Small ProjectsIf you’re just getting started with 3D scanning or working on a personal hobby project, you don’t need to spend thousands of dollars on software. These free tools handle most small to medium conversion projects easily:
- MeshLab: The most popular open-source tool for point cloud processing and mesh generation. It supports very large point clouds, has all the pre-processing tools you need (outlier removal, downsampling), and includes multiple surface reconstruction algorithms. It’s completely free, though the interface is a bit clunky for new users. It’s best for converting point clouds to polygon meshes, not CAD models.
- CloudCompare: Another free open-source tool, popular with surveyors and archaeologists for processing large point clouds. It has powerful editing and alignment tools, and can export meshes for downstream use. Like MeshLab, it’s focused on mesh generation, not CAD conversion.
- Blender: Blender, the popular free 3D modeling software, has add-ons that let you import point clouds and generate meshes directly. It’s a great option if you already use Blender for 3D modeling and want to do all your work in one program.
If you need more features than free tools offer and have a moderate budget, these options sit between free open-source tools and enterprise software:
- Agisoft Metashape: A popular photogrammetry tool that can also process laser scan point clouds and generate high-quality meshes automatically. It’s widely used for cultural heritage and entertainment projects, and costs around $180 for a perpetual license. It does most of the conversion work automatically, with good results for organic shapes.
- Autodesk Fusion 360: Fusion 360 is a popular CAD tool for makers and small businesses, and it has built-in point cloud import and mesh generation tools, plus the ability to build CAD models from point cloud references. It costs around $60 per month, and is a great all-in-one option if you need to do both mesh and CAD conversion.
- ReCap Pro: Autodesk ReCap Pro is specifically designed for point cloud processing and mesh conversion, and integrates smoothly with other Autodesk tools like AutoCAD and Revit. It’s popular with AEC professionals, and costs around $32 per month.
For large projects like full building BIM conversion or high-volume reverse engineering, enterprise tools offer specialized features and support for very large point clouds:
- Geomagic Design X: Widely considered the industry standard for point cloud to CAD reverse engineering. It has advanced automatic feature detection tools that speed up CAD conversion, and integrates with all major CAD packages. Licenses start around $10,000, so it’s mostly used by professional manufacturing and engineering teams.
- Revit (for BIM): Autodesk Revit is the standard for BIM modeling, and it can import point clouds as references for building architectural, structural, and MEP models. Most as-built BIM conversion projects use Revit alongside ReCap Pro for point cloud processing.
- ContextCapture: Bentley’s ContextCapture is designed for processing large survey and drone point clouds into meshes and 3D models of entire sites and cities. It’s used for infrastructure projects and large-scale mapping.
When choosing software, don’t overbuy. If you’re a hobbyist scanning small artifacts for 3D printing, MeshLab will do everything you need for free. If you’re a professional reverse engineer doing 10 projects a month, Geomagic Design X will save you enough time to justify the cost.
Common Challenges and Practical Tips for Better Results
Even if you follow all the steps correctly, you can run into common issues that lead to inaccurate or messy 3D models. These practical tips will help you avoid the most frequent mistakes and get better results from your conversion.
1. Scan with conversion in mind from the startThe quality of your final 3D model depends almost entirely on the quality of your original point cloud. If your scan has gaps, noise, or misaligned sections, conversion will never produce a good model. When scanning, take extra time to capture every angle of the object, overlap scans by at least 30% to make alignment easier, and clean reflective or dark surfaces to reduce noise. For large objects, use physical reference markers to make alignment more accurate.
2. Don’t keep more points than you needMany new users think that more points equal a better model, but excess point density just slows down processing and can add unwanted noise to your mesh. Downsample your point cloud during pre-processing to the minimum level of detail you need. For example, if you’re scanning a building for a BIM model, you don’t need 1mm resolution to capture the position of walls and doors. Reducing your point count from 100 million to 10 million will make conversion 10x faster without losing any important detail.
3. Manage your file sizesFull-resolution point clouds and high-poly meshes can be hundreds of gigabytes, which is too big for most personal computers to handle. If you’re working with a large point cloud, split it into smaller sections to process, or use software that supports streaming point cloud data so you only work on one part of the model at a time. For meshes, always decimate after conversion to reduce the polygon count for downstream use.
4. Check for accuracy after conversionAlways compare your finished 3D model to the original point cloud to check for deviations. Most conversion software has built-in tools that overlay the model on the point cloud and highlight areas that are more than your acceptable tolerance out of alignment. This is especially important for engineering and construction projects, where even a few millimeters of error can cause major problems.
5. Know when to use manual editingAutomatic conversion tools are great, but they can’t fix bad scan data. If you have a large gap in your point cloud, don’t rely on automatic filling to get the shape right. It’s better to go back and re-scan that section if you can, or manually edit the mesh or CAD model to match the actual shape of the object.
Conclusion
Converting a point cloud to a 3D model is a process that ranges from a few minutes of automatic processing for a small hobby project to days of detailed work for a large commercial construction project. At its core, the workflow follows the same basic steps: clean your raw point cloud, choose the right conversion path (mesh for visualization and 3D printing, CAD for engineering and editing), use software that fits your budget and project needs, and do a final check to confirm accuracy. The key to success is understanding what you need the final model for before you start, and not skipping the critical pre-processing step that makes conversion easy. As 3D scanners get cheaper and more accessible, point cloud conversion is becoming a core skill for everyone from makers to professional engineers, bridging the gap between the physical world and the unlimited possibilities of digital 3D work. With the right tools and a bit of practice, anyone can turn a raw scan of a real object into a usable, accurate 3D model.