
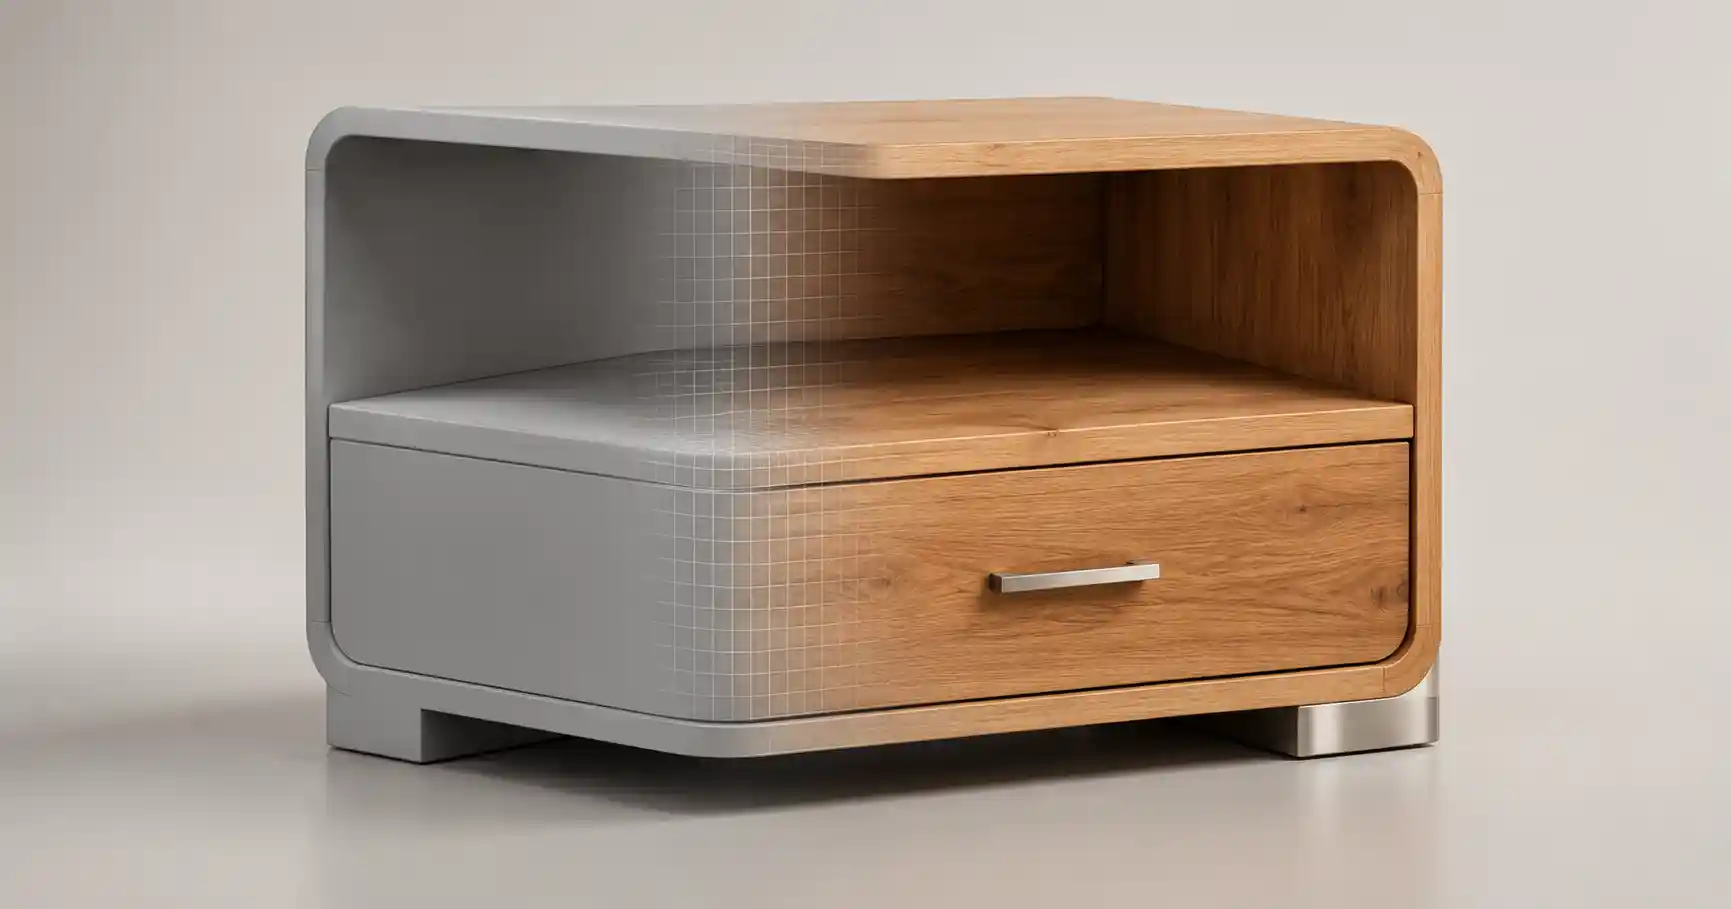
Whether you’re 3D printing a custom phone case, designing a building in architectural software, creating a digital game asset, or restocking a craft workshop, adding the right materials makes the final product work as intended. Materials define how an object looks, feels, performs, and even how much it costs to produce. For beginners, the process of adding materials can feel confusing—different tools and industries follow different workflows, and small mistakes early on can lead to disappointing results later. This guide breaks down the core principles of adding materials across common use cases, from digital design to physical production, so you can confidently select, import, and apply materials that fit your project.
Understanding the Different Types of Materials You Might Add
Before you start adding materials to your project, it’s important to clarify what kind of materials you’re working with. The process looks very different depending on whether you’re creating a digital project or a physical one, and each category has its own unique properties to consider.
Digital materials for visual and interactive projects
In digital design, 3D modeling, game development, and rendering, materials are data files that define how a digital surface responds to light. Unlike physical materials, they don’t have tangible mass, but they replicate the appearance and behavior of real-world substances. Common digital materials include basic textures like brick, wood, and metal, as well as specialized materials like translucent glass, fabric with woven patterns, or water that refracts light correctly. For interactive projects like video games or AR/VR applications, digital materials also include performance data that determines how the material responds to user interaction—for example, a leather material might have different friction properties than ice for a collision simulation.
Physical materials for manufacturing and handcrafting
For physical projects, adding materials means sourcing, cutting, shaping, and integrating tangible substances into your work. This could mean adding oak wood panels to a custom cabinet, adding PLA filament to a 3D printer, or adding silk fabric to a sewing project. In industrial settings, adding materials often follows precise bill of materials (BOM) documentation that specifies exactly what type, grade, and quantity of each material is needed. For small-scale crafters or DIY builders, it might mean selecting materials from a local supplier based on availability and budget.
Many modern projects combine both digital and physical materials. An industrial designer might first add a aluminum material to their digital 3D model to render how the final product will look, then source the actual aluminum sheet to cut and assemble the physical prototype. Understanding which type of materials you’re working with from the start will save you time and prevent mismatches between your plan and your final result.
Preparing Your Project Before Adding Materials
One of the most common mistakes beginners make is adding materials before their base project is ready. A great material can’t fix a poorly prepared model or an unplanned design, so taking the time to prep your work will lead to much better results. The prep process varies slightly by project type, but the core steps are consistent across use cases.
Clean up your base geometry or structure
For digital 3D projects, materials are applied to surface geometry, and errors in that geometry will show through clearly once a material is added. If your model has overlapping faces, non-manifold edges, or ungrouped components, adding a texture will only highlight those issues. For example, if you’re adding a wood grain material to a table model, a small hole in the table surface that was easy to miss in the default gray view will become immediately obvious once the grain is applied.
For physical projects, this step means prepping your base structure before adding new materials. If you’re adding tile to a bathroom wall, you need to make sure the underlying drywall is smooth, clean, and free of loose paint before you lay any tile. If you’re adding a new leather grip to a knife handle, you need to sand and shape the core handle first to ensure the leather fits snugly.
Organize your layers, groups, or components
When you’re adding multiple different materials to a single project, organization is key. In digital design tools like Blender, SketchUp, or Adobe Substance, you should separate each part of your model that will use a different material into its own group or layer. For example, if you’re designing a kitchen, you would group the cabinets, the countertop, the backsplash, and the hardware separately so you can apply a different material to each without accidentally changing other parts of the model.
For physical projects, this means creating a clear cut list or bill of materials that outlines each material you need, its dimensions, and its placement. A common DIY mistake is buying all your materials at once without a clear list, only to end up with the wrong type of wood for the frame and too much of the expensive veneer for the accents. Organizing your needs upfront avoids this waste.
Gather or source your materials in advance
Nothing derails a project faster than stopping halfway through to find the right material file or source a missing physical sheet. For digital projects, this means downloading or creating your material files before you start applying them. If you’re using custom textures, make sure they’re the right resolution for your project: a 4K texture is overkill for a mobile game asset that will only be a few inches wide on a phone screen, while a 72DPI texture will look blurry when rendered for a large architectural print. For physical projects, source all your materials and inspect them for defects before you start working. If you’re adding reclaimed wood to a table, check for rot or nails before you cut it, so you don’t ruin a saw blade or end up with a weak finished product.
When adding materials, 90% of good results come from preparation. The actual application is the easy part—if you’ve done the work to get everything ready beforehand.
Step-by-Step Process to Add Digital Materials
Adding digital materials follows a consistent workflow across most 3D design and modeling tools. Whether you’re using Blender, Autodesk Fusion 360, SketchUp, or SolidWorks, these steps will help you add materials correctly and avoid common issues.
- Import or locate your material in the software library
Most modern design tools come with a built-in library of default materials, from basic plastics to hardwoods to metals. If a default material fits your needs, simply select it from the library. For custom materials (for example, a branded color plastic or a specific type of marble), you’ll need to import your texture files into the project. Most tools let you import PNG, JPG, or TIFF texture maps, and many support PBR (physically based rendering) material sets that include separate maps for albedo, roughness, normal, and metallic properties. Save your material files in the same project folder as your model to avoid broken file paths later. - Assign the material to the correct surface or component
Once your material is loaded in the project, select the part of the model you want to apply it to, then click assign. In some tools, you can drag and drop the material directly onto the component. Double-check that you haven’t accidentally assigned the material to the wrong part—this is a common mistake when working with complex models with hundreds of components. For example, it’s easy to accidentally assign a glass material to your window frame instead of the window pane if you don’t double-check your selection. - Adjust material properties for your use case
Even pre-made materials often need small adjustments to fit your project. If you’re adding a brick material to a wall, you might need to adjust the texture tiling so the bricks are the correct size, instead of the default 1-foot tiles that come with the material. For PBR materials, adjust the roughness to match the real surface: a polished aluminum will have very low roughness (it reflects light sharply), while a brushed aluminum will have higher roughness for a more diffuse reflection. If you’re working on an interactive project, adjust the material’s performance settings—lower resolution textures for mobile, for example, to keep the project running smoothly. - Preview and test the material in context
Before finalizing your material, render a quick preview with the lighting conditions that match your final output. A wood material that looks great in bright studio light might look muddy in the dim indoor lighting of a architectural render. For game assets, test the material in motion to make sure it looks correct as the camera moves around the model. If you notice stretching, blurriness, or odd light reflection, go back and adjust the texture mapping or material properties before moving forward.
Common issues when adding digital materials and how to fix them
Even with careful prep, you might run into common problems when adding digital materials. Here are the most frequent issues and simple fixes:
- Texture stretching: This happens when the UV mapping of your model doesn’t match the texture scale. Unwrap the model’s UVs again, and adjust the texture tiling to fix stretching on curved or irregular surfaces.
- Broken file paths: If your material shows up as a plain gray or a checkerboard pattern after you open the project, the software can’t find your texture files. Relink the material to the saved texture files in your project folder to fix this.
- Slow render or performance: If your project lags after adding high-resolution materials, downscale the texture resolution to match your project’s needs. For final renders, you can use higher resolutions, but for work-in-progress, lower resolutions keep the project fast.
Step-by-Step Process to Add Physical Materials
For physical projects, from DIY builds to mass manufacturing, adding materials requires careful planning and safety precautions, along with precise integration into your existing structure. This workflow applies to everything from small craft projects to large construction work.
- Confirm material specifications and safety requirements
Before you add any physical material to your project, double-check that it meets all requirements for strength, durability, and safety. If you’re adding structural material to a deck, for example, you need to confirm that the wood you’ve chosen is pressure-treated for ground contact and can support the weight the deck will hold. If you’re adding insulation to a wall, confirm that it’s fire-rated for your location. For any material that will be used around food, make sure it’s food-safe, and for materials used in children’s toys, confirm they don’t contain toxic chemicals like lead. Always wear the appropriate personal protective equipment (PPE) when cutting, shaping, or installing materials—goggles for cutting wood, gloves for handling fiberglass, and a mask for sanding or painting. - Cut and shape the material to fit your project
Once you’ve confirmed the material is suitable, cut it to match the dimensions in your cut list or plan. Always measure twice before cutting—this old adage holds true for every type of physical project. If you’re adding a new material as a layer on top of an existing surface (for example, adding veneer to a cabinet door), do a dry fit before you apply any adhesive. Dry fitting lets you adjust for small discrepancies in size or shape before you permanently attach the material, which is much easier to fix than reworking a glued panel. - Secure the material with the appropriate fasteners or adhesives
Not all adhesives work with all materials, and choosing the wrong one can lead to your material falling apart over time. For example, gluing plastic to wood requires a different adhesive than gluing metal to fabric, and outdoor projects need waterproof adhesive that won’t break down in rain. For structural materials, use the correct type and size of fasteners—screws are better than nails for holding heavy load-bearing materials, for example. Follow the manufacturer’s instructions for curing time: many adhesives need 24 hours to reach full strength, so don’t put weight on the joint before it’s fully cured. - Finish and seal the material if needed
Many materials need a finishing step after they’re added to protect them and improve their appearance. If you’ve added a wood material to a countertop, you’ll need to seal it with polyurethane or mineral oil to protect it from water and stains. If you’ve added a metal material to an outdoor sculpture, you might need to add a clear coat to prevent rust. For fabric materials added to upholstery, you might add a stain-resistant spray to extend the life of the material. This finishing step is often overlooked, but it makes a huge difference in how long your added material will last.
Sourcing sustainable and cost-effective materials
For most creators, cost and sustainability are key considerations when adding materials. If you’re working on a budget, check for surplus or reclaimed materials from local suppliers—many lumber yards sell discounted offcuts, and online marketplaces often have unused building materials from other people’s projects that are sold for a fraction of the retail price. For sustainability, prioritize materials with low embodied carbon, locally sourced materials to reduce transportation emissions, and recycled materials where possible. For example, recycled steel has a much lower carbon footprint than virgin steel, and reclaimed wood adds unique character to a project while keeping material out of landfills.
Troubleshooting Common Problems After Adding Materials
Even when you follow all the steps correctly, you might run into issues after adding materials to your project. Knowing how to identify and fix these common problems will save you from having to start over or replace the entire material.
Digital material troubleshooting
If you notice issues after adding your digital material, start by checking the most common causes first. If your material looks grainy or blurry in the final render, the most likely issue is that your texture resolution is too low for the output size. Upgrade to a higher resolution texture, or adjust the UV mapping to reduce stretching that makes the texture look blurred. If your material looks too shiny or not shiny enough, adjust the roughness or metallic values—most beginners default to too high a metallic value for most materials, which makes even plastic look like polished metal. If your material doesn’t show up at all, check that the surface you applied it to isn’t hidden or set to not render in your software’s layer settings.
Physical material troubleshooting
For physical materials, the most common issue after installation is poor adhesion. If your added tile is falling off the wall, the most likely cause is that the underlying wall wasn’t cleaned properly before the tile adhesive was applied, or the wrong type of adhesive was used. For small areas, you can remove the loose tile, clean the back and the wall, and reapply new adhesive to fix it. If you notice warping in a wood material you added, it’s usually because the wood wasn’t acclimated to the humidity of your space before installation. To fix minor warping, you can clamp the wood flat and let it acclimate for a week, then re-secure it. For severe warping, you’ll need to replace the board. If you notice discoloration on a porous material like stone or wood, it’s often from moisture trapped under the surface. Sealing the material after installation prevents this issue, but for existing discoloration, you can often sand the surface lightly and re-seal it to restore the original color.
Another common issue with added physical materials is mismatched appearance. If you added a second piece of wood to an existing project and the grain or color doesn’t match, you can adjust the finish to blend them. A stain or wood dye can darken the new piece to match the old one, and a clear top coat will unify the appearance. For painted materials, lightly sanding the entire surface and adding a fresh coat of paint will make the new addition blend in seamlessly.
Conclusion
Adding materials is a foundational skill for any creator, whether you work primarily in digital design or physical handcrafting. At its core, the process boils down to three key principles: prepare your base project thoroughly, select the right material for your specific use case, and take the time to adjust and test the material after you add it. By following the step-by-step workflows outlined here, you can avoid the most common mistakes that lead to disappointing results, and create projects that look and perform exactly as you intended. Whether you’re adding a single wood material to a DIY shelf or dozens of custom materials to a 3D game environment, the skills you build here will translate across every type of project you take on.