
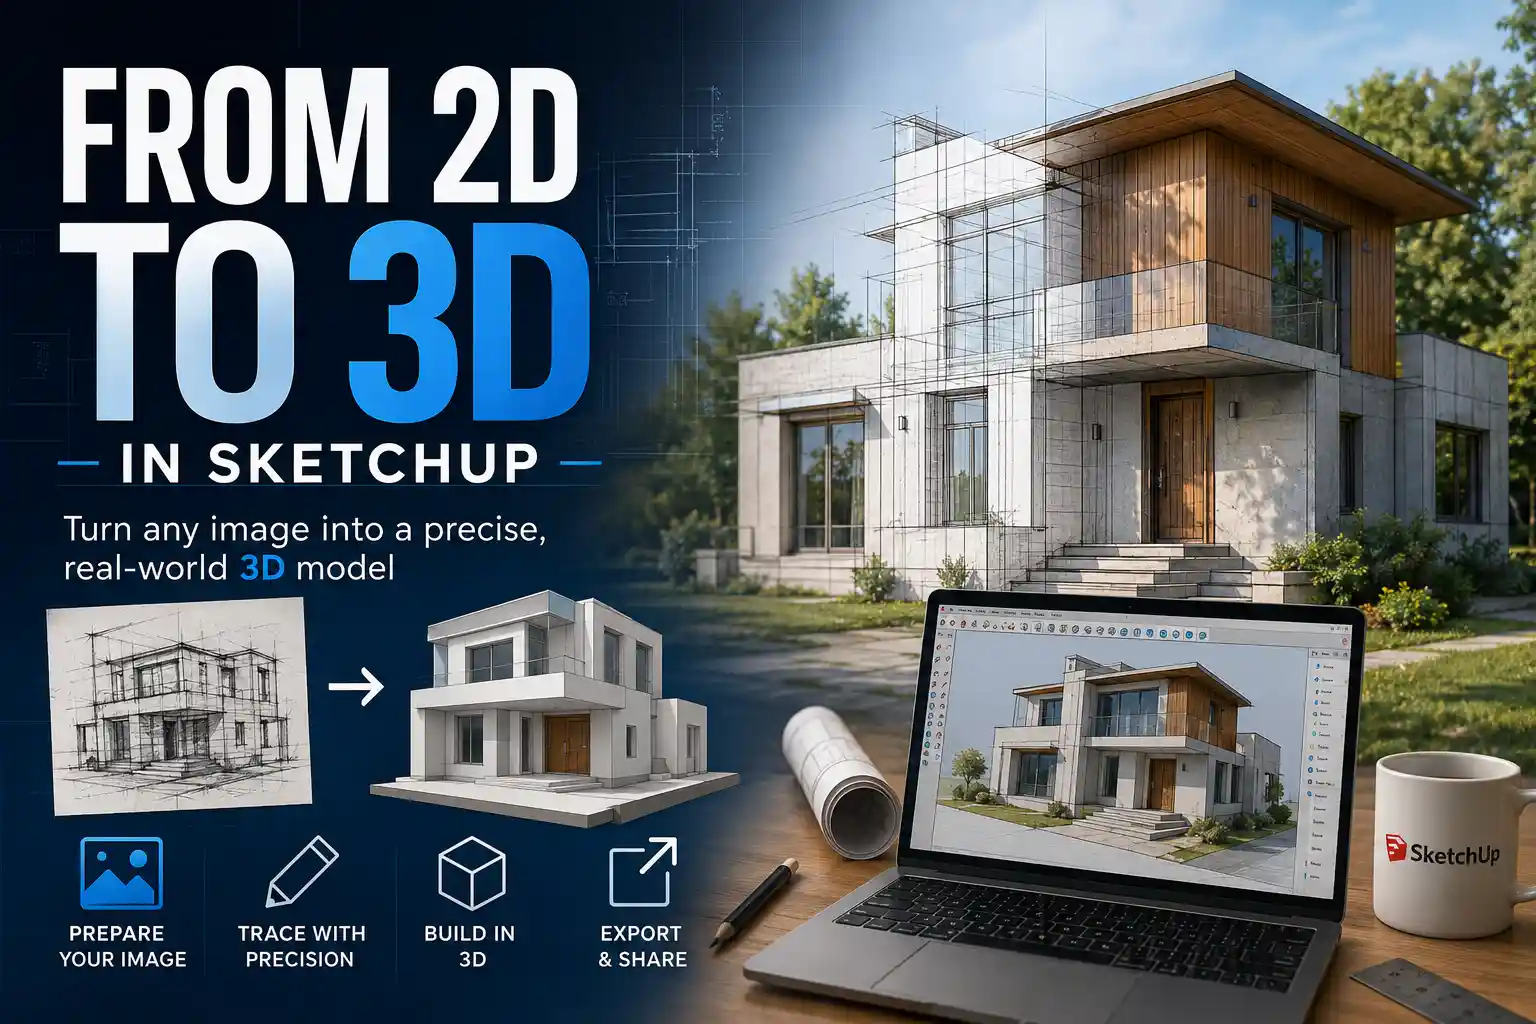
Whether you’re an architect drafting a real-world building from reference photos, a product designer turning a hand-drawn sketch into a prototype, or a hobbyist recreating a favorite object for 3D printing, turning a 2D image into a 3D model in SketchUp can cut your workflow time in half. Unlike building a model from scratch, image-based 3D modeling lets you trace existing geometry, match proportions perfectly, and use reference context to avoid common measurement mistakes. SketchUp’s accessible interface and built-in photo matching tools make this process far simpler than you might think—even if you’re new to 3D modeling. In this guide, we’ll walk through every step, from preparing your source image to exporting a finished, ready-to-use 3D model.
Preparing Your Source Image for Best Results
Before you open SketchUp, the most important work happens with your source image. A blurry, poorly framed photo will lead to an inaccurate 3D model, no matter how skilled you are at tracing. Taking the time to prep your image will save you hours of correction work later.
Choosing the right image type
Not all images work equally well for converting to 3D in SketchUp. The best source images are clear, high-resolution, and taken with parallel camera angles (for orthographic views like front, side, or top) or at a slight angle if you’re using photo matching for perspective. If you’re working from a photo of a physical object, avoid wide-angle lenses that distort edges, and make sure the entire object is visible in the frame without cropping critical geometry.
If you’re working from a hand-drawn sketch, scan it at 300 DPI or higher and adjust contrast in a free tool like GIMP or Canva to make lines dark and clear. Faint, blurry sketch lines will be hard to trace in SketchUp, so increasing contrast removes background noise and makes edges pop. For reference sets of an object (front, side, and top views), save each view as a separate image file to import individually later.
Correcting perspective distortion
One of the most common mistakes beginners make is using a perspective-distorted image as a reference. When you take a photo of a building from ground level, the top of the building tapers inward toward the horizon, which will throw off your 3D model’s proportions if you don’t correct it first. Most photo editing software includes a perspective correction tool to fix this. For single orthographic views, straighten vertical and horizontal lines so they run parallel to the image edges before importing into SketchUp.
If you’re using SketchUp’s built-in Match Photo feature (we’ll cover this later), you don’t need to correct perspective first—Match Photo is designed to work with perspective photos to match the camera position automatically. For simple tracing of orthographic views, however, corrected perspective is non-negotiable for an accurate model.
Two Core Workflows for Converting Images to 3D Models
SketchUp offers two primary methods to turn a 2D image into a 3D model, depending on your source image and end goal. Understanding the difference between the two will help you pick the right workflow for your project.
Method 1: Image Tracing for Orthographic Reference Views
Image tracing is the simplest method, ideal when you have clear front, side, and top orthographic views of an object (for example, technical drawings, multiple photos of a product taken head-on, or hand-drawn design sketches). This workflow involves importing your image as a reference plane, tracing 2D geometry over the image, then pulling that 2D geometry into 3D. It’s the go-to method for beginners because it requires no advanced knowledge of SketchUp’s camera tools.
The step-by-step process for image tracing is straightforward:
- Open a new SketchUp file and select your starting template (for most projects, “Architectural Design – Meters” or “Product Design – Millimeters” will work, depending on your object scale).
- Go to File > Import and select your prepared source image. Choose the “Image as Reference” option from the import settings menu, then click and drag to place the image on one of the default drawing planes (usually the blue/green ground plane for a top view, or the red/blue plane for a front view).
- Right-click the image and select “Unlock” if it’s locked by default, then resize it to match your desired real-world scale. To do this correctly, use a known measurement from your reference: for example, if you know the front of your object is 2 meters wide, select the Tape Measure tool, click from the left edge to the right edge of the object in the image, type
2m, and press Enter. SketchUp will ask if you want to resize the model: click “Yes” to scale the image to real-world dimensions. - Right-click the image again and select “Lock” to prevent it from moving accidentally while you trace. You can also reduce the image opacity in the “Materials” panel to make your traced lines easier to see if needed.
- Use the Line tool or Rectangle tool to trace the outer edges and inner details of the object on top of the image. Work slowly to match curves and irregular shapes with the Arc or Freehand tool.
- Once you’ve traced the full 2D profile of your object on the reference plane, hide the image by right-clicking it and selecting “Hide.” Use the Push/Pull tool to pull your 2D face into a 3D volume. If you have additional side or top views, import them onto perpendicular drawing planes and repeat the tracing process to add additional details.
Method 2: Match Photo for Perspective Images
Match Photo is SketchUp’s powerful built-in tool for creating a 3D model from a single perspective photo (for example, a photo of a house you want to model, or a photo of a custom furniture piece you’re reverse-engineering). Unlike simple tracing, Match Photo aligns SketchUp’s camera to match the perspective of your photo, so all your traced geometry automatically follows the correct vanishing points. This eliminates the need to correct perspective manually and lets you build an accurate 3D model from just one photo, when multiple orthographic views aren’t available.
Setting up Match Photo correctly is the most critical part of this workflow:
- Open a new SketchUp file, then go to Camera > Match New Photo and select your perspective image. The image will automatically fill the SketchUp drawing area, and two sets of axes will appear on your image.
- Drag the red axis lines to align with one set of parallel horizontal edges in your photo. For example, if you’re modeling a house, align the red axis lines to the bottom edge of the foundation and the top edge of the first floor. Next, drag the green axis lines to align with the other set of parallel horizontal edges (for example, the left and right edges of the house’s front facade).
- Move the origin point (the little square where the red and green axes meet) to a corner of your object where the two sets of edges meet. This tells SketchUp where the ground plane corner is in your photo.
- Adjust the blue vertical axis to align with a vertical edge of your object, like the corner of the house. As you adjust the axes, you’ll see SketchUp’s perspective update in real time to match your photo. Once you’re happy with the alignment, click “Done” in the Match Photo settings tray.
- Just like with image tracing, set your real-world scale using the Tape Measure tool. Click between two points of a known distance, input the correct measurement, and resize the model to match.
- Trace the edges of your object directly on the perspective grid. SketchUp will automatically draw edges along the correct perspective lines, so your model will stay proportional as you build. Use Push/Pull to create 3D volumes from your traced 2D faces, and add details by matching them to the photo reference.
“The biggest mistake new users make with Match Photo is rushing the axis alignment. Spend an extra two minutes getting your red, green, and blue axes perfectly aligned to parallel edges, and your entire modeling process will be 10 times easier. Bad alignment leads to wonky perspective that you’ll have to fix later, and that’s never fun.”
Advanced Tips for Accuracy and Detail
Once you’ve mastered the basic workflows, these pro tips will help you create more accurate, detailed 3D models that are ready for rendering, 3D printing, or professional documentation.
Using multiple reference images for complex objects
For complex objects with irregular geometry (like furniture, sculptures, or custom machinery), one image is rarely enough to capture all dimensions. The best approach is to import three or more orthographic views (front, side, top) onto three perpendicular drawing planes in SketchUp, so you can reference each view as you build. To set this up correctly:
- Place the front view on the red/blue front plane
- Place the right side view on the green/blue right plane, offset from the front view so it doesn’t overlap
- Place the top view on the red/green ground plane, offset from the other two views
- Scale all three images to the same real-world measurement to ensure proportions match across all views
With all three views visible, you can toggle between them to check dimensions as you build, ensuring your 3D model matches the source image from every angle. This method is used by professional product designers and architectural modelers to eliminate guesswork when working from reference photos.
Refining edges and fixing common tracing errors
Even with a perfect source image, tracing can leave you with small errors that ruin your model. The most common issues include disconnected edges, overlapping faces, and slightly misaligned curves. Here are three quick fixes to address these problems:
- Use the Intersect Faces tool: When you add new geometry that crosses existing edges, right-click the new geometry and select Intersect Faces > With Model to automatically create new edges where the geometry crosses. This lets you delete extra faces cleanly instead of redrawing edges manually.
- Smooth curves with the Follow Me tool: For curved or rounded objects (like a mug, chair leg, or arched doorway), trace the 2D profile of the curve and use the Follow Me tool along a path to create a perfect smooth 3D shape. This is far more accurate than tracing multiple small arcs manually.
- Check for hidden geometry: If a face won’t extrude when you use Push/Pull, it’s almost always because you have a disconnected edge or a hidden extra line. Turn on hidden geometry by going to View > Hidden Geometry to spot and delete extra lines that are breaking your face.
Adding texture from your source image
One of the biggest advantages of converting a photo to a 3D model in SketchUp is that you can use the original image as a texture to add realistic detail to your model. This is especially useful for architectural models of existing buildings, where you want the facade to match the original photo. To add your source image as a texture:
- Go to the Materials panel and click “Create Material.”
- Check the “Use Texture Image” box and select your source image.
- Apply the new texture to the corresponding face of your 3D model.
- Use the Position Texture tool to adjust the texture so it aligns perfectly with your model’s geometry. For Match Photo models, SketchUp can often automatically align the texture for you if you use the original photo.
This trick turns a basic 3D mesh into a realistic, render-ready model that looks identical to the original object in your photo.
Troubleshooting Common Issues
Even experienced SketchUp users run into problems when converting images to 3D models. Here are the most common issues and how to fix them quickly.
My model is the wrong scale
Scale errors are the most common problem, and they usually happen because you forgot to set the real-world measurement after importing your image. It doesn’t matter if you’re off by 10% or 1000%—fixing this is easy, even after you’ve finished tracing your model. Just use the Tape Measure tool to measure between two points of known distance, type the correct measurement, and press Enter. SketchUp will ask if you want to resize the entire model: click “Yes,” and everything (including your traced geometry) will scale correctly to the right dimensions. This works at any stage of the modeling process, so you don’t have to start over if you notice a scale mistake late in the game.
Perspective is wrong in my Match Photo model
If your finished Match Photo model looks distorted when you orbit away from the original camera position, your axis alignment was off when you set up the tool. To fix this, you don’t have to start over. Just open the Match Photo folder in the Scenes manager, right-click your Match Photo scene, and select “Edit Match Photo.” You can readjust the axes and vanishing points without losing any of the modeling work you’ve already done. Once you save the adjustment, your existing geometry will update to the new perspective automatically.
I can’t get clean faces to extrude
If you’ve traced your image but the Push/Pull tool won’t activate when you click on your traced shape, you have a break in your edges. SketchUp only creates a face when all edges are connected into a closed loop. To find the break, zoom in close on each corner of your shape and look for tiny gaps between the ends of lines. You can also use the SketchUp Solid Inspector extension (available for free in the Extension Warehouse) to automatically detect disconnected edges and broken faces. The extension will highlight problem areas so you can fix them in seconds, instead of hunting for gaps manually.
My image is too big and slows down SketchUp
If you imported a high-resolution 12MP photo as a reference, it can slow down SketchUp’s orbit and pan tools, especially if you’re working on an older laptop. The fix is simple: resize your image in a photo editor to 1920 pixels on the longest edge before importing it. For a reference image, you don’t need 4K resolution—SketchUp only needs enough detail to trace edges, and a smaller file size will keep your model fast and responsive. If you need a high-res texture later, you can always replace the low-res reference with a high-res texture after you finish modeling.
Third-Party Extensions for Automated Workflows
If you convert images to 3D models regularly, or if you’re working with photogrammetry (multiple photos of an object to create a full 3D mesh), there are several SketchUp extensions that can automate parts of the process and save you time. Unlike the manual methods we covered earlier, these tools use AI to generate 3D geometry automatically, though they still require some cleanup to get a usable model.
Image to Shape by SketchUp Extensions
This popular extension lets you trace a high-contrast image (like a logo, line drawing, or silhouette) and automatically converts it to a closed 2D face that you can push/pull into 3D. It works best for simple shapes with clear, high-contrast edges, and can cut tracing time from 10 minutes to 10 seconds for simple objects like logos or furniture profiles. It’s not ideal for complex perspective photos, but it’s a huge time-saver for orthographic line drawings.
Photogrammetry importers: Dronedeploy and Capturing Reality
If you have multiple photos of an object taken from all angles, you can use photogrammetry software to generate a full 3D mesh automatically, then import that mesh into SketchUp for cleanup. Extensions like RealityCapture Importer for SketchUp let you bring high-resolution photogrammetry meshes directly into your SketchUp project, so you can trace over the automated mesh to create a clean, low-poly model ready for 3D printing or architectural documentation. This method is ideal for complex organic shapes like sculptures or terrain, where manual tracing would take hours.
Skanect for SketchUp
Skanect is a low-cost 3D scanning tool that works with a regular consumer depth camera (like an Xbox Kinect) to turn a physical object into a 3D mesh, which you can then import directly into SketchUp. The Skanect extension for SketchUp lets you import the scanned mesh and clean it up to create a solid 3D model. This is a great option if you want to turn a physical hand-sculpted object into a digital 3D model for 3D printing.
It’s important to note that automated tools are never 100% accurate. Even the best AI tracing or photogrammetry will leave you with extra geometry, holes in the mesh, or incorrect proportions, so you’ll still need to do some manual cleanup in SketchUp to get a finished model. For complex projects, however, these extensions can cut your work time significantly.
Conclusion
Converting a 2D image to a 3D model in SketchUp is a skill that opens up a huge range of projects, from hobbyist 3D printing to professional architectural design. The core process doesn’t require expensive software or advanced 3D modeling skills: start with a well-prepared source image, choose between simple image tracing for orthographic views or Match Photo for perspective photos, and build your geometry step-by-step, checking for common errors like scale mistakes or broken faces as you go.
Start with simple projects to practice: try tracing a hand-drawn sketch of a chair, or modeling a small building from a reference photo, before moving on to more complex objects. Over time, you’ll develop a workflow that works for you, and you’ll be able to turn any reference image into an accurate 3D model in less time than you think. Whether you’re a beginner just learning SketchUp or a professional looking to speed up your reference workflow, these methods will help you get consistent, high-quality results every time.