
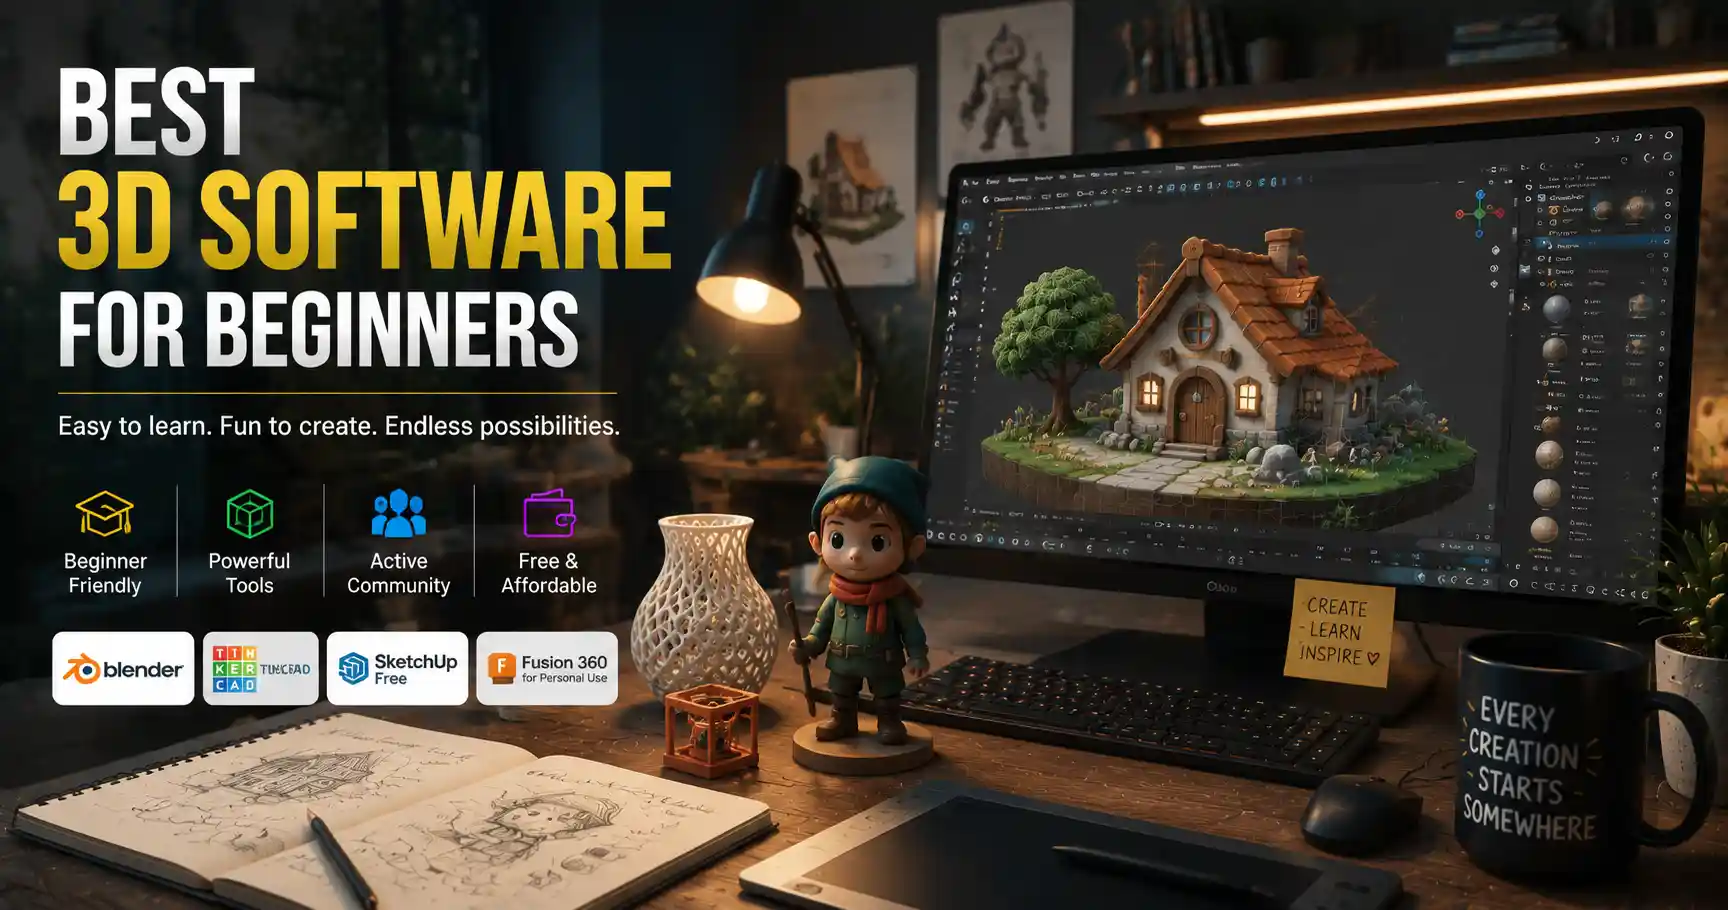
Once upon a time, 3D modeling was reserved for professional studios with six-figure software licenses, high-end workstations, and years of specialized training. Today, anyone with a laptop and a creative idea can dive into designing 3D assets for 3D printing, game development, animation, or even digital art. The biggest barrier for new creators isn’t access to technology anymore—it’s choosing the right beginner-friendly 3D software that matches their goals, budget, and learning curve. Picking a tool that’s too advanced can leave new users discouraged before they finish their first model, while choosing one that’s too limited will hold them back as their skills grow. This guide breaks down the best beginner 3D tools, what to look for when you’re starting out, and how to pick the right fit for your creative goals.
What Makes 3D Software Beginner Friendly?
Before diving into specific software recommendations, it’s important to understand what actually makes a 3D tool accessible for new users. Not all “free” or “entry-level” software is created equal, and many tools marketed to beginners actually hide steep learning curves or restrictive paywalls that kick in when you start creating serious work. A truly beginner-friendly 3D tool balances three core elements: an approachable learning curve, functional features that grow with your skills, and pricing that fits the budget of someone just testing the waters.
Intuitive Interface and Guided Learning
Professional 3D suites like Maya or 3ds Max are packed with thousands of features, most of which a new creator will never touch in their first year of learning. A beginner-friendly tool cuts through that clutter with a clean, organized interface that only displays the tools you need when you need them. It also includes built-in learning resources like interactive tutorials, tooltips, and a active community that creates free beginner content. For example, many new tools now include guided “first project” workflows that walk you through modeling a simple object like a mug or keychain from start to finish, so you can see the full process without getting overwhelmed by menus.
Non-Destructive Workflows
One of the most frustrating experiences for new 3D modelers is making a small mistake halfway through a project and having to start over entirely. Traditional polygon modeling often requires you to delete entire sections of your model to fix errors, which is discouraging for people still learning the basics. Modern beginner-friendly 3D software prioritizes non-destructive workflows, meaning you can adjust any step of your process at any time without erasing your work. If you decide you want to make your cube a little taller after adding holes for handles, you just drag a slider instead of rebuilding the entire object from scratch.
Flexible Pricing
Most beginners don’t want to commit to a $50 per month subscription before they even know if they enjoy 3D modeling. The best beginner tools offer a permanent free tier with enough functionality to create full projects, with paid upgrades only when you need advanced features. Some even offer completely free open-source options with no hidden costs, making them ideal for anyone on a tight budget.
Top Beginner-Friendly 3D Software for Different Use Cases
There’s no one-size-fits-all “best” 3D software for beginners. The right tool for you depends entirely on what you want to create. Below we’ve broken down the top options sorted by common beginner use cases, from 3D printing to game design to digital art.
Tinkercad (Best for Absolute Beginners & 3D Printing)
If you’ve never touched 3D modeling before and just want to create a simple object to 3D print, Tinkercad is almost always the best starting point. Developed by Autodesk, the same company behind professional tools like AutoCAD and Maya, Tinkercad is 100% free, browser-based, and designed from the ground up for new users. It uses a simple “primitive shape” workflow: you start with basic shapes like cubes, cylinders, and spheres, then move, resize, and combine them to create your final model. There’s no complicated polygon editing or UV mapping to learn on day one—you can finish your first printable model in under an hour.
Tinkercad’s biggest strength is its simplicity. It’s great for creating 3D-printed accessories, custom parts, name tags, and hobby models. It also integrates directly with 3D printing services like Shapeways, so you can export your model and order a printed copy without leaving the browser. The biggest downside is that it’s very limited for complex projects—you can’t create detailed organic models like characters or detailed game assets here. But for total beginners testing the waters, it’s the perfect first step.
Blender (Best Free All-Rounder for All Skill Levels)
Blender is the gold standard for free, open-source 3D software, and over the last 10 years, it’s gone from a niche professional tool to one of the most beginner-friendly options on the market. It’s 100% free forever, with no subscriptions, no paywalls, and no limitations on what you can create—you can use it for personal projects or commercial work without paying a cent. Blender includes every tool you need for modeling, animation, rendering, game design, 3D printing, and even video editing, so you don’t have to switch software as your skills grow.
It’s a common myth that Blender has an unmanageably steep learning curve for beginners. While older versions of Blender had a clunky, unintuitive interface, the 2.8 and later updates completely redesigned the UI to be far more approachable for new users. There’s also an enormous global community of Blender creators that produce thousands of free beginner tutorials, courses, and assets, so you can find a step-by-step guide for almost any project you want to create. Blender works for everything from 3D printing to animated short films to indie game development, making it the best choice for beginners who don’t want to outgrow their software after a few months.
Blender didn’t just give me a free tool to learn 3D—it gave me a whole community of people who were excited to help me when I got stuck. I went from not knowing what a vertex was to selling 3D-printed models on Etsy in six months, and I never paid a cent for software.
SketchUp Free (Best for Architecture, Product Design & 3D Printing)
Originally designed for architects and interior designers, SketchUp has long been a favorite for beginners thanks to its push-pull modeling workflow that feels natural to new creators. The free web-based version, SketchUp Free, is perfect for beginners who want to design architectural models, furniture, product prototypes, or simple printable objects. The push-pull tool lets you draw a 2D shape and pull it into 3D space with one click, which is far more intuitive for spatial design than traditional polygon modeling for many new users.
SketchUp Free includes a huge 3D Warehouse of free pre-made models, from furniture to trees to window frames, so you can build full architectural scenes without modeling every object from scratch. The free tier has some limitations—you can only store 10 GB of projects in the cloud, and it doesn’t include advanced export options for commercial use—but it’s more than enough for beginners learning the basics. The paid Pro version is reasonably priced for creators who need more features, making it a solid option for anyone interested in design-focused 3D projects.
Nomad Sculpt (Best for Organic Modeling & Digital Sculpting on iPad)
If you want to create organic models like characters, creatures, or custom sculptures and you own an iPad, Nomad Sculpt is one of the most beginner-friendly options on the market. It’s a one-time purchase (around $15, no subscriptions) that’s optimized for Apple Pencil, so you can sculpt your model just like you would with clay in real life. The interface is clean and touch-friendly, with none of the cluttered menus that plague desktop sculpting tools for new users.
Nomad Sculpt supports all the core sculpting tools you need, including dynamic subdivision, masking, and basic retopology, and it exports models that are ready for 3D printing or rendering. It’s perfect for beginners who prefer working on a tablet over a desktop, and the one-time price makes it far more accessible than subscription-based mobile 3D tools. The only downside is that it’s limited to iPad and (recently) macOS, so it’s not a good fit if you primarily work on a Windows PC.
Dreams (Best for Game Design & Animation on PlayStation/PC)
If you’re a gamer who wants to create 3D games, animations, or art and you own a PlayStation 5 or PC, Media Molecule’s Dreams is an unexpectedly beginner-friendly 3D creation tool that’s built right into a game. It uses a intuitive, playful logic-based creation system that lets you model 3D assets, animate them, and build full playable games without any coding knowledge. It’s completely included with a PlayStation Plus subscription on console, or available for a low one-time purchase on PC.
Dreams’ biggest advantage for beginners is its playful, low-pressure approach to creation. Instead of overwhelming you with technical jargon and complex menus, it teaches you tools through in-game quests and community challenges, so you learn as you create. There’s also a huge community of creators who share their assets and templates, so you can build your first game by remixing other people’s work before you create everything from scratch. It’s not the best fit for people who want to create models for 3D printing or commercial use, but for beginner game devs and animators who want to have fun while learning, it’s hard to beat.
Common Beginner Mistakes to Avoid When Starting Out
Even with the right software, new 3D creators often run into predictable pitfalls that slow down their progress or leave them discouraged. Here are the most common mistakes and how to avoid them:
- Jumping straight to advanced professional software before learning the basics: It’s tempting to download Maya or ZBrush right away because you’ve seen professional artists use it, but these tools are designed for users who already understand core 3D concepts. Starting with a beginner-friendly tool lets you learn the fundamentals of modeling, topology, and rendering without getting overwhelmed by hundreds of extra features you don’t need yet.
- Ignoring official tutorials and jumping straight to complex projects: Most beginner-friendly 3D software includes built-in interactive tutorials that walk you through your first project. Skipping these to try to model a full character on day one is a surefire way to get frustrated. Spend 1-2 hours completing the official getting started tutorial—you’ll learn the core interface and workflows in a fraction of the time it would take to figure it out yourself.
- Overcomplicating your first projects: Many new creators want to jump straight into making a full character model or a detailed architectural scene, but the best way to learn is to start small. Finish a simple 10-minute project like a mug or a box first, then move on to slightly more complex projects. Small, completed builds give you a sense of progress and help you build muscle memory for core tools.
- Forgetting to check export compatibility for your end use: If you’re creating a model for 3D printing, you need to make sure your software can export as an STL or OBJ file with manifold geometry. If you’re creating models for Unity or Unreal, you need to make sure you can export properly formatted FBX files. Most beginner-friendly tools support these formats, but it’s worth checking before you spend hours on a project.
Another common mistake is not saving versions of your work as you go. Unlike beginner-friendly tools with non-destructive workflows, some older or simpler tools don’t let you undo changes after you close the project. Saving a new version of your file every time you make a big change means you can always go back to an earlier version if you make a mistake.
Actionable Steps to Start 3D Modeling This Week
You don’t need to spend weeks researching software or buying a new computer to start learning 3D modeling. Follow these simple steps to get started with your first project in the next seven days:
- Define your core goal: Before you choose software, decide what you want to create first. Are you interested in 3D printing custom parts? Do you want to make indie games? Do you want to sculpt digital characters? Your goal will narrow down your software choices immediately. For example, if your goal is 3D printing, Tinkercad or Blender are perfect starting points. If your goal is digital sculpting on an iPad, Nomad Sculpt is the best fit.
- Download your chosen software and complete the official getting started tutorial: This should take less than two hours for most beginner tools. Don’t skip this step—even if you think you can figure it out, the official tutorial will teach you core workflows that you’ll use for every future project.
- Complete one small, simple project: After finishing the official tutorial, create one small object from scratch. Good first projects include a keychain, a mug, a phone stand, or a simple cube house. The goal isn’t to create something perfect—it’s to apply what you learned in the tutorial to a project of your own.
- Export and test your final model: If you’re 3D printing, export it as an STL and run it through a free slicer like Cura to check for errors. If you’re creating a game asset, import it into Unity or Unreal to make sure it works correctly. Testing your final product teaches you what export settings you need and what common errors to look for in future projects.
- Join a beginner-friendly community: Platforms like Reddit’s r/blender or r/3Dprinting, Discord servers for your chosen software, or Facebook groups for beginner 3D creators are great places to ask questions when you get stuck. Most experienced creators are happy to help beginners, and you’ll get feedback on your work that helps you improve faster.
You don’t need a high-end gaming laptop to get started, either. Most beginner-friendly 3D tools like Tinkercad run in a web browser on any modern laptop, and even Blender runs smoothly on most mid-range laptops built in the last five years for small beginner projects. You can upgrade your hardware later once you know you enjoy 3D modeling and want to work on more complex projects.
How to Transition to Advanced Tools as Your Skills Grow
One of the biggest concerns for beginners is getting stuck with a beginner tool that can’t keep up with their growing skills. The good news is that most core 3D concepts translate across all software, so learning the basics on a beginner-friendly tool makes it much easier to transition to advanced tools later. If you start with Tinkercad and want to move on to more complex models, you can transition to Blender in a week or two because you already understand core concepts like grouping, scaling, and mesh creation.
If you start with Blender, you may never need to transition to a paid advanced tool at all—many professional 3D artists and indie game developers use Blender for their full-time work. If you do decide to move to a paid tool like ZBrush for sculpting or Maya for animation, the skills you learned in Blender will transfer directly. The only thing that changes is the location of the tools and some advanced workflows.
Many new creators worry that starting with a simple tool will leave them with bad habits. While it’s true that some beginner workflows are different from professional workflows, the core problem-solving and spatial thinking skills you learn as a beginner are universal. It’s far better to learn the basics on a simple tool than to never start at all because you’re waiting for the “perfect” advanced software.
Conclusion
3D modeling is more accessible now than it’s ever been, and there’s a beginner-friendly tool for every goal, budget, and workflow. Whether you’re a total beginner who just wants to print a custom keychain, an indie game developer looking for a free full-suite tool, or a digital artist who prefers sculpting on a tablet, you don’t need to spend hundreds of dollars to get started. The most important step isn’t finding the perfect software—it’s starting small, finishing your first project, and building your skills gradually.
By starting with a tool that matches your goals, focusing on learning the fundamentals before jumping into complex projects, and leveraging the huge free community resources available for beginner 3D creators, you can go from zero to your first finished 3D project in less than a week. Don’t let the fear of a steep learning curve stop you from exploring a new creative skill—with the right beginner-friendly 3D software, anyone can learn to bring their ideas to life in three dimensions.