
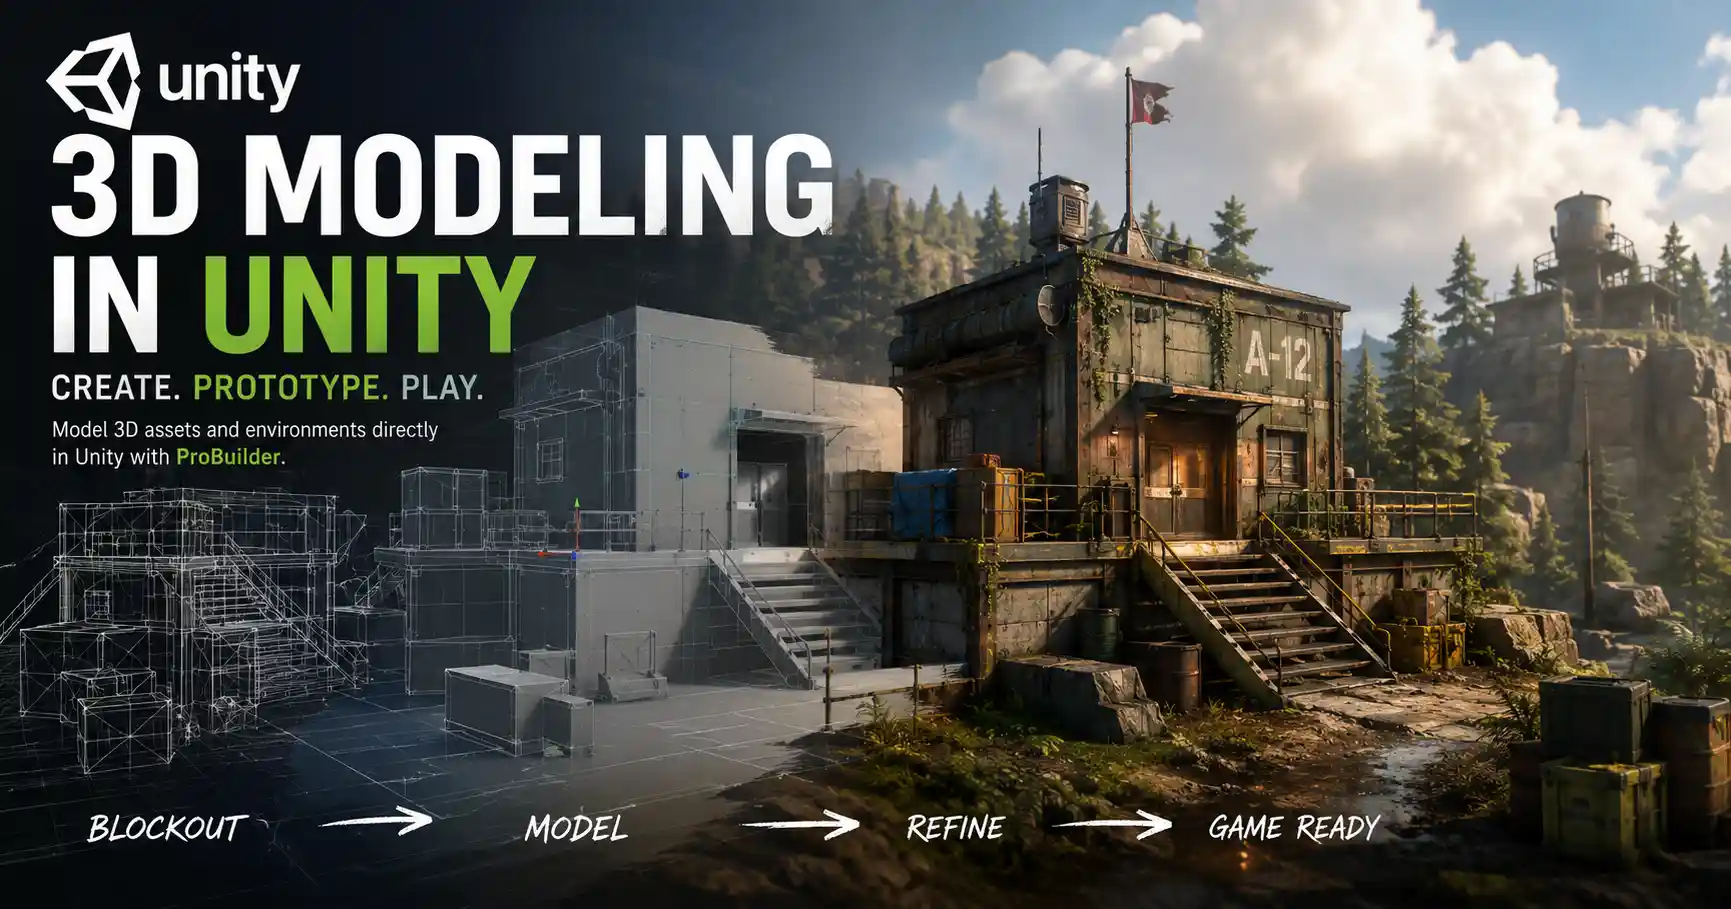
When most people think of Unity, they picture it as a game engine for assembling assets imported from Blender, Maya, or other 3D modeling tools. But what if you need to block out a level quickly, prototype a new gameplay mechanic, or create a custom in-game prop without switching software? Unity’s built-in 3D modeling tools have improved dramatically in recent years, turning the engine into a capable workspace for creating 3D models from scratch. Whether you’re an indie developer working on a small project, a designer testing level layouts, or a beginner learning 3D for the first time, knowing how to 3D model directly in Unity can save you time and streamline your workflow. This guide will walk you through everything you need to know, from setting up your workspace to exporting your finished models for use in your projects.
Setting Up Your Unity Workspace for 3D Modeling
Before you start creating geometry, you need to configure Unity to suit 3D modeling work. The default game development layout is optimized for testing and scene assembly, not for manipulating vertices and polygons. A few simple adjustments will make the modeling process far more intuitive and less frustrating.
Switch to a 3D Modeling-Friendly Layout
Start by adjusting your window arrangement. Unity allows you to save custom layouts, so you can keep one for game development and another for modeling. To create a custom layout, open the Scene view full-screen on your main monitor, keep the Inspector panel docked to the right, and add the ProBuilder toolbar to a convenient spot along the left edge. The Project window can be docked to the bottom of the screen, where it stays out of your way but is still accessible for saving assets. If you have a second monitor, you can move the Game view and Console there to keep your main modeling workspace uncluttered.
Enable ProBuilder and Required Packages
Unity’s primary built-in 3D modeling tool is ProBuilder, which was officially acquired and integrated into the engine in 2018. ProBuilder is not enabled by default in new projects, so you’ll need to install it via the Package Manager. To do this:
- Open the Window menu and select Package Manager
- Search for "ProBuilder" in the search bar
- Click the Install button and wait for the package to import
- Once installed, open the Tools menu, hover over ProBuilder, and select ProBuilder Window to open the core toolbar
For most modeling projects, you’ll also want to install ProGrids, a companion tool that lets you snap geometry to a uniform grid for precise alignment. ProGrids is also available via the Package Manager and integrates seamlessly with ProBuilder. If you plan to add textures or materials to your models directly in Unity, make sure the 2D Pixel Perfect package is installed if you’re working with low-resolution textures, though this is optional for most 3D work.
Configure Scene Settings for Modeling
Before you create your first shape, adjust your scene settings to avoid scaling issues later. Unity uses two common unit systems: meters for most game development, which works well for 3D modeling. Set your grid snapping to 0.25 units or 0.5 units if you’re working on blockouts, or 0.1 units for more precision on small props. Make sure "Snap to Grid" is enabled in the ProGrids settings, and turn on "Show Wireframe" in the Scene view to help you see individual polygons as you work.
Creating Basic Shapes and Blocking Out Your Model
All 3D modeling, regardless of the software, starts with basic primitive shapes. ProBuilder includes the same core primitive tools you’ll find in most external 3D modeling programs, making it easy to get started even if you’ve never modeled before. Blocking out is the process of creating a low-detail version of your model to define its overall shape and proportions before adding fine details. This workflow helps you avoid wasting time refining details that you’ll end up changing later.
Working with ProBuilder Primitives
To create a new primitive shape, open the ProBuilder toolbar and click the New Shape button. This will open a menu with the following options:
- Cube: The most common starting point for most models, useful for anything from furniture to building walls
- Sphere: For rounded objects like balls, rocks, or organic rounded shapes
- Cylinder: Great for pipes, legs, posts, and anything with a consistent circular cross-section
- Plane: For flat surfaces like floors, walls, or the base of a model
- Stair: A pre-built stair shape that you can adjust for step count and size, saving you time compared to building stairs from scratch
- Bezier Shape: For curved paths and custom extruded shapes like wires or ropes
When you select a primitive, you can adjust its dimensions, number of segments, and pivot point directly in the New Shape window before clicking Build. For example, if you’re creating a table, you might start with a cube for the tabletop and four smaller cubes for the legs. Position each primitive in the correct place using the Move tool, and hold Shift to scale all edges uniformly to get your proportions right.
Combining Multiple Meshes
Once you have all your basic primitives blocked out, you’ll need to combine them into a single mesh to make editing easier and reduce the number of draw calls in your final game. To combine shapes in ProBuilder:
- Select all the primitives you want to combine by holding Ctrl (Windows) or Command (Mac) and clicking each one in the Scene view
- Open the ProBuilder toolbar and click the Combine Objects button (it looks like two squares merging into one)
- Choose whether you want to keep the existing materials on each shape or combine them into a single material
- Click Confirm to merge the shapes into one editable ProBuilder mesh
If you make a mistake and need to separate the shapes again, you can use the Detach Faces tool to split selected faces back into their own meshes. This flexibility is one of the biggest advantages of modeling in Unity – you don’t have to commit to a single combined mesh if you need to edit individual parts later.
Blocking out first doesn’t just save time – it helps you catch proportion errors early, when they’re easy to fix. I’ve seen so many new modelers spend hours adding fine details to a chair only to realize the seat is twice as big as it needs to be. Working block-first keeps your workflow lean, especially when you’re modeling directly in Unity for prototyping.
Editing Geometry: Vertices, Edges, and Faces
Once you have your basic blockout, the next step is to refine the shape by editing individual components of the mesh. All 3D meshes are made of three core elements: vertices (the points where edges meet), edges (the lines between two vertices), and faces (the flat polygons bounded by edges). ProBuilder gives you full editing control over all three, letting you sculpt almost any shape you need without leaving Unity.
Selection Modes for Editing
ProBuilder has four selection modes, which you can toggle via icons on the top of the ProBuilder toolbar:
- Object Mode: Selects the entire mesh, for moving, scaling, or rotating the whole model
- Vertex Mode: Selects individual vertices, for adjusting the position of points to change the shape of the mesh
- Edge Mode: Selects individual edges, for adjusting the line between two vertices or beveling corners
- Face Mode: Selects individual faces, for extruding, deleting, or moving whole polygons
You can switch between modes at any time by pressing the corresponding keyboard shortcut (1 for Object, 2 for Vertex, 3 for Edge, 4 for Face), which speeds up your workflow significantly once you memorize them.
Common Modeling Operations in ProBuilder
Most 3D modeling projects rely on a handful of core operations to refine basic shapes into finished models. Here are the most useful operations you’ll use again and again:
Extrude: Extrusion is the process of pulling a selected face outward (or pushing it inward) to create new geometry. For example, if you have a cube and you extrude the front face, you’ll get a longer shape that looks like a door frame sticking out from a wall. To extrude a face, select it in Face Mode, click the Extrude button on the ProBuilder toolbar, and drag the handle to adjust how far the face is pulled out. You can also set a numeric value for precise extrusion.
Bevel: Beveling rounds off sharp edges by adding new faces to create a smooth transition between two adjacent faces. This is essential for creating realistic models, as almost no real-world objects have perfectly sharp edges. To bevel an edge, select it in Edge Mode, click the Bevel button, and adjust the width to get the amount of rounding you want. For harder edges, use a small bevel width; for softer rounded shapes, use a larger width.
Loop Cut: A loop cut adds a new edge that runs all the way around a mesh, dividing existing faces into smaller segments. This is useful when you need to add more geometry to refine a shape or prepare a mesh for subdivision. For example, if you have a cube and want to round it into a sphere, you’ll need to add multiple loop cuts to create more polygons before smoothing. To add a loop cut, select the Edge Mode, click the Loop Cut button, and click where you want to add the new edge along an existing edge loop.
Weld Vertices: When you combine multiple meshes or move vertices close together, you can end up with overlapping vertices that cause rendering errors or make editing harder. Welding merges selected overlapping vertices into a single vertex, cleaning up your mesh. Just select the vertices you want to merge in Vertex Mode, click the Weld button, and set the weld threshold (how close vertices need to be to merge) to merge them.
Subdivision Surface: Subdivision smoothing takes a low-poly mesh and automatically subdivides the polygons to create a smooth, high-poly shape. This is a common workflow for organic modeling – you create a low-poly base shape, then subdivide it to get a smooth result. To subdivide your mesh in ProBuilder, select the whole mesh, open the Objects menu in ProBuilder, and select Subdivide. You can choose how many levels of subdivision you want; one level will give you a subtle smoothness, while three levels will give you a very smooth high-poly shape.
Adding Materials, UV Mapping, and Textures
Once you’re happy with the shape of your model, the next step is to add materials and textures to give it color and detail. Unity has built-in tools for unwrapping UVs (the process of mapping 2D texture coordinates onto a 3D mesh) and applying materials, so you can finish your entire model without switching to another program.
Automatic and Manual UV Unwrapping
UV unwrapping is a necessary step because it tells Unity how to map a 2D texture image onto your 3D mesh. ProBuilder can automatically generate UVs for your model when you create it, which works well for blockouts and simple models. For more complex models with custom textures, you may want to adjust the UVs manually to get the correct stretching and tiling.
To access the UV editing tools in ProBuilder, open the ProBuilder window and select Open UV Editor. The UV Editor lets you move, scale, and rotate individual UV faces to arrange them on the texture sheet. For example, if you have a table model with a wood texture, you can adjust the UVs on the tabletop to make the wood grain the correct size, while adjusting the UVs on the legs to match.
If you’re working with a tileable texture (a repeating texture like brick, wood, or concrete), you can simply adjust the tiling value directly in the material, no manual UV unwrapping needed. For models that use a custom texture atlas with multiple unique textures, manual UV unwrapping will give you better results.
Applying Materials to Individual Faces
One of the most convenient features of ProBuilder is the ability to apply different materials to individual faces of a single mesh. This means you can have a single model of a house with a brick material on the walls, a glass material on the windows, and a wood material on the door, all without splitting the model into separate meshes. To do this:
- Enter Face Selection mode and select all the faces you want to apply a new material to
- Open the Material Editor panel in ProBuilder (or use the Inspector)
- Click the New Material button and select the material you want to assign from your Project window
- Click Apply to assign the material to the selected faces
This feature saves a lot of time compared to importing separate meshes for every material, and it keeps your project hierarchy clean. Just make sure you don’t overdo it – too many different materials on a single mesh can increase draw calls and hurt performance in your final game.
Exporting Your Finished Mesh
Once your model is complete with materials and textures, you can export it as a standard .fbx or .obj file to use in other projects or share with other developers. To export a ProBuilder mesh:
- Select the mesh in the Scene view or Hierarchy
- Open the Tools menu, hover over ProBuilder, and select Export > Export Asset
- Choose your desired file format (fbx is the most compatible for use in Unity and other game engines)
- Select the folder in your Project window where you want to save the exported model
- Check the "Export Materials" option if you want to include the material assignments in the exported file
- Click Export to save the file
The exported model will appear in your Project window, and you can use it just like any other imported 3D asset. If you need to edit it later, you can open the original ProBuilder mesh and make changes, then re-export it to update the asset.
Advanced Tips for Better 3D Modeling in Unity
Once you’ve mastered the basics of ProBuilder modeling, these advanced tips will help you create higher quality models and work more efficiently. Many of these tips come from professional indie developers who use Unity’s built-in tools for full production, not just prototyping.
Keep Your Poly Count Low
It’s easy to get carried away adding extra geometry when you’re modeling, especially with subdivision smoothing. For game development, keeping your poly count low is essential for good performance, especially on mobile platforms. As a general rule of thumb:
- Small props (tools, weapons, furniture): 100–1,500 triangles
- Environment assets (walls, rocks, trees): 500–4,000 triangles
- Large structures (buildings, vehicles): 2,000–10,000 triangles
You can check your poly count at any time by selecting your mesh and opening the ProBuilder Stats window, which shows you the exact number of vertices, triangles, and materials. If your poly count is too high, use the Remove Doubles tool to delete extra overlapping vertices, or use the Collapse tool to remove unnecessary edges you don’t need for the shape.
Use Symmetry for Organic Models
Most objects (characters, furniture, vehicles) are symmetrical along at least one axis. ProBuilder has a built-in symmetry tool that mirrors your edits across an axis, so you only have to edit half the model and the other half updates automatically. This saves a lot of time and ensures your model is perfectly symmetrical. To enable symmetry, open the ProBuilder Symmetry menu, select the axis you want to mirror along (X, Y, or Z), and toggle symmetry on. Any edits you make to one side will automatically be mirrored to the other side.
Use Shortcuts to Speed Up Workflow
Memorizing common ProBuilder shortcuts will cut your modeling time in half. Here are the most useful shortcuts to learn:
- Shift + LMB Drag: Move along the current axis
- Ctrl + Shift + LMB: Scale uniformly
- 1/2/3/4: Switch between Object, Vertex, Edge, and Face selection modes
- E: Activate Extrude tool
- B: Activate Bevel tool
- Weld: Shift-W
- F: Focus the Scene view on your selected mesh
Combine ProBuilder with Unity’s Other Tools
You don’t have to use only ProBuilder to model in Unity. For example, you can use Mesh Deformer tools to bend or twist your ProBuilder mesh into custom shapes, or use Spline Creator to create curved roads or pipes that you can then convert to a mesh for editing in ProBuilder. For environment modeling, you can combine ProBuilder with Unity’s Terrain tool to create custom hills and cliffs, then add ProBuilder-made rocks and structures to complete the scene.
Conclusion
Modeling 3D assets directly in Unity is no longer just for quick prototyping. With ProBuilder and the built-in tools we’ve covered, you can create everything from simple level blockouts to finished production-ready assets without ever leaving the engine. The key to success is starting simple: begin with basic primitives, block out your shape before adding details, and take advantage of the flexible editing tools to refine your work as you go.
Whether you’re an indie developer working alone, a student learning 3D game development, or an experienced designer looking to streamline your workflow, modeling in Unity saves time, reduces context switching, and gives you more control over your project. Once you get comfortable with the tools, you’ll find yourself reaching for ProBuilder for more and more of your 3D modeling needs, and you’ll wonder how you ever worked without it.