
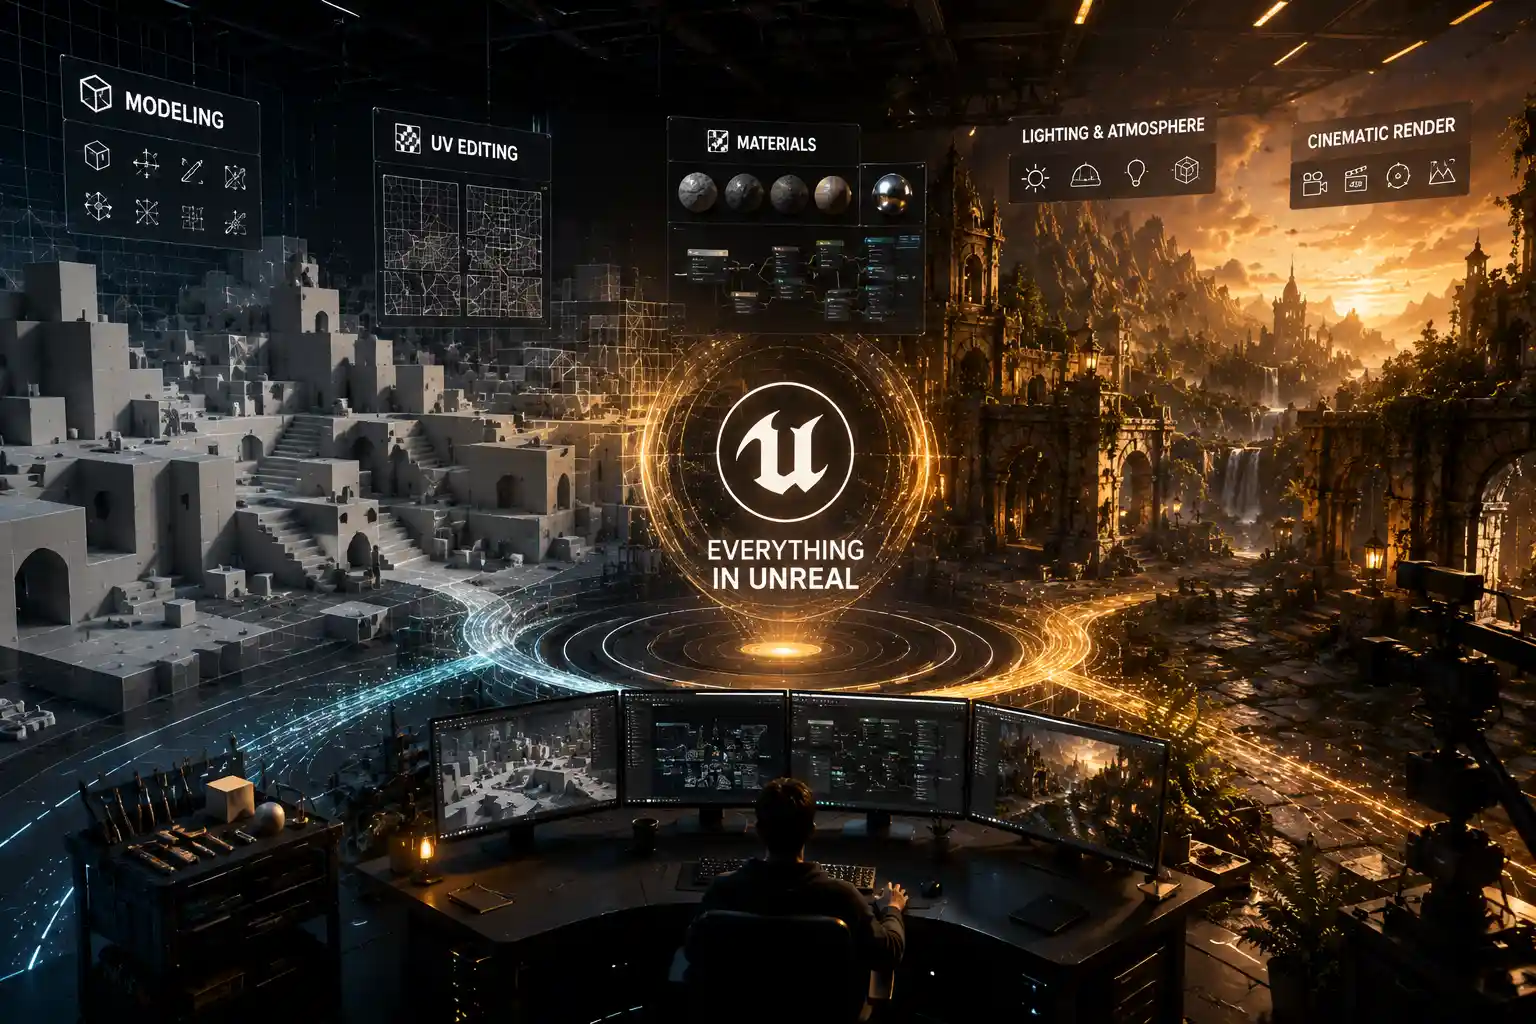
If you’ve ever opened Unreal Engine to build a game, create a interactive architectural visualization, or design a virtual production set, you’ve probably wondered: do I need to build all my models in a separate program like Blender or Maya, or can I do the work right here in Unreal? For years, Unreal was known exclusively as a game engine and real-time rendering tool, relying on artists to import fully finished assets from dedicated 3D modeling software. But over the last five years, Epic Games has steadily expanded Unreal’s modeling toolset, turning it into a capable option for everything from blocking out levels to creating final, production-ready assets. The question isn’t “can you 3D model in Unreal Engine” anymore — it’s “when should you model in Unreal, and when should you stick to a dedicated modeling app?”
The Evolution of Unreal Engine’s Built-In Modeling Tools
Unreal Engine’s journey into native 3D modeling didn’t happen overnight. Early versions of Unreal had only basic geometry creation tools, designed exclusively for blocking out level layouts before importing detailed assets from external software. Level designers could create simple cubes, spheres, and planes to mark where walls, enemies, and props would go, but that was the extent of it. Any complex modeling work required exporting the blockout, editing it in Maya or 3ds Max, then reimporting it back into Unreal — a time-consuming back-and-forth that slowed down workflows.
Everything changed in 2021 with the release of Unreal Engine 5, which launched with a full, redesigned Modeling Mode that replaced the old basic geometry tools. Epic didn’t just tack on a few extrude and bevel tools, either: the new Modeling Mode included a complete suite of polygon modeling tools, mesh editing functions, and UV editing capabilities, all built to work natively within Unreal’s real-time environment. Since then, Epic has continued to update the toolset with every minor release, adding support for retopology, procedural modeling, and even texture baking directly within the engine.
What Modeling Tools Are Available in Unreal Today?
Modern Unreal Engine’s Modeling Mode includes every core tool you need for most 3D modeling work. For beginners or artists used to other modeling programs, the interface will feel familiar, with context-sensitive tools and customizable workspaces. The core toolset covers:
- Base shape creation (cubes, spheres, cylinders, cones, planes, and custom extrusion shapes)
- Polygon editing functions: extrude, bevel, inset, cut, bridge, and dissolve edges/faces
- Procedural modeling tools for creating stairs, pipes, grids, and repeating shapes
- UV unwrapping and editing, including automatic unwrapping for simple assets
- Mesh cleanup and merging tools to combine multiple assets or fix bad geometry
- Retopology tools to reduce polygon count on high-res meshes
- Boolean operations to cut or combine shapes non-destructively
- Deformation tools to bend, twist, or sculpt rough shapes
- Projection modeling to trace shapes over reference images
On top of that, Unreal’s recent updates added support for non-destructive modeling, which means you can adjust parameters of a shape or operation at any time without starting over. This is a huge improvement over the early days of destructive editing, where one wrong move would require you to undo dozens of steps or start from scratch.
Common Use Cases: When Modeling in Unreal Makes Sense
Modeling in Unreal isn’t the right choice for every project or every asset, but it excels in several common scenarios that most 3D artists, game developers, and designers encounter regularly. For these workflows, modeling natively in Unreal can save hours of time compared to jumping between external software and the engine.
Level Blocking and Prototyping
Level blocking — the process of laying out the basic shape and size of a game level or architectural space before adding detailed assets — is where Unreal’s modeling tools shine brightest. In the past, level designers would either use default placeholder assets imported from elsewhere or create basic shapes in Unreal that were too limited to get a real sense of space. Now, you can block out an entire level entirely within Unreal, adjusting wall heights, doorways, and terrain features in real time, testing how lighting and player movement work as you build.
Because everything is already in Unreal, you don’t have to worry about export/import errors, incorrect scale, or misaligned origins. You can test gameplay, adjust the layout, and iterate on the fly without ever leaving the engine. For indie game developers working with small teams, this eliminates the need to switch between modeling software and Unreal just to test a new layout, cutting down iteration time dramatically.
Custom Environment Assets and Set Dressing
When you’re building a environment or a architectural visualization, you often need small custom assets that fit a specific space: a custom-sized shelf that fits exactly between two walls, a unique trim piece that matches a specific design, or a modified prop that fits a gap in your layout. Instead of opening Blender, creating the asset, exporting it, importing it into Unreal, and adjusting materials, you can create the asset right where you need it in a few minutes.
Virtual production artists also benefit heavily from native modeling. When building a set for a film or commercial, you often need to adjust set pieces on the fly to match camera framing or actor movement. Being able to quickly model or modify a set piece directly in Unreal, where you can see how it looks on the virtual camera in real time, is a massive workflow improvement.
Quick Iteration and Collaboration
For teams working on large projects, native modeling in Unreal simplifies collaboration. If a level designer needs to adjust a mesh, they don’t have to track down the original source file from a modeler, make the change in external software, and reimport it. They can make the adjustment directly in Unreal, saving everyone time. It’s also ideal for hobbyists and new creators who haven’t learned how to use a full modeling program yet: you can start creating 3D content directly in Unreal without investing dozens of hours into learning Blender or Maya first.
“For 90% of the environment art work I do as an indie developer, I don’t need to open Blender anymore. I can block out, model, texture, and light an entire level right in Unreal, and that speed lets me iterate on ideas I would have scrapped before because they took too much work.”
Prototype Hard-Surface Assets
If you’re designing a new asset for a game or product visualization, you can prototype the shape directly in Unreal to test how it fits in your scene before doing the final high-poly work in an external program. You can test scale, shape, and how the asset interacts with lighting and other objects in the scene without committing to a detailed model first.
Limitations of Modeling in Unreal: When to Use Dedicated Software
For all its improvements, Unreal’s modeling toolset still isn’t a full replacement for dedicated 3D modeling software like Blender, Maya, 3ds Max, or ZBrush. It’s important to understand these limitations before you commit to building an entire project natively in Unreal, to avoid getting stuck mid-project.
Organic and High-Detail Sculpting
The biggest gap in Unreal’s modeling toolset is advanced sculpting for organic assets like characters, creatures, or detailed natural scenery. While Unreal has some basic deformation and sculpting brushes, they can’t compare to the power of ZBrush or Blender’s sculpt mode. If you need to create high-poly details like facial wrinkles, skin pores, or intricate rock formations, you’ll still need to do that work in a dedicated sculpting program.
That doesn’t mean you can’t bring those assets into Unreal, of course — Unreal excels at rendering high-poly assets from other tools, thanks to its Nanite geometry system. It just means the modeling work for complex organic assets is still better done elsewhere.
Advanced Retopology and UV Workflows
Unreal has basic automatic retopology and UV unwrapping tools, which work fine for simple hard-surface assets. But for complex assets that require clean, hand-retopologized geometry or custom UV layouts for texture mapping, the tools still aren’t as full-featured as what you get in dedicated software. Professional game assets often require multiple UV sets, custom packing for texture atlases, or clean edge loops that are easier to create in Blender or Maya.
For example, if you’re creating a character that needs to be rigged and animated, clean topology is non-negotiable. Unreal’s current retopology tools aren’t designed for the level of precision required for character rigging, so you’ll still want to do that work in an external program.
Complex Animation and Simulation Prep
If you’re creating an asset that needs to be rigged, animated, or used in a simulation, you’ll almost always get a better result building it in a dedicated modeling tool. Unreal doesn’t have native tools for rigging, weight painting, or preparing assets for cloth simulation or destruction work. Even for simpler animated assets, like a rotating door or a moving platform, you’ll get more control over the topology and pivot points if you build the asset in external software first.
Industry Workflow Compatibility
If you’re working on a large commercial project as part of a big team, the standard industry workflow still requires modeling to be done in dedicated software. Most studios have established pipelines that route all assets through Blender, Maya, or another tool, with version control set up for source files. While Unreal does support exporting assets as FBX or OBJ to use elsewhere, it’s not yet integrated into most large studio pipelines as a primary modeling tool.
That said, this is changing as more studios adopt Unreal for virtual production and real-time visualization, and many small studios and indie teams have fully switched to modeling basic assets directly in Unreal. But for artists looking for work in big game or film studios, it’s still important to master traditional modeling software — even if you use Unreal’s tools for your personal projects.
A Step-by-Step Guide to Your First 3D Model in Unreal Engine
If you’re ready to try modeling your first asset directly in Unreal, the process is straightforward, even if you’ve never used the Modeling Mode before. Follow these steps to create a simple custom shelf asset for a game level or architectural visualization:
- Enable Modeling Mode: Open your Unreal project, click the “Select Mode” dropdown in the top left corner of the editor (it defaults to “Select”), and choose “Modeling” from the list. If Modeling Mode doesn’t appear, go to Edit > Plugins, search for “Modeling Tools Editor Mode”, enable the plugin, and restart Unreal.
- Create a base shape: In the Modeling Mode panel on the left, click “Create” then select “Cube”. Click and drag in your viewport to place the cube where you want your shelf, then adjust the size in the transform panel to match the width, height, and depth you need.
- Add shelf divisions: With the cube selected, go to the “Edit” tab in the Modeling panel and select “Face Selection Mode”. Click the front face of the cube to select it, then choose “Inset” from the tools list. Adjust the inset amount to create a border around the front of the shelf, leaving a hollow space for the shelves.
- Extrude the hollow space: With the inset face still selected, choose “Extrude” and drag the arrow inward to push the face back, creating the hollow interior of the shelf. Confirm the extrusion when you’re happy with the depth.
- Add individual shelf boards: Go back to “Create” and add another cube, sized to fit as the first shelf inside the hollow opening. Position it at the height you want, then repeat for as many shelves as you need. Once all shelves are positioned, select the outer frame and all the shelf boards, then go to the “Combine” tab and choose “Merge Meshes” to turn them into a single asset.
- Unwrap UVs: Go to the “UV” tab and select “Auto Unwrap”. Adjust the packing density to get the desired texel density for your project, then confirm the unwrap. For a simple asset like this, auto unwrapping will work perfectly.
- Assign a material: Exit Modeling Mode, go to the Details panel, and assign your desired wood material to the shelf. You can now duplicate, move, or modify the shelf any time you want directly in Unreal.
As you can see, the process is simple enough for beginners, and you never have to leave Unreal to get a usable, production-ready asset. For more complex assets, you can use the same core workflow, adding more advanced tools like Booleans to cut custom shapes or bevel to round edges for a more polished look.
Tips for Better Results When Modeling in Unreal
To get the most out of Unreal’s modeling tools, keep these practical tips in mind:
- Use non-destructive modeling whenever possible: Unreal’s non-destructive tools let you adjust parameters later, so you don’t have to start over if you change your mind about the size of an asset.
- Check for bad geometry: Use the “Check Mesh” tool in the Combine tab to find non-manifold geometry or overlapping faces that can cause rendering errors.
- Leverage Nanite: Since Unreal Engine 5 supports Nanite for high-poly geometry, you don’t have to worry too much about polygon count for static assets — you can create detailed models and let Nanite handle the level of detail automatically.
- Use the Procedural Modeling tools for repeating shapes: Tools like the Stairs generator and Pipe generator can create complex shapes in seconds that would take much longer to build manually.
- Export your work regularly: Even though Unreal saves your models in the project file, export them as FBX files to back them up and keep them accessible for future use.
How Does Unreal Modeling Compare to Other Tools?
To put Unreal’s modeling capabilities in perspective, it’s helpful to compare it to the most common alternatives. For context, we’ll compare it to the two most popular options: Blender (free, open-source) and Maya (industry-standard commercial software).
Compared to Blender, Unreal’s modeling toolset is much more limited in features. Blender has decades of development behind it, with advanced tools for sculpting, animation, retopology, UV editing, and rendering that Unreal can’t match. But Blender requires a separate export/import step to get assets into Unreal, which adds time to your workflow. For simple assets and level blocking, Unreal is faster, even if it’s less powerful. For complex organic assets or assets that need animation, Blender is still the better free option.
Compared to Autodesk Maya, the gap is similar. Maya has every tool you could ever need for professional modeling, animation, and rigging, and it’s the standard for most big studios. But it’s also expensive (around $200/month per user), and it still requires the same export/import workflow into Unreal. For small teams or hobbyists, Unreal’s native modeling eliminates the cost of a separate modeling license for basic work, which is a big benefit.
What about other real-time engines like Unity? Unity has some basic modeling tools available via the Asset Store, but nothing comparable to Unreal’s native Modeling Mode. Unreal is far ahead of Unity when it comes to native 3D modeling capabilities, which is a big plus for creators who want to do all their work in one place.
Conclusion
So, can you 3D model in Unreal Engine? The answer is a definitive yes — and for many use cases, it’s one of the fastest, most convenient options available. Unreal Engine’s native Modeling Mode is fully capable of creating production-ready hard-surface assets, level blockouts, custom environment props, and prototype assets, and it eliminates the time-consuming back-and-forth between external modeling software and the engine. It’s especially valuable for indie developers, virtual production artists, architectural visualizers, and hobbyists who value speed and convenience.
That said, Unreal isn’t yet a full replacement for dedicated 3D modeling software. For complex organic assets, detailed sculpting, character rigging, or work that needs to fit into an established large-studio pipeline, you’ll still want to use Blender, Maya, ZBrush, or another dedicated tool. The sweet spot for most creators is a hybrid workflow: model simple assets, blockouts, and custom set pieces directly in Unreal, and use external software for complex assets that need advanced tools or specialized workflow steps.
As Epic Games continues to update Unreal’s modeling toolset with every release, the line between game engine and modeling software continues to blur. For many creators, the ability to do all their work in one real-time environment is no longer a distant dream — it’s a workflow that saves time, reduces friction, and lets you focus on creating better content instead of managing file exports.