
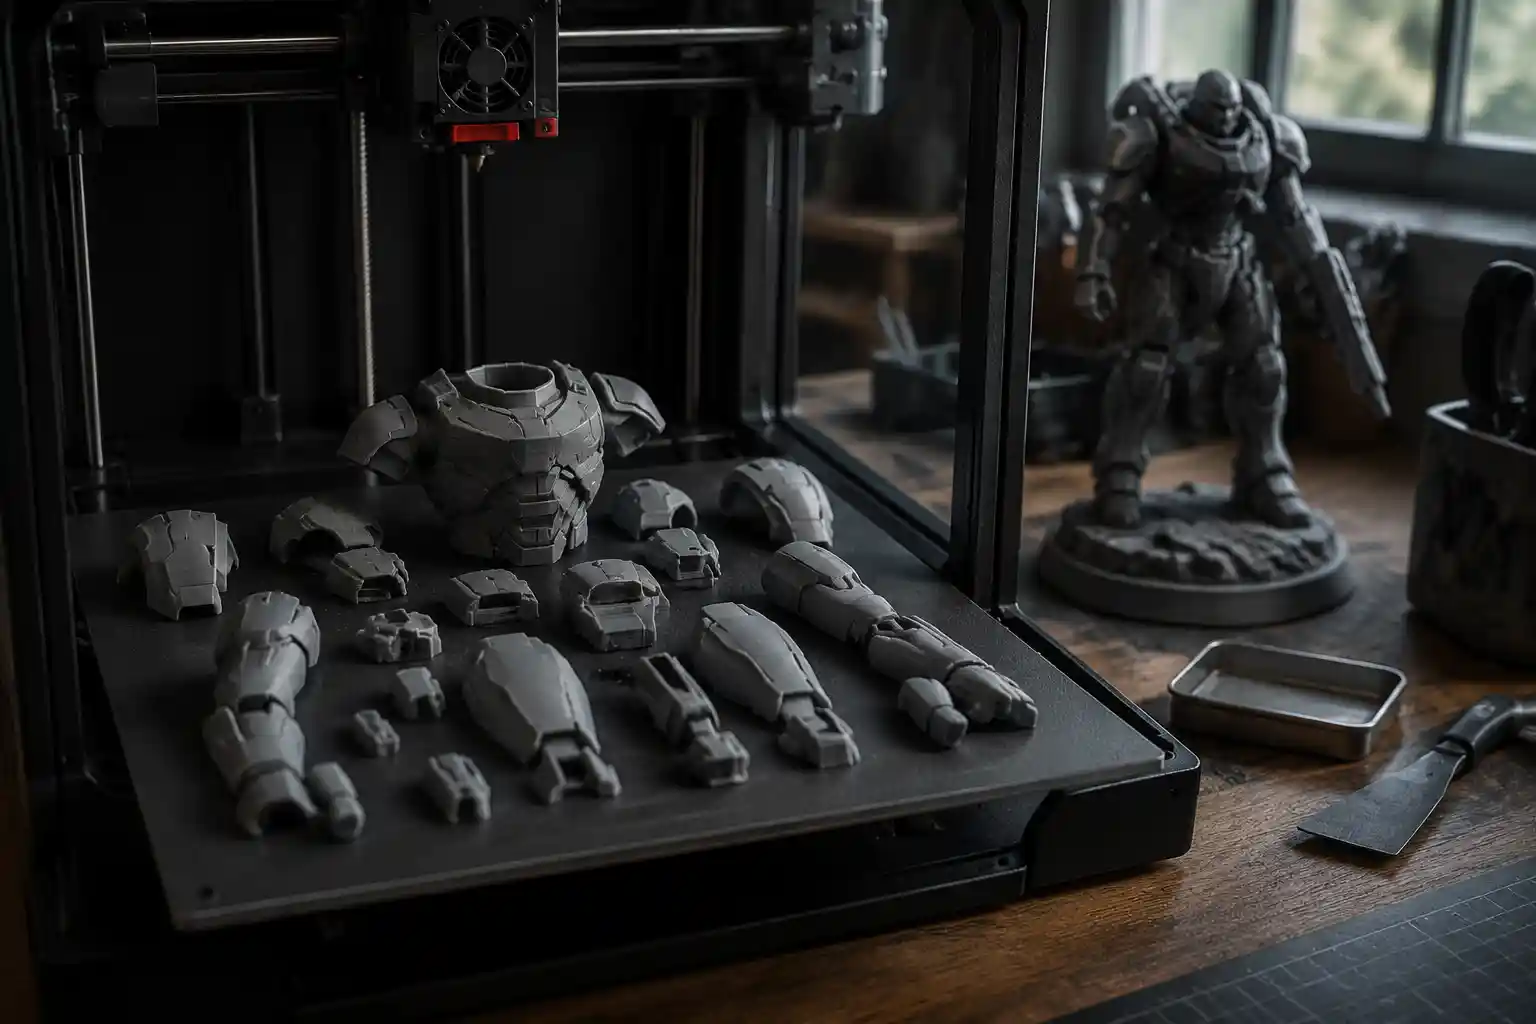
3D printing has opened up a world of creative and industrial possibilities, but one common challenge stops even experienced makers in their tracks: printing models larger than your 3D printer’s build plate. Whether you’re printing a life-size cosplay helmet, a full-size furniture piece, or a detailed architectural model, learning how to split 3D models correctly is an essential skill that turns unprintable designs into finished, professional-quality projects. Splitting models isn’t just for avoiding build plate limits, either—it can also improve print strength, reduce material waste, and make post-processing far easier. With the right tools and techniques, you can split even complex models into clean, alignable parts that fit together perfectly once assembled.
Understand When and Why You Need to Split 3D Models
Before diving into the step-by-step process of splitting, it’s important to recognize the most common scenarios that call for splitting a model, and how this step improves your final result. Many new makers assume splitting is only required when a model is too big for the build volume, but there are several other practical reasons to split even small models.
The most obvious reason is build volume limitation. Every FDM, resin, and industrial 3D printer has a fixed maximum print size, usually defined by the X, Y, and Z axes of the machine. A consumer desktop FDM printer might have a build volume of 220 x 220 x 250 mm, for example, meaning any model larger than that in any axis will not fit. Splitting the model into multiple smaller parts lets you print each section individually, then glue them together for a finished full-size result.
Beyond size, splitting improves print quality and reduces the risk of print failure. Large, solid models require huge amounts of filament, can take days to print, and are more prone to warping, layer separation, or nozzle clogs that ruin the entire print. Splitting the model into smaller sections means if one print fails, you only need to reprint that single part instead of starting over from scratch. Splitting also makes it easier to print complex overhangs without adding messy support structures that leave blemishes on the finished surface. By orienting the split parts to avoid steep overhangs, you can reduce or eliminate supports entirely, saving time and material.
Splitting also makes post-processing and assembly easier. For functional parts that need moving components, splitting the model lets you print separate pieces that assemble with hinges or fasteners instead of printing a single rigid unit that can’t move. For artistic projects, splitting can make it easier to paint different sections of the model separately before assembly, resulting in cleaner, more precise paint lines. Even for storage and transportation, splitting a large model into smaller parts makes it far easier to ship or move without risking damage.
There are a few common scenarios where splitting is almost always required:
- Life-size cosplay props, armor, and character models that are almost always larger than consumer 3D printer build volumes
- Architectural scale models of entire buildings or large landscapes that exceed printer size limits
- Furniture and home decor projects, from full-size chairs to large wall art
- Functional replacement parts for large machinery or vehicles that need to be printed in sections for strength
- High-detail miniatures or sculptures that require separate printing of delicate components to avoid damage during removal from the build plate
Choose the Right Splitting Tool for Your Workflow
There is no one “best” tool for splitting 3D models: the right choice depends on your skill level, your budget, whether you’re working with a simple or complex model, and what other design work you do. Free tools are perfect for beginners, while advanced designers may prefer professional software with more customization features. Below are the most popular options, broken down by use case.
Free, Beginner-Friendly Tools
If you’re new to 3D printing or just don’t want to invest in expensive software, there are several high-quality free tools that can handle most basic splitting jobs. Cura, the most widely used free slicer for 3D printing, includes a built-in model splitting tool that works well for simple cuts. It’s easy to use, and you don’t have to export the model to another program to split it—you can do everything right in your slicing workflow.
Meshmixer, a free 3D modeling tool from Autodesk, is another popular option for beginners. It’s designed specifically for editing and repairing 3D meshes, and its split tool lets you draw custom cut lines along any axis, add alignment pins automatically, and export multiple STL files ready for slicing. While Meshmixer is no longer actively updated by Autodesk, it still works perfectly for splitting models and remains a staple for many 3D printing hobbyists.
For those who prefer browser-based tools that don’t require downloading any software, 3D Slash and Split My Thing work well for simple models. These tools let you upload your STL, draw a cut line, and download the split parts in minutes, all from your web browser. They’re ideal for one-off jobs where you don’t want to install new software.
Professional and Advanced Tools
If you work with complex models or do 3D design as part of your job, professional 3D modeling software gives you far more control over the splitting process. Blender, the free open-source 3D modeling suite, has advanced mesh editing tools that let you make very precise custom cuts, add complex alignment features, and modify the model after splitting. It has a steeper learning curve than beginner tools, but there are hundreds of free tutorials online, and it’s completely free to use.
Fusion 360, which offers a free hobbyist license, is another popular option for more advanced users. It’s a parametric CAD tool, so you can easily create precise, straight cuts along defined planes, add custom alignment pins and notches, and edit the model’s dimensions after splitting. Fusion 360 is especially useful for functional parts where fit and strength are critical.
For professional designers working with STL files, SolidWorks and Rhino both have powerful mesh editing and splitting tools. These are paid software options, but they offer unrivaled precision for complex industrial and architectural projects.
“The biggest mistake new makers make when splitting 3D models is picking a tool that’s too complex for their needs, or not using alignment features from the start. A simple, clean cut with automatic alignment pins will always give you a better result than a overcomplicated custom cut that doesn’t lock together correctly.”
Step-by-Step: How to Split a 3D Model for 3D Printing
While the exact steps vary slightly depending on your software, the core process for splitting a 3D model is consistent across most tools. Below is a general step-by-step guide that works for most projects, with key tips for avoiding common mistakes.
1. Prep and Repair Your Model
Before you make any cuts, it’s critical to check your 3D model for errors that can cause problems after splitting. STL files, the most common format for 3D printing, often have hidden issues like non-manifold edges, overlapping faces, or holes in the mesh that can turn a clean split into a messy, unprintable file. Most tools have a built-in repair function: in Meshmixer, run the “Inspector” tool to automatically fix common errors, and in Cura, the “Fix Model” option will repair most basic issues.
Next, orient the model in your software to match how it will sit when printed. This helps you choose the best split line, which we’ll cover in the next step.
2. Plan Your Split Line for Strength and Appearance
Where you place your split line has a huge impact on the strength of the finished part and how visible the seam will be after assembly. A good split line follows these general rules:
- Hide the seam in a natural contour of the model. If you’re splitting a human head model, for example, place the split line along the jawline instead of cutting straight across the forehead—this will make the seam much easier to hide with filler and paint after assembly.
- Split along a straight plane whenever possible. Angled or curved cuts are more difficult to align, and create a weaker joint. For most projects, straight cuts along the X, Y, or Z axis are ideal.
- Ensure each split part is smaller than your printer’s build volume. Double-check the dimensions of each section after you draw the split line to avoid wasted time printing a part that still doesn’t fit.
- Balance the size and weight of each part. Avoid making one part very large and another very small unless it’s necessary for the design. More even sizing makes printing easier and results in a more balanced joint.
For functional parts that need to hold a lot of weight, consider adding multiple split lines to create interlocking joints that distribute weight more evenly across the entire model. For example, a large 3D printed table leg split into three interlocking sections will be far stronger than a single split into two parts.
3. Make the Cut and Add Alignment Features
Once your split line is planned, it’s time to make the cut. Most splitting tools let you adjust the cut plane after you draw it, so take a minute to double-check the position before confirming the cut. The most important step here, one that many new makers skip, is adding alignment pins and notches to the cut faces.
Alignment pins are small protruding pegs on one cut face that fit into matching notches on the other cut face. They do two critical things: they make assembly much faster and easier by ensuring the parts line up perfectly the first time, and they add strength to the joint by preventing the parts from shifting side to side after gluing. Most modern splitting tools (including Meshmixer and Cura) can add alignment pins automatically with a single click, so there’s no reason to skip this step.
As a general rule, add at least two alignment pins per split face for small parts, and three to four pins for larger parts. Make the pins between 5 and 10 mm long, depending on the size of the model—larger models need longer, thicker pins for extra strength.
4. Check and Export Your Split STL Files
After splitting and adding alignment pins, check each part individually for errors. Open each STL in your slicer and check for any holes, non-manifold edges, or missing faces that would prevent the part from printing. If you find an error, go back to your splitting tool and repair the mesh before exporting again.
Once you’ve confirmed all parts are error-free, export each part as a separate STL file. Name them clearly (e.g., “helmet_bottom_part1.stl” and “helmet_top_part2.stl”) so you don’t mix them up later when you’re ready to slice and print.
Best Practices for Strong, Seamless Results
Splitting the model correctly is only half the battle. Following these best practices will ensure your printed parts fit together well, are strong enough for their intended use, and have a seamless finish that hides the split lines.
Orient Split Parts for Strength and Print Quality
When you’re ready to slice each split part, orient the part so that layer lines run perpendicular to the split joint if possible. Layer lines are the weakest point in any FDM print, so orienting the part so that the force on the joint doesn’t pull along layer lines will make the joint much stronger. For example, if you’re splitting a vertical table leg into two horizontal sections, orient each section so the cut face is on the build plate, which means layer lines run horizontally, perpendicular to the vertical force the leg will hold.
For resin prints, orientation is just as important: orient split parts to avoid suction forces that can warp small parts, and place the split face so it’s flat on the build plate for a perfectly flat mating surface.
Optimize Infill and Wall Settings for Joint Strength
To make your split joints as strong as possible, increase the infill density near the joint. Most slicers let you set a custom infill modifier for specific parts of the model: set infill to 50-70% for the area around the split joint, compared to 10-20% for the rest of the model. This adds extra material around the joint where the glue adheres, making the joint much stronger.
You should also add extra wall lines around the split face. Two or three extra walls around the joint will create a thicker, more solid mating surface for gluing, which improves adhesion and strength.
Prepare and Glue Joints Correctly
Before gluing, clean up the cut face of each part with a small file or sandpaper to remove any stringing or blobs that would prevent the faces from fitting together tightly. Dry fit the parts first without glue to make sure the alignment pins fit correctly and the parts line up perfectly. If the pins are too tight, sand them down slightly until they fit snugly without forcing.
For most FDM prints made with PLA, ABS, or PETG, cyanoacrylate (super glue) works well for small to medium joints. For larger, load-bearing joints, use a two-part epoxy adhesive, which creates a much stronger bond that can hold more weight. For resin prints, super glue or UV-curing resin adhesive works best, as epoxy can sometimes cloud the surface of clear resin prints.
Hide Seams for a Professional Finish
After gluing, you can hide the split seam with a few simple post-processing steps:
- Fill any small gaps between parts with epoxy putty, wood filler, or PLA filler designed for 3D prints. Smooth the filler with a wet finger or putty knife before it cures.
- Sand the cured filler with progressively finer grits of sandpaper, starting with 120 grit and moving up to 400 or 800 grit for a smooth finish.
- Prime the entire surface with a 3D print primer, which fills any remaining small imperfections and creates a uniform surface for painting.
- Paint over the primed seam, matching the color of the surrounding model to hide any remaining trace of the split.
For parts that won’t be painted, you can use a matching filament filler (melted filament from the same spool you used to print the part) to fill gaps, which will match the color of the print perfectly.
Conclusion
Learning how to split 3D models opens up a whole new range of projects you can print, from life-size cosplay to large-scale home goods, even with a small consumer 3D printer. The core process is simple: plan your split line to hide seams and improve strength, use the right tool for your skill level and project complexity, add alignment pins to make assembly easy, and follow best practices for printing and gluing to get a strong, seamless final result.
While it can feel intimidating the first time you split a model, with a little practice it becomes a routine part of the 3D printing workflow. Even if you make a mistake on your first split, you only need to reprint one small part instead of the entire model, so the risk is low. By following the steps and best practices outlined in this guide, you can turn any large, unprintable model into a finished, professional-quality project that fits together perfectly.