
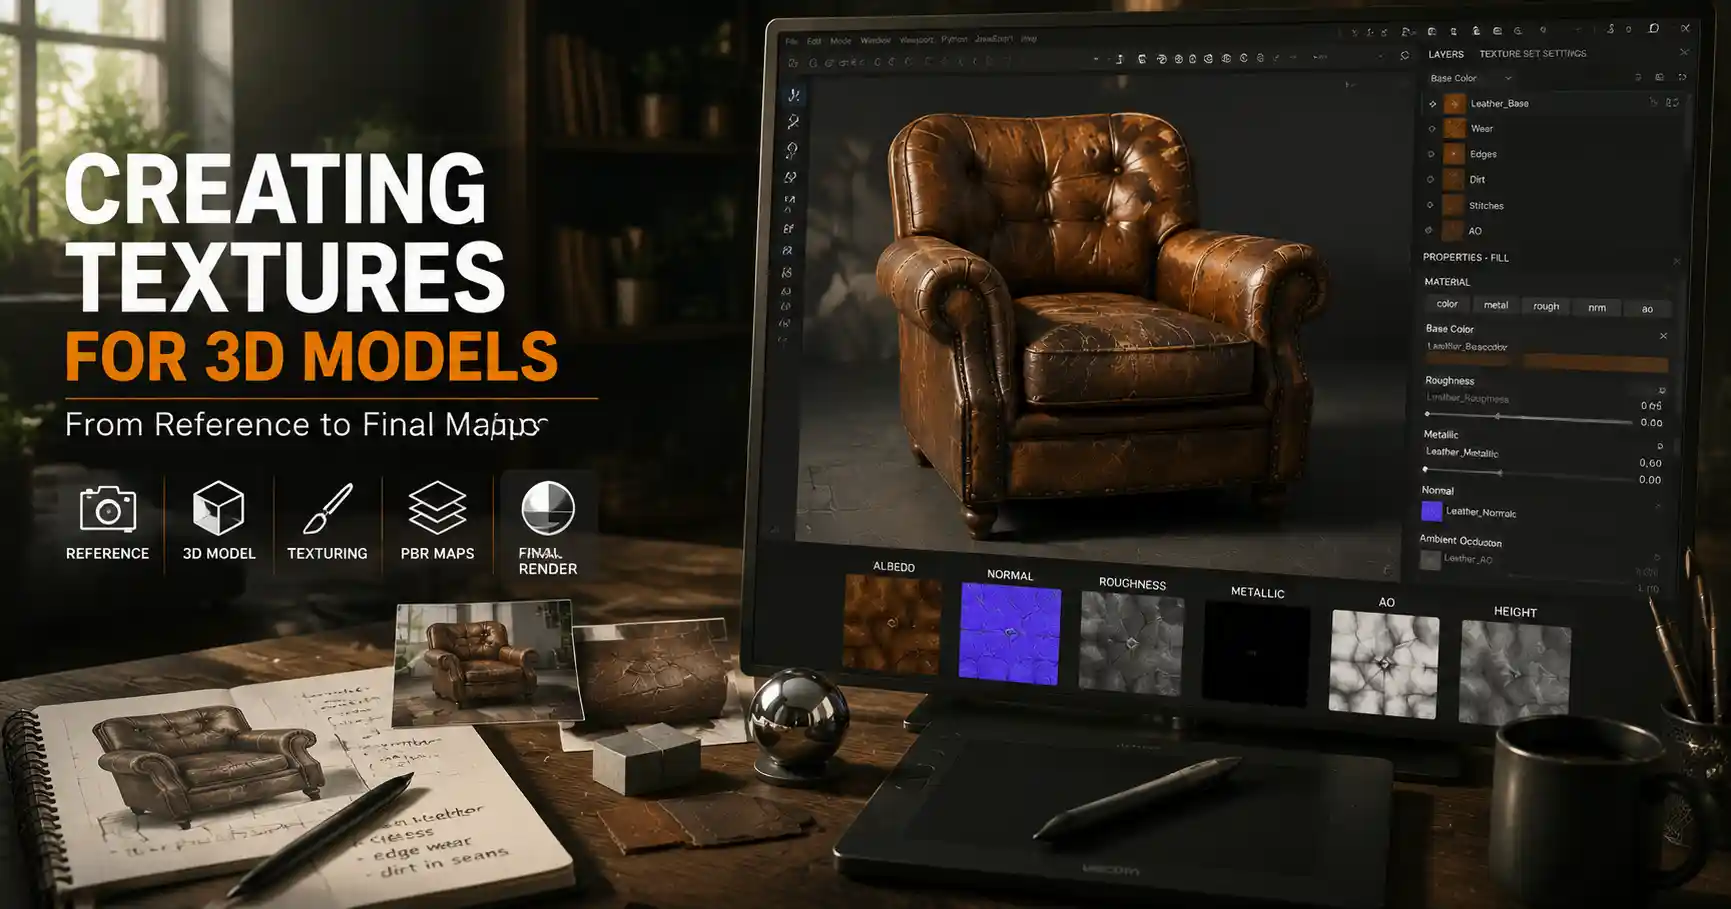
Whether you’re designing a game asset, a product render, or a animated character, a 3D model is only as immersive as its texture. A smooth, perfectly modeled couch falls flat without the woven grain of linen or the worn creases of leather, just as a stone wall loses its sense of place without subtle cracks, moss, and weathering. Texture creation turns a geometric mesh into a tangible, relatable object that feels real to viewers. For new 3D artists, the process can feel overwhelming: with dozens of software options, mapping types, and export settings to learn, where do you even start? This guide breaks down every step of creating high-quality textures for 3D models, from planning your reference to exporting a final file ready for rendering or game engines.
Plan Your Texture Project Before You Start
Many new artists jump straight into texture painting without stopping to plan, and that’s almost always a mistake. A good texture doesn’t just add color to a model—it tells a story about the object’s age, use, and environment. A 100-year-old oak table should look different from a brand-new IKEA side table, even if they’re the same shape. Taking 15 to 30 minutes to plan your texture will save you hours of rework later.
Gather Accurate Reference Materials
References are the foundation of realistic texturing. Even the most experienced 3D artists don’t rely on imagination alone; they use real-world references to capture subtle details that make textures feel authentic. You don’t need a professional camera to gather good references, though your own photos will always be unique and avoid copyright issues. If you don’t have the ability to shoot your own photos, free resources like Unsplash, Pexels, and Texture Haven offer high-quality, public domain reference images you can use.
When gathering references, collect more than just photos of the surface. Look for photos that show how the material behaves in different lighting: how does wet asphalt reflect light compared to dry asphalt? How does leather crease around the edges of a couch cushion? Note any imperfections: scuffs, stains, scratches, and fading add character that uniform textures can’t match. For example, if you’re texturing a well-worn work boot, look for references that show dirt caked in the tread, frayed stitching at the seams, and scuff marks on the toe.
Understand Your Project’s Requirements
Texture resolution and file size depend entirely on what the 3D model will be used for. A texture for a mobile indie game has very different requirements than a texture for a 8K VFX movie shot. If you create a 4K texture for an asset that will only ever be seen in the background of a mobile game, you’re wasting storage space and slowing down performance. On the other hand, a 1K texture for a close-up product render will look blurry and low-quality.
Common resolution guidelines for different use cases are:
- Background assets or mobile games: 1K (1024x1024 pixels) to 2K (2048x2048 pixels)
- Main game assets and general arch-viz renders: 2K to 4K (4096x4096 pixels)
- Close-up product renders or high-end VFX: 4K to 8K (8192x8192 pixels)
You should also confirm what map types your renderer or game engine requires. Most modern pipelines use PBR (physically based rendering) workflows, which require a base set of texture maps: albedo, normal, roughness, metallic, and ambient occlusion. Older workflows may only require a diffuse map and a single specular map, so double-check before you start creating maps you won’t need.
Choose the Right Workflow for Your Project
There are three core workflows for creating textures for 3D models: procedural texturing, photo-based texturing, and hand-painted texturing. Each has its own strengths and weaknesses, and the best choice depends on your project, your skill level, and the style you want to achieve.
Procedural Texturing
Procedural textures are created algorithmically within software like Substance Designer, Blender, or Material Maker. Instead of using existing image files, you build the texture by combining nodes that generate patterns, add noise, adjust colors, and create surface details. One of the biggest advantages of procedural texturing is that it’s resolution-independent: you can export your texture at any size, from 1K to 16K, without losing quality. It’s also easy to adjust: if you want a darker wood grain or larger cracks, you just tweak a few node settings instead of reworking an entire image.
Procedural texturing is ideal for creating reusable materials: you can build a single brick material and adjust its size, color, and wear to use on dozens of different assets. It’s also great for abstract or organic patterns that are hard to capture from photos, like clouds, marble, or stylized terrain. The main downside is that it has a steep learning curve. You need to understand how nodes interact, and it can take time to build complex materials from scratch. For new artists, starting with pre-built node networks and modifying them is a great way to learn.
Photo-Based Texturing
Photo-based texturing uses existing photos of real surfaces to create texture maps. This workflow is the fastest way to get ultra-realistic results, because you’re starting with actual surface detail captured from the real world. You can use your own photos that you’ve taken yourself, or source public domain photos from free stock and texture websites.
For simple projects, you can even use a single photo as your albedo map, then generate additional maps like normal, roughness, and ambient occlusion automatically using tools like Materialize or Photoshop’s Neural Filters. For more advanced projects, photogrammetry lets you capture an entire object’s texture and geometry from dozens of photos, resulting in incredibly detailed assets that are almost indistinguishable from the real thing.
The main challenge with photo-based texturing is fixing seams and tiling issues. If you’re creating a tileable texture for a large surface like a wall or floor, you need to edit the photo to make sure it repeats smoothly without visible lines. You also need to ensure your photos are correctly exposed and color-corrected to get an accurate albedo map. If you’re using photos you didn’t take yourself, always check the copyright license to make sure you can use the texture for commercial projects.
Hand-Painted Texturing
Hand-painted textures are created from scratch by painting directly on your 3D model or on a 2D canvas in software like Photoshop, Procreate, or Blender’s Texture Paint workspace. This workflow is most common for stylized art, indie games, and animation, where you want a unique, artistic look rather than photorealism. Hand-painting gives you full control over every detail of your texture: you can emphasize the details that matter, hide imperfections, and lean into your personal art style.
Hand-painting is also a great option for new artists who haven’t mastered procedural texturing yet. You don’t need to learn complex node setups to create a beautiful stylized texture—you just need basic painting skills and a clear idea of what you want to create. The downside is that it can be time-consuming to create large, detailed textures, and it’s harder to get perfectly tiling textures compared to procedural or photo-based workflows. It’s also more difficult to achieve realistic results, since you have to paint every subtle detail by hand.
Good texturing isn’t about adding as much detail as possible—it’s about adding the right detail that tells the story of the object. I’ve seen 8K textures that feel dead because they don’t have any character, and 1K hand-painted textures that feel more alive than any photo could.
Learn the Core Texture Map Types for PBR Workflows
Nearly all modern 3D pipelines use PBR, which creates consistent, realistic lighting across different engines and renderers by defining physical properties of the material. To create a complete PBR material, you need to understand the purpose of each core texture map, and how to create or export them correctly.
Albedo (Base Color) Map
The albedo map (also called a base color map) is the base color of your material, without any shading or lighting information. It defines what color the surface is in different areas: the brown of a wooden table, the blue of denim jeans, the red logo on a mug. A common mistake new artists make is adding shadows or highlights to their albedo map—those details should be handled by other maps and the renderer’s lighting, not the base color.
For photo-based albedo maps, you’ll need to edit out any existing lighting from your reference photo. Use tools like Photoshop’s Dodge and Burn or the normalize filter to even out lighting, so your albedo only contains pure color information. For procedural albedo maps, make sure to adjust the brightness to match the material’s physical properties: for example, pure black materials have an albedo value close to 0, while pure white materials are close to 255.
Normal Map
A normal map adds fine surface detail like bumps, scratches, and grain without requiring extra geometry. It uses RGB color values to fake the direction of the surface’s normals (the invisible lines that tell the renderer which way the surface is facing), creating the illusion of depth that reacts to light realistically. A 2K normal map can add as much surface detail as a high-poly model with millions of polygons, making it essential for game assets where polygon count needs to stay low.
You can generate normal maps from height or grayscale images automatically in tools like Substance Painter, GIMP, or CrazyBump. For photo-based textures, a height map is just a grayscale version of your reference image where lighter areas are higher and darker areas are lower, and the tool converts that into a usable normal map. For procedural textures, you can generate a normal map directly from your node network.
Metallic and Roughness Maps
The metallic and roughness maps define how light interacts with the surface, which is what makes PBR materials look realistic. The metallic map is a grayscale map that defines whether a surface is metal (white) or non-metal (black). There are very few partially metallic materials in the real world, so most of your metallic map will be pure black or pure white, with occasional gray values for things like worn metal that has a layer of oxidation.
The roughness map defines how smooth or rough the surface is. Smooth surfaces have low roughness (black in the roughness map), which create sharp, clear reflections. Rough surfaces have high roughness (white in the roughness map), which scatter light and create dull, blurry reflections. For example, a polished bronze mirror would be almost white in the metallic map and almost black in the roughness map. A concrete sidewalk would be black in the metallic map and almost white in the roughness map. A shiny plastic water bottle would be black in the metallic map and dark gray in the roughness map.
Adding variation to your roughness map is one of the easiest ways to make your texture look more realistic. For example, on a wooden table, areas that get touched a lot (like the edge where people rest their arms) will be smoother and have lower roughness than areas that never get touched, which will be rougher. Adding that subtle variation makes the texture look lived-in instead of uniform.
Ambient Occlusion Map
An ambient occlusion (AO) map adds darkening to crevices, cracks, and areas where two surfaces meet, which mimics the way light is blocked in real life. This adds depth and realism to your model, especially for hard-surface assets like furniture or architecture. For example, between the bricks in a wall, or around the bolts on a metal pipe, AO will add subtle darkening that makes those details pop.
You can generate AO maps by baking the occlusion from a high-poly model to a low-poly model in software like Blender or Substance Painter. If you’re working with a single photo texture, you can also generate an AO map automatically from your height map. Many game engines now add AO in real time, but having a baked AO map still helps add depth to objects when they’re close to the camera.
Other common optional maps include:
- Opacity maps: For transparent or cutout details like leaves, grass, or chain-link fences
- Emissive maps: For materials that glow, like neon signs, LED screens, or burning coals
- Displacement maps: For actual geometric displacement of the surface (instead of faked detail like normal maps), used for high-quality renders
Master UV Unwrapping for Seamless Texturing
Even if you create a perfect texture, it will look terrible if your UV unwrap is bad. UV unwrapping is the process of unfolding your 3D mesh into a 2D plane, so your software knows how to map your 2D texture onto the 3D geometry. Think of it like unwrapping a cardboard box to lay it flat: you’re taking a 3D shape and turning it into a 2D layout that you can print your texture on.
Common UV Unwrapping Best Practices
There are a few core rules to follow to get a clean UV unwrap that avoids stretching and seams:
- Avoid stretching at all costs. Stretching happens when the UV layout doesn’t match the scale of the 3D geometry, so your texture gets squashed or stretched in different areas. Most 3D software has a UV stretching checker that overlays a grid or checkerboard pattern on your model, so you can see where stretching is occurring. If the checkerboard squares aren’t uniform, you need to adjust your UV unwrap.
- Place seams where they won’t be visible. Seams are the edges where you cut your mesh to unwrap it. If you place a seam along the back of a character’s head or under the arm of a couch, no one will ever see it. If you place a seam right along the front edge of a table, it will be obvious and break the illusion. For organic shapes like characters, place seams along natural crevices and hidden edges. For hard-surface objects, place seams along sharp edges where the texture change won’t be noticeable.
- Use your texture space efficiently. Texture space is limited, so larger, more visible parts of your model should get more space than small, hidden parts. For example, the front of a mug should take up more UV space than the bottom of the mug that no one will see. Wasting space on hidden areas means less resolution for the areas that matter, leading to blurry texture details.
Fixing Seams and Tiling Issues
Even with a good UV unwrap, you can still get visible seams between UV islands. If you’re working in a texture painting tool like Substance Painter, you can use the clone stamp or heal tool to blend the edges of the seam so it’s invisible. For tileable textures, you can use the offset filter in Photoshop to move the texture and check where the seams are, then blend those areas with the clone stamp.
Another common issue is uniform tiling, where the same pattern repeats so obviously that it breaks the immersion. To fix this, add variation by blending multiple different textures, or use a trim sheet to add unique details to different parts of the surface. A trim sheet is a single texture that contains multiple different details (like different types of bricks, mortar, and cracks) that you can map to different parts of your model, so you avoid repeating the same pattern over and over.
Export and Test Your Textures Correctly
Once you’ve finished creating all your texture maps, the next step is to export them correctly and test them to make sure they work in your target engine or renderer. Different software uses different naming conventions for texture maps, and getting the naming wrong can lead to your maps being assigned incorrectly, which ruins your material.
Most game engines and renderers use a standard naming convention that looks like this: [MaterialName]_[MapType].png. For example, a wooden oak table albedo map would be named OakTable_Albedo.png, its normal map would be OakTable_Normal.png, and its roughness map would be OakTable_Roughness.png. This convention makes it easy for your software to automatically assign the maps to the correct slots, which saves you time importing.
When exporting, choose the right file format for your needs. For most use cases, PNG is the best choice because it supports transparency and lossless compression, so you don’t lose any quality. If you need smaller file sizes and don’t need transparency, JPEG can work for albedo maps, but avoid using JPEG for normal or roughness maps, because the compression can create artifacts that ruin the quality. For 8K and higher textures, you may need to use file formats like EXR or TGA that support high bit depths.
Always test your textures after importing them. Import your model and textures into your target engine or renderer, then check how they look in different lighting conditions. A texture that looks great in studio lighting might look terrible in a night scene, so test it in multiple lighting setups. Check for common issues:
- Are the normal map green/alpha channels flipped? Some software expects normal maps to be flipped, which leads to inverted detail that looks wrong.
- Is the roughness/metallic scale correct? A common mistake is inverting roughness or metallic maps, which makes rough surfaces shiny and smooth surfaces dull.
- Is the texture resolution too low or too high? Check the performance in game engines: if your framerate drops, you may need to lower the texture resolution.
If you’re creating textures for sale or for a client, it’s also good practice to include previews of the texture in different use cases, so the user can see how it looks before they import it. Include a tileable preview, a close-up preview, and a render of the texture on a 3D model to show off the detail.
Conclusion
Creating great textures for 3D models is a skill that takes practice, but it doesn’t have to be overwhelming. By starting with solid planning, choosing the right workflow for your project, understanding what each texture map does, and nailing the basics of UV unwrapping, you’ll be able to create textures that bring your 3D models to life. Remember that the goal of texturing isn’t just to add detail—it’s to tell a story about your object. A little bit of intentional wear, subtle variation in roughness, and well-placed imperfections will always make your texture more engaging than a technically perfect but uniform texture. Start small, practice with simple projects, and over time you’ll develop a sense for what makes a texture feel real and immersive. Whether you’re working on games, VFX, or product renders, good texturing is what turns a good 3D model into a great one.