
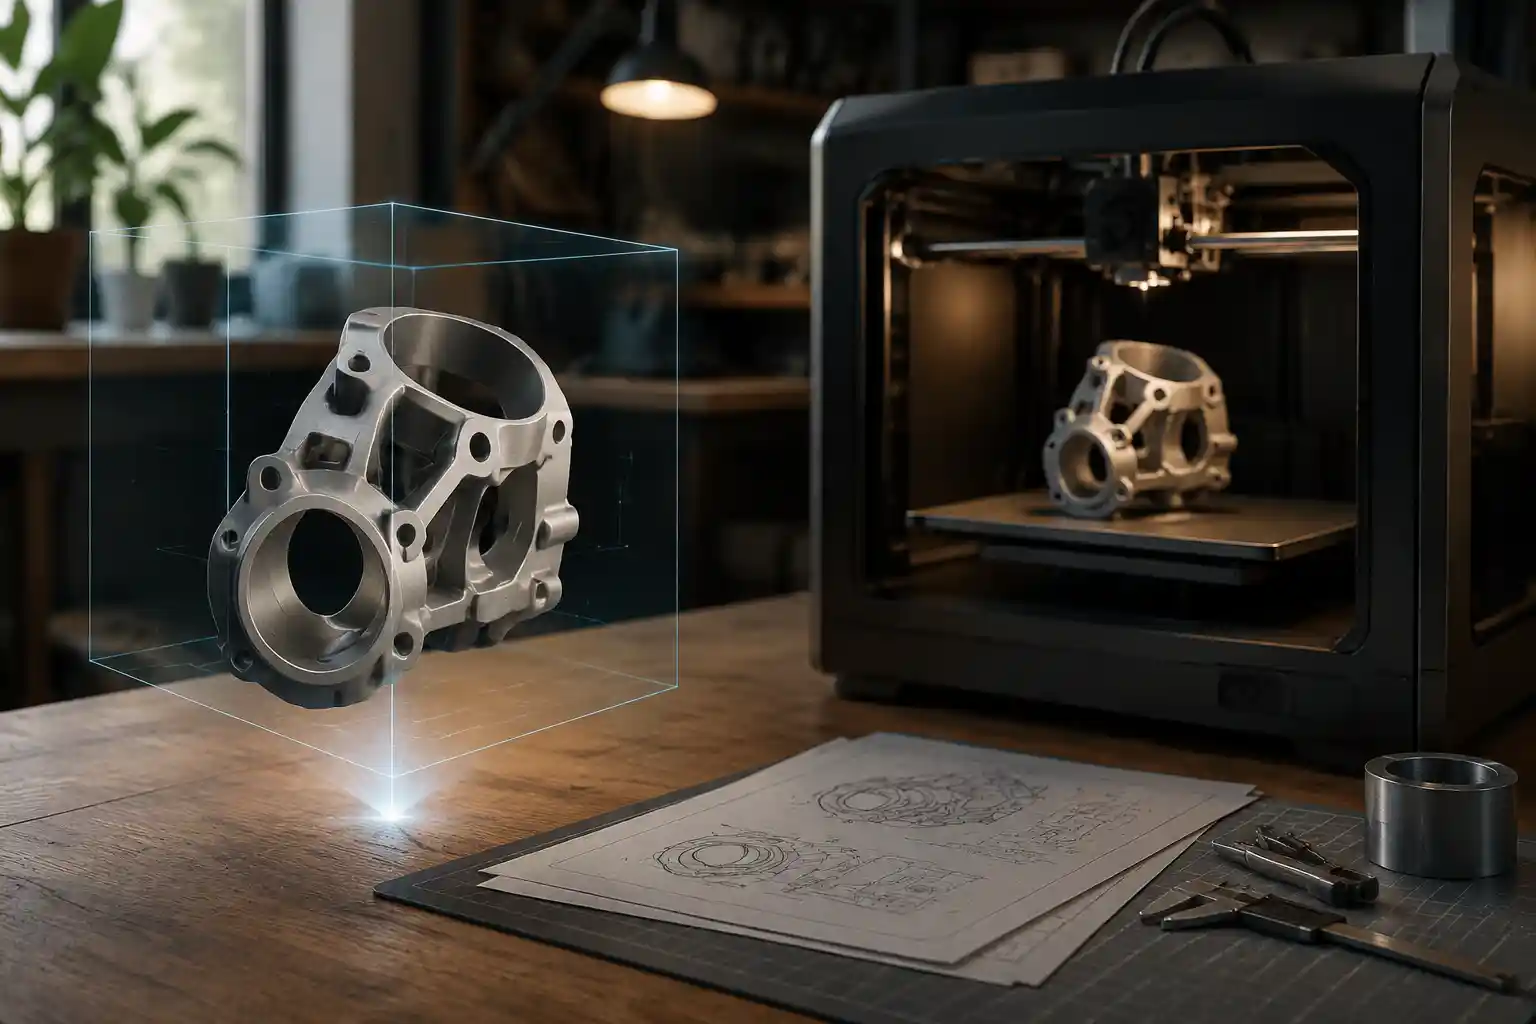
If you’ve ever dipped your toes into 3D printing, 3D prototyping, or online model sharing, you’ve almost certainly encountered the STL file format. Short for Standard Tessellation Language, STL is the universal language for 3D additive manufacturing: it describes only the surface geometry of a 3D object, ignoring color, texture, and other details that slicer software for 3D printers doesn’t need. Whether you created a custom model in Blender, designed a mechanical part in SolidWorks, or downloaded a multi-file 3D model from Sketchfab, you’ll almost always need to convert it to STL before sending it to a printer. Converting a 3D model to STL sounds straightforward, but small mistakes during the process can lead to a print that fails, has gaps, or doesn’t fit together as intended. This guide breaks down everything you need to know to convert your 3D models to STL correctly, no matter what software you started with.
What Is STL, and Why Do You Need to Convert to It?
Before diving into the conversion process, it helps to understand what makes STL the industry standard for 3D printing, and why most native 3D file formats can’t be used directly. Unlike native CAD formats like SolidWorks (.sldprt) or Blender (.blend) that store parametric data, mesh hierarchies, and editable object features, STL simplifies a 3D object into a series of connected triangular facets (or tessellations) that describe the object’s outer surface. This simplicity is intentional: it makes STL small enough to process quickly, and compatible with every consumer and industrial 3D printer on the market.
There are a few common scenarios where you’ll need to convert an existing 3D model to STL:
- You designed a custom part from scratch in CAD or 3D modeling software and need to prepare it for 3D printing
- You downloaded a 3D model in a non-STL format (such as OBJ, FBX, GLB, or STEP) from a community site like Thingiverse, MyMiniFactory, or Sketchfab
- You scanned a physical object to create a 3D model, and the scan output a point cloud or raw file that needs conversion
- You need to edit an existing STL by importing it into modeling software, making changes, and re-exporting a clean new STL
Not all conversions are created equal, though. The biggest pitfall for new users is improper tessellation: if you set your triangle count too low, your model will have a jagged, blocky surface that ruins the final print. Set it too high, and you’ll end up with an enormous file that crashes slicer software or causes 3D printer connectivity issues. Understanding how to balance detail and file size is one of the most important skills for successful STL conversion.
"The best STL is one that has just enough detail to match your design intent, no more and no less. Extra triangles don’t make a better print—they just make more work for your slicer and your printer."
Another key consideration is mesh integrity. STL requires a manifold mesh: a closed, connected surface where every edge is shared by exactly two triangles. Non-manifold geometry (edges shared by three or more triangles, overlapping faces, or holes in the mesh) is the most common cause of failed 3D prints, even when the original 3D model looks perfect. A good conversion process will catch and fix these issues before you export your final STL.
How to Convert to STL From Common 3D Modeling Software
Most professional and consumer 3D modeling tools have built-in options to export directly to STL, so you rarely need third-party conversion tools if you created the model yourself. Below, we break down step-by-step how to export STL from the most popular design programs, with tips to avoid common errors.
BlenderBlender is the most popular free open-source 3D modeling tool, used by everyone from hobbyists to professional artists. Since Blender uses its own .blend format for editable projects, exporting to STL is a required step for 3D printing. To convert a Blender model to STL:
- Finish editing your model, then switch to Object Mode and select the object you want to export. If you have multiple objects that will be printed separately, export them as individual STL files for best results.
- Go to File > Export > STL (.stl). In the export menu on the right, check the box that says "Selection Only" to export only your selected object, not the entire scene.
- Adjust the "Scale" if needed: Blender uses metric units by default, but if you designed your model in inches, you may need to adjust the scale to match your intended print size.
- Click "Export STL" to save your file. For models with complex curves, you can enable the "High Quality" export option to get a smoother mesh without manual retopology.
A common mistake Blender users make is forgetting to check for non-manifold geometry before exporting. You can check for errors by going into Edit Mode, selecting all vertices, and using the "Find Non-Manifold" tool in the Select menu. Fixing these errors before export saves you hours of troubleshooting slicer errors later.
AutoDesk Fusion 360Fusion 360 is one of the most popular CAD tools for mechanical design and 3D printing, with a free tier for hobbyists. Converting a Fusion 360 design to STL is straightforward, and the software automatically checks for common errors during export. To export:
- Select the body or component you want to export from the Browser panel. To export multiple bodies as a single STL, hold Ctrl (Windows) or Command (Mac) to select multiple bodies.
- Go to File > Export and select STL as the file format.
- Adjust the refinement settings: Fusion 360 offers three default options: Low, Medium, and High. For most projects, Medium is sufficient. Use High only for models with very fine details, like miniatures or decorative objects, since it will increase file size significantly.
- Click Export to save your file. Fusion 360 automatically flags any open or non-manifold geometry before export, so you can fix issues before you finish.
SolidWorks is the industry standard for professional mechanical engineering, and its STL export tools give you fine-grained control over tessellation quality. To convert a SolidWorks part or assembly to STL:
- Open your part or assembly file, then go to File > Save As.
- Select STL (*.stl) from the Save as type dropdown menu, then click the "Options" button.
- Adjust the tessellation parameters: you can set a tolerance for how closely triangles match the original surface, or adjust the number of facets per unit. A lower tolerance (0.001 inches, for example) gives a smoother surface but a larger file; a higher tolerance works well for large, low-detail parts.
- Preview the STL mesh before saving to check for gaps or jagged edges, then click OK to save your file.
If you have a 3D model in a non-STL format that you didn’t create yourself, conversion is still simple. Most general-purpose tools like Blender, Meshlab, or online converters can import common formats like OBJ, FBX, STEP, or GLB and export directly to STL. For STEP files (a common CAD format for mechanical parts), you can even preserve parametric features if you import into Fusion 360 or SolidWorks before exporting, making it easy to edit the model before conversion.
Converting STL With Third-Party and Online Tools
If you don’t have the original modeling software installed, or you need to fix a problematic model before conversion, third-party and online tools are a convenient alternative. These tools work for almost any input 3D format, and many include automatic mesh repair features that fix common errors before you export your STL.
Free Desktop ToolsFor users who prefer to work offline (and avoid uploading sensitive custom designs to cloud servers), free desktop tools are the best option. Two stand out for STL conversion:
- Meshlab: Meshlab is a free open-source tool designed for processing and editing unstructured 3D meshes. It can import almost every 3D file format in existence, from raw 3D scan data to OBJ, FBX, and PLY, and export directly to STL. It also includes powerful automatic mesh repair tools that can close holes, remove duplicate faces, and fix non-manifold geometry with a few clicks. The only downside is that it has a steep learning curve for new users, but for simple conversion it’s very straightforward: just import your model, run the "Filters > Cleaning and Repairing > Remove Duplicate Faces" and "Close Holes" filters, then export as STL.
- MeshMixer: Developed by AutoDesk, MeshMixer is a free tool specifically designed for preparing 3D models for 3D printing. It can import most non-STL formats, convert them to STL, and includes a one-click "Make Solid" tool that fixes most common mesh errors automatically. It’s also great for editing existing STLs if you need to resize, cut, or combine models before export. MeshMixer is no longer actively updated, but it still works perfectly for conversion and basic repair, and it’s much more intuitive for new users than Meshlab.
Both tools are completely free to download and use, and they work on Windows, Mac, and Linux operating systems.
Online Conversion ToolsIf you don’t want to download any software, online conversion tools let you convert a 3D model to STL right in your web browser. They’re ideal for one-off conversions of non-sensitive models, and most are free for small file sizes. Some of the most popular options include:
- Convertio: A general-purpose file conversion tool that supports over 50 input 3D formats and outputs STL. It’s free for files up to 100MB, which is large enough for almost all consumer 3D printing projects. The interface is simple: upload your file, select STL as the output, then download the converted file.
- 3D Convert Online: A tool specifically built for 3D file conversion, with support for all common CAD and mesh formats. It lets you adjust export settings like tessellation quality before conversion, and it’s completely free with no file size limits for non-commercial use.
- Sketchfab: If you found a model on Sketchfab that’s available for download, you can convert it directly to STL on the site if the original creator allowed downloads. Just click the "Download" button on the model page, select STL as the output format, and you’re done.
One important caveat for online tools: never upload custom designs that contain sensitive or proprietary information (like a custom part for your business, or a patent-pending invention) to public online conversion tools. Most terms of service allow the site to store or use uploaded files, so for sensitive work, always use an offline desktop tool instead.
Common Problems and Fixes During STL Conversion
Even if you follow all the steps correctly, you can run into issues with your converted STL that cause slicer errors or failed 3D prints. The most common problems are easy to fix once you know what to look for. Below are the most frequent issues and how to resolve them:
Non-Manifold GeometryNon-manifold geometry is the most common issue with converted STLs. As we mentioned earlier, STL requires a closed mesh where every edge is shared by exactly two triangles. Non-manifold geometry happens when you have edges shared by more than two triangles, disconnected faces, or internal faces that don’t contribute to the outer surface. Most slicers will either refuse to slice a non-manifold STL, or produce a g-code that leaves gaps in your print.
The easiest fix for non-manifold geometry is to use automatic repair tools. In MeshMixer, the one-click "Inspector" tool will automatically detect and fix most non-manifold errors. In Meshlab, the "Remove Non-Manifold Edges" and "Close Holes" filters will fix almost all common issues. For complex models, you may need to go back into your original modeling software to manually fix the problem, but 90% of non-manifold issues are resolved with automatic repair.
Incorrect Scale and UnitsIt’s surprisingly common to finish conversion and find that your model is 10 times larger or smaller than you intended. This usually happens when the original software uses different default units than your slicer. For example, Blender defaults to centimeters, while some CAD programs default to inches, and online converters can sometimes misinterpret scale if the original file doesn’t include unit data.
To fix this, always check the dimensions of your STL after conversion before you slice it. Most slicers let you resize the model directly, but it’s better to correct the scale during conversion to avoid rounding errors. If you’re exporting from Blender, double-check the unit settings in the Scene Properties panel before export, and adjust the export scale if needed. If you’re using a third-party tool, most let you enter the desired dimensions before exporting the STL.
Poor Surface Quality (Too Jagged or Too Large)Tessellation quality is all about balance. If you set the triangle count too low, your model will have a jagged, blocky surface that’s especially noticeable on curved parts like vases, miniatures, or round mechanical parts. If you set it too high, your STL file will be hundreds of megabytes large, which can crash your slicer, cause connectivity issues when sending the file to your printer, and add unnecessary processing time without improving print quality.
A good rule of thumb is to match the tessellation quality to your 3D printer’s nozzle size. For a standard 0.4mm nozzle, a tolerance of 0.1mm or lower is sufficient. For miniatures printed with a 0.2mm nozzle, use a finer tolerance to capture small details. When in doubt, start with a medium quality setting, preview the mesh in your conversion software, and increase quality only if you see visible jagged edges on curves.
Overlapping or Separate Parts in a Single STLIf you’re converting an assembly with multiple separate parts, it’s tempting to export everything as a single STL. But this often leads to overlapping faces or disconnected meshes that your slicer can’t process correctly. For assemblies, the best practice is to export each part as a separate STL file, so you can orient them correctly on the print bed and print them one at a time or all together without errors. If you do need to combine multiple parts into a single STL, use the "Boolean Union" tool in your modeling software or MeshMixer to merge them into a single closed mesh before export.
Best Practices for High-Quality STL Conversion
Beyond fixing common problems, following a few simple best practices will ensure your converted STL is always ready for successful 3D printing. These tips work for any input model or conversion tool:
- Check your model’s wall thickness before conversion: STL doesn’t store any information about solidity, so it’s easy to create a model with walls that are too thin to print (thinner than your nozzle diameter, for example). Check the wall thickness in your original modeling software before conversion, and adjust it to at least 1.2mm for standard 0.4mm nozzles to avoid print failure.
- Export multiple parts as separate STLs: As we mentioned earlier, separate STLs for individual parts give you more flexibility for printing, and avoid errors from overlapping geometry. This also makes it easier to resize or edit individual parts later if you need to.
- Preview your STL before slicing: Most slicers have a 3D preview mode that lets you check for holes, gaps, or jagged surfaces before you start slicing. Take 30 seconds to rotate the model and check all sides for errors—catching a problem here is much faster than catching it halfway through a 4-hour print.
- Avoid unnecessary high resolution: It’s tempting to always export at the highest possible tessellation quality, but this just creates unnecessarily large files that don’t print any better. Only increase resolution for parts that require fine detail, and stick to medium settings for large functional parts like brackets or enclosures.
- Use mesh repair even if you don’t see errors: Even if your original model looks perfect, small errors can creep in during conversion. Running a quick automatic repair in MeshMixer or Meshlab takes less than a minute, and it eliminates most common slicer errors before they happen.
For professional users working on functional parts, it’s also a good idea to keep a copy of your original native 3D file. STL is a static surface format, so you can’t easily edit it to change dimensions or features later. Keeping the original editable file means you can make changes and re-export a new STL whenever you need to, without starting from scratch.
Conclusion
Converting a 3D model to STL is a foundational skill for any 3D printing hobbyist or professional, and it doesn’t have to be complicated. Whether you’re exporting directly from your favorite modeling software, using a free offline tool, or converting a downloaded model with an online converter, the core principles are the same: balance tessellation quality to get smooth surfaces without oversized files, check for common mesh errors before export, and follow best practices to ensure your model is ready to print. Most conversion mistakes are easy to avoid once you know what to look for, and automatic repair tools have made fixing errors faster than ever before. By following the steps and tips in this guide, you’ll be able to convert any 3D model to a print-ready STL that produces consistent, high-quality results on any 3D printer.