
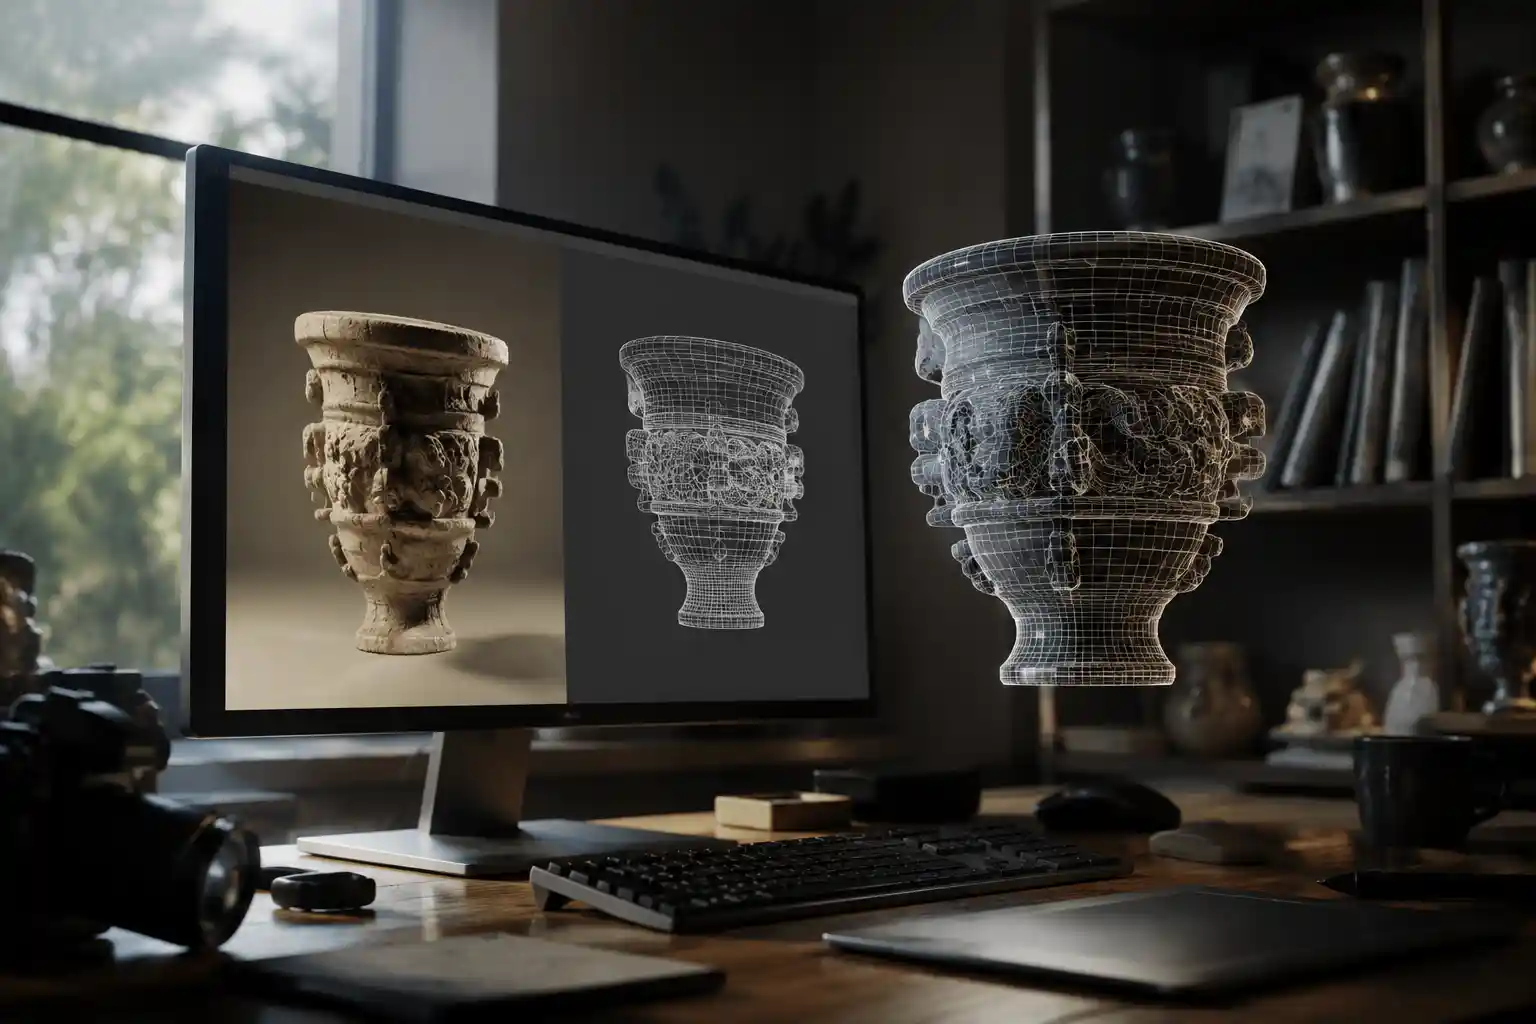
Whether you’re a 3D printing hobbyist, a game developer building asset libraries, an e-commerce seller creating interactive product previews, or an archaeologist reconstructing ancient artifacts, converting a 2D image to a 3D model opens up a world of creative and practical possibilities. Ten years ago, this process required expensive 3D scanning equipment and years of technical training. Today, automated tools, cloud-based software, and even free mobile apps make it accessible to almost anyone, with results ranging from quick prototype models to production-ready assets. The key to success is understanding which method fits your goals, how to prepare your source images, and how to refine your final model for its intended use. This guide breaks down every step of the process, from choosing the right approach to polishing your finished 3D model.
Understanding the Basics: How 2D to 3D Conversion Works
At its core, converting a 2D image to a 3D model is the process of estimating depth information that isn’t present in a flat, two-dimensional photograph or drawing. A standard 2D image only records color and light intensity across a flat plane; it doesn’t tell you how far different objects are from the camera, or what shapes lie hidden around the sides or behind the subject. Conversion methods work by filling in these missing depth details using one of several approaches, depending on how many source images you have and what kind of output you need.
There are two primary categories of 2D to 3D conversion: single-image conversion and multi-image photogrammetry. Single-image conversion uses AI algorithms trained on millions of 3D models to guess the depth of different parts of your photo, generating a basic 3D mesh from one flat input. This method is fast and requires only one photo, but it can’t add detail to areas that aren’t visible in the original image, so results are usually best for visualization rather than manufacturing or high-detail work. Multi-image photogrammetry, by contrast, uses dozens or hundreds of photos taken from different angles around the subject to calculate depth by comparing how the same point looks from multiple viewpoints. This method produces far more accurate, detailed models, but it requires more work to capture the source images and process the final result.
Common Use Cases for Each MethodChoosing the right method starts with clarifying what you need your 3D model for. Single-image conversion is ideal for quick projects where you don’t need perfect accuracy: creating a 3D avatar from a portrait photo, generating a basic model for a concept art mockup, or turning a 2D logo into a raised model for a 3D printed keychain. Multi-image photogrammetry, on the other hand, is the go-to choice for professional use cases: creating 3D models of real-world products for AR shopping, reconstructing archaeological artifacts for research, or capturing a detailed model of a building for architectural visualization.
Another less common but growing approach is converting 2D vector drawings or sketches to 3D models. This is popular among product designers and industrial designers who sketch a concept by hand or in 2D software, then extrude or inflate the drawing to create a 3D printable model. Many AI tools now can interpret simple line drawings and generate a fully formed 3D mesh from the 2D outline, speeding up the early design process.
Preparing Your Source Images for Best Results
No matter which conversion method you choose, the quality of your final 3D model depends almost entirely on the quality of your source images. Even the most advanced AI can’t create accurate detail from a blurry, poorly lit photo. Spending 10 minutes getting your source images right will save you hours of editing and refinement later.
Tips for Single-Image ConversionWhen you’re working with only one source image, the subject should be clearly separated from the background, with good contrast between different parts of the object. Follow these practical guidelines:
- Use a high-resolution photo: Aim for at least 2000 pixels on the longest edge. More detail in the 2D image gives the AI more information to work with when generating depth.
- Separate the subject from the background: Most AI tools work best when the subject is the only prominent object in the frame. Use a simple solid background or remove the background beforehand with a free tool like Remove.bg to avoid the AI confusing background elements with part of your subject.
- Avoid heavy motion blur or overexposure: Blurry edges or washed-out areas make it impossible for the algorithm to detect depth correctly. If you’re shooting a new photo, use a steady hand or a tripod to keep the image sharp.
- Center your subject: Position the object you want to convert in the center of the frame, and make sure the entire object is visible. Cropping out edges will lead to incomplete 3D models.
Photogrammetry relies on comparing common points across dozens of images, so your shooting technique is the biggest factor in getting a clean, accurate model. Unlike single-image conversion, you need to capture every angle of the subject to get a complete 3D shape. Follow these best practices:
- Plan your shooting route: Walk around the subject in a full circle, taking a photo every 5-10 degrees. For a person or small object, that means 30-40 photos for one full rotation. For larger objects like a car or building, you may need 100+ photos.
- Shoot multiple elevation levels: After your first circle at eye level, move up (by standing on a step ladder or tilting the camera up) and take a second full circle of photos. For tall objects, add a third circle from a higher angle to capture the top surface. This helps the software fill in gaps in the mesh.
- Keep the subject and lighting consistent: Don’t move the subject between shots, and avoid shooting on a windy day or in direct sunlight that shifts as you move. Consistent diffuse lighting (like an overcast day or soft studio lights) gives the best results, because harsh shadows can confuse the point-matching algorithm.
- Overlap your photos: Every part of the subject should appear in at least 3-5 consecutive photos. Overlap of 60-80% between adjacent photos is the sweet spot for most photogrammetry software.
- Avoid transparent or reflective surfaces: Glass, polished metal, and clear plastic are hard for photogrammetry to process, because they don’t have consistent texture for the software to track. If you’re scanning a reflective object, you can spray it with a temporary matte texture spray to improve results, just make sure it’s safe for the object.
“Garbage in, garbage out isn’t just a cliché for 2D to 3D conversion. I’ve seen users get perfect results from $200 phone cameras just by following the overlap rules, and terrible results from $5000 professional cameras where someone forgot to shoot the back of the object.”
Once you’ve shot your photos, transfer them to your computer and sort out any blurry or overexposed images before uploading them to your conversion software. Removing bad photos upfront speeds up processing and reduces the chance of errors in the final mesh.
Step-by-Step Conversion Methods for Every Skill Level
There are conversion methods available for every budget, skill level, and project requirement. We’ve broken down the most popular approaches, from free one-click AI tools to professional photogrammetry workflows, so you can pick the one that fits your needs.
Method 1: AI-Powered Single-Image Conversion (Free to Low-Cost)This is the fastest and most accessible method, perfect for beginners or quick projects. Most tools are browser-based, so you don’t need to download any large software or have a powerful computer. Popular options include Luma AI, Instant NeRF, 3DFY.ai, and the free tool Depth Map Generator. The process follows roughly the same steps for most tools:
- Upload your prepared source image to the tool. If the tool doesn’t automatically remove the background, use the built-in background remover to isolate your subject.
- Adjust depth settings if available. Some tools let you manually adjust the depth of foreground and background elements to fix AI errors, such as making a nose on a portrait more prominent or flattening a background that the AI incorrectly marked as foreground.
- Generate the 3D model. Processing usually takes 1-5 minutes, depending on the size and resolution of your image.
- Download the model in your desired file format. Most tools offer common formats like OBJ, STL, and GLB, which work with 3D printers, game engines, and 3D editing software.
Keep in mind that single-image AI conversion can only generate depth for the side of the object that’s visible in the photo. The back of the model will usually be a flat or roughly inflated shape, because the AI has no information about what the back looks like. This makes it unsuitable for full 360-degree models or 3D printing where you need the entire object to be accurate.
Method 2: Photogrammetry (Mid-Range to Professional)Photogrammetry is the standard for accurate, full 360-degree 3D models from 2D photos. There are free options like Meshroom (open-source) and paid options like Agisoft Metashape, RealityCapture, and Capture One. For hobbyists, Meshroom is completely free and produces professional-quality results if you have good source images. Here’s the step-by-step workflow:
- Import all your sorted source photos into the photogrammetry software. Most software will automatically detect the camera model and lens settings to improve accuracy.
- Align the photos. The software will analyze each photo, find common matching points across all images, and calculate the position of the camera for each shot. This can take anywhere from 5 minutes to an hour, depending on how many photos you have and the power of your computer.
- Inspect the alignment results. Check that the software has correctly mapped all camera positions, and remove any photos that weren’t aligned properly. Bad alignment will lead to a messy, incomplete model.
- Generate the dense point cloud. The aligned photos are used to create a cloud of millions of 3D points that map the surface of your subject.
- Create the mesh and texture. The software connects the point cloud into a solid 3D mesh, then projects the color and texture from your original photos onto the mesh to create a realistic finish.
- Export the final model in your chosen file format. For 3D printing, STL or OBJ is standard. For game development or AR, GLB or FBX is most common.
One downside of photogrammetry is that it requires a fairly powerful computer to process large models, especially with high-resolution photos. Cloud-based photogrammetry services like 3DFlow or Polycam let you upload your photos to a remote server for processing, so you don’t need a high-end GPU to get results. Polycam also has a popular mobile app that lets you shoot photos directly on your phone and process them on the cloud, making photogrammetry accessible to hobbyists with just a smartphone.
Method 3: Manual Conversion for Custom DesignsIf you’re converting a 2D drawing, logo, or concept art to a 3D model, manual conversion in a 3D editing tool like Blender, Fusion 360, or SketchUp gives you full control over the final shape. This method is especially popular for 3D printing projects like custom signs, jewelry, or decorative items. The basic process for converting a 2D vector image to 3D is:
- Import your 2D image into the software and trace the outlines to create a vector path. Most tools have an automatic image tracing feature that can convert a raster PNG or JPG to editable vector lines.
- Clean up the vector paths to remove any extra lines or imperfections from the tracing. Sharp, clean paths will give you a clean 3D model.
- Extrude the 2D shape to give it depth. For a logo or sign, this is as simple as pulling the flat shape out to your desired thickness. For more complex organic shapes, you can use sculpting tools to add depth and detail to the 2D drawing.
- Add any extra features, like holes for keychains or a base for the model, then export the finished STL or OBJ file.
Manual conversion takes more skill and time than automated AI or photogrammetry methods, but it gives you complete control over every detail of the model. This makes it the best choice for custom design work where accuracy and specific dimensions are required.
Refining and Fixing Common 3D Model Issues
Almost no automated 2D to 3D conversion produces a perfect, ready-to-use model. There are almost always small errors that need to be fixed before you 3D print it, use it in a game, or publish it online. The most common issues are missing faces, holes in the mesh, floating geometry, and noisy texture. Learning to fix these issues doesn’t have to be hard, even for beginners.
Cleaning Up the MeshThe first step after conversion is to clean up messy or unnecessary geometry. If you used photogrammetry, you’ll almost always get extra geometry from the background or small bits of the surrounding environment that the software included in your model. Most 3D editing tools have a simple “delete loose parts” function that will remove small floating pieces of geometry that aren’t connected to your main model.
For single-image conversion, the back of the model is often rough or incorrectly shaped. If you need a full 360-degree model, you can use retopology tools to create a clean back surface, or sculpt the back to match the shape of the front. For 3D printing, if you only need to display the front of the model, you can simply cap the back with a flat surface and it will print perfectly fine.
Holes in the mesh are another common issue, especially for 3D printing. Most slicer software (the program that converts your 3D model to printer instructions) can fix small holes automatically, but large holes will cause errors when printing. In Blender or Meshmixer (a free tool for mesh editing), you can use the “fill hole” tool to close any open gaps in the mesh. It’s also important to check that your model is watertight—meaning it has no gaps or overlapping faces that would make it impossible to 3D print. Meshmixer has a built-in inspect tool that will automatically find and fix most watertight issues for you.
Reducing Polygon CountAutomated conversion tools often generate models with millions of polygons, which is too detailed for use in game engines, AR apps, or 3D printing. Most 3D printers can’t detail smaller than 0.1mm anyway, so extra polygons just slow down processing and don’t improve the final result. Reducing the polygon count (called decimation) is a simple step that makes your model easier to work with:
- For 3D printing: Aim for 50,000 to 200,000 polygons, depending on the size of the model. This is more than enough to capture all the detail your printer can produce.
- For game development or AR: Aim for 1,000 to 50,000 polygons, depending on the platform. Mobile AR apps require lower polygon counts to run smoothly.
Almost all 3D editing software has a built-in decimation tool that automatically reduces polygon count while preserving the shape and detail of your model. Always keep a copy of your original high-poly model before decimating, so you can go back if you need to adjust the level of detail later.
Fixing TexturesIf your model has color textures from photogrammetry, you may notice blurry areas, stretching, or gaps where the software couldn’t map the texture correctly. You can fix small issues by touch-up painting in a tool like Substance Painter or even Photoshop, where you can clone good texture over bad areas. For large issues, you can re-project the texture onto the cleaned-up mesh using your original source photos in most photogrammetry or 3D editing software.
Choosing the Right File Format for Your Project
Once your model is refined and ready to use, you need to export it in the correct file format for your intended use. Choosing the wrong format can lead to lost detail, missing textures, or incompatibility with your 3D printer or software. Here’s a quick guide to the most common formats:
STL (Standard Tessellation Language): This is the universal standard for 3D printing. STL only stores the geometry of the model, not textures or color, which is fine for 3D printing because most consumer 3D printers only print in one color at a time. If you’re preparing a model for 3D printing, STL is almost always the right choice.
OBJ (Wavefront Object): OBJ stores both geometry and texture information, so it’s a good choice if you need to keep color or texture data for your model. It’s compatible with almost all 3D software, and it’s also widely used for 3D printing when color printing is required.
GLB/GLTF (GL Transmission Format): These are modern open formats designed for web use, AR, and game development. They store geometry, textures, animations, and materials in a single small file, which makes them perfect for 3D product previews on websites or mobile AR experiences. If you’re creating a model for an interactive online use case, GLB is the best choice.
FBX (Filmbox): FBX is the standard format for game development and animation work. It supports complex rigs, animations, and multiple textures, so it’s the go-to choice if you’re importing your model into Unity or Unreal Engine for game development.
Conclusion
Converting a 2D image to a 3D model has never been more accessible, with free AI tools for beginners and professional workflows for advanced users. The core principles remain the same no matter which method you choose: start with high-quality source images that match your project goals, choose a conversion method that fits your skill level and required accuracy, and spend a little time refining the model to fix common errors. Whether you’re turning a single vacation photo into a 3D souvenir, capturing a collection of artifacts for a museum exhibit, or creating custom 3D printed products for your business, there’s a method that fits your budget and timeline. By following the steps outlined in this guide, you can avoid common beginner mistakes and produce a high-quality 3D model that meets your needs.