
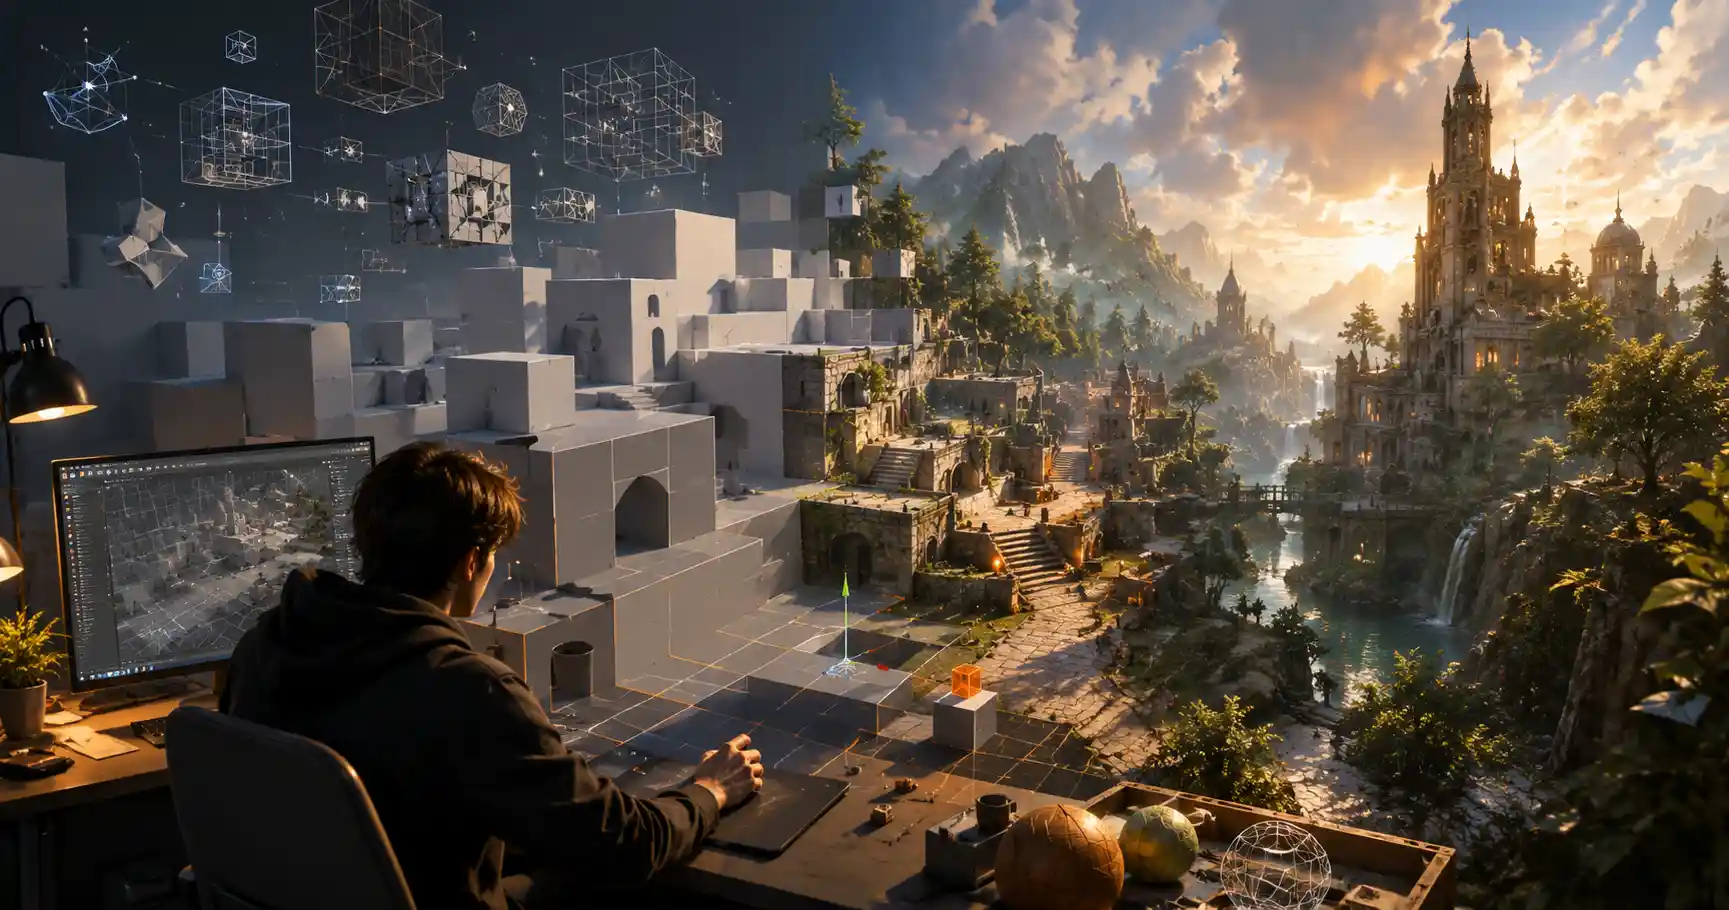
If you’ve ever dipped your toes into game development or interactive 3D design, you’ve probably heard of Unity. As one of the world’s most popular game engines, it powers everything from indie mobile hits like Monument Valley 2 to AAA releases like Hollow Knight: Silksong and Genshin Impact. But if you’re new to the workflow, you might be asking a simple question: can you actually create 3D models directly in Unity, or do you need a separate tool like Blender, Maya, or ZBrush first? The short answer is yes — but with some important caveats. Unity was built primarily as an engine for assembling and interactive experiences, not as a full replacement for dedicated 3D modeling software. That said, it includes a surprising set of built-in tools for creating, editing, and even prototyping complete 3D models without ever leaving the environment. For beginners, indie developers, and prototypers, understanding what Unity can (and can’t) do for 3D modeling will help you plan your workflow and save time on your next project.
What 3D Modeling Capabilities Does Unity Actually Have?
To understand Unity’s place in the 3D modeling pipeline, it helps to start with what the engine offers out of the box. Unity’s core functionality centers around importing, organizing, rendering, and adding interactivity to 3D assets, but its native toolset has expanded dramatically over the years, especially with the introduction of ProBuilder in 2018. Prior to that, basic mesh editing required third-party plugins, but today ProBuilder is included for free with all versions of Unity, making it the foundation for any in-Editor 3D modeling work.
ProBuilder: Unity’s Native Modeling Tool
ProBuilder is Unity’s dedicated built-in tool for creating and editing 3D meshes directly in the Editor. It supports all the core polygon modeling operations that most beginners and prototypers need, including extrusion, insetting, beveling, loop cutting, and vertex welding. You can start from a basic primitive shape — like a cube, sphere, or plane — and modify it step-by-step to create more complex geometry, or you can build custom geometry from scratch by placing individual vertices and connecting them into faces. It also supports UV unwrapping, so you can texture your models without leaving Unity.
Beyond basic modeling, ProBuilder integrates seamlessly with other Unity tools, which is one of its biggest advantages. Any model you create is immediately ready to add materials, colliders, scripts, or other interactive components, no import/export required. This makes it particularly useful for level design: many developers use ProBuilder to block out entire game levels before bringing in high-polygon final assets created in dedicated software.
Other Built-In Tools for 3D Work
Beyond ProBuilder, Unity includes other tools that support 3D modeling workflows:
- ProGrids: A snapping tool that helps you align vertices, edges, and objects to a consistent grid, making it easy to create clean, symmetrical geometry for level architecture or simple props.
- Unity Mesh API: For developers with coding experience, the Mesh API allows you to generate 3D geometry programmatically. This is how many procedural generation tools work in Unity, from infinite terrain to custom mesh deformations.
- Vertex Painting: You can paint vertex colors directly on your meshes in Unity, which is useful for adding subtle color variation to terrain, architecture, or props without using complex texture maps.
It’s important to note that these tools are still optimized for use within Unity’s ecosystem, not as a full replacement for dedicated 3D modeling software. That doesn’t mean they can’t handle full models, though — many indie developers have created complete games with art entirely modeled in ProBuilder, especially for low-poly or minimalist art styles.
Common Use Cases for 3D Modeling Directly in Unity
Modeling in Unity isn’t the right choice for every project, but it excels in specific scenarios where its integration and speed outweigh its limitations. Understanding these use cases will help you decide when to work in-Editor and when to turn to a separate tool.
Level Blocking and Prototyping
The most common use case for in-Editor 3D modeling in Unity is level blocking (also called grayboxing). Before creating final detailed assets, level designers need to map out the layout of a level, test gameplay flow, check for collision issues, and make sure mechanics work as intended. Creating a blockout with ProBuilder is far faster than importing individual assets from an external program, and you can edit and adjust the layout in context while testing the game in play mode.
For example, if you’re designing a first-person platformer, you can quickly extrude cubes to create platforms, cut out doorways, and adjust heights to test if a jump is achievable — all without leaving Unity. Once the layout is finalized, you can either keep the blockout geometry for a low-poly art style, or replace it with detailed assets modeled in other software.
Creating Simple Props and Architectural Assets
For simple game assets like furniture, walls, doors, rocks, or other basic shapes, you can easily create complete models directly in ProBuilder. Even mid-sized projects with a low-poly aesthetic can get away with modeling all their assets in Unity. The tool supports multiple texture mapping workflows, so you can add materials, apply normal maps, and export your models if you need to edit them later.
Procedural Geometry Generation
One of the most powerful uses of 3D modeling in Unity is creating procedural geometry that changes dynamically at runtime. Using the Mesh API, developers can write scripts that generate 3D meshes on the fly based on player input or game rules. Common examples include:
- Infinite procedural terrain for open-world games
- Destructible environments that change mesh geometry when damaged
- Procedural buildings, paths, or vegetation that generate randomly
- Custom mesh deformations for soft bodies, cloth, or water simulation
This kind of dynamic 3D modeling is only possible within the game engine, and it’s a core part of many modern game development workflows. Even if you use external tools for static assets, procedural modeling in Unity opens up creative options that wouldn’t be possible otherwise.
Last-Minute Edits and Fixes
If you’ve already imported a 3D model from Blender or Maya and notice a small issue — a missing face, an unwanted vertex, or a misaligned edge — you don’t have to go back to your external software to fix it. ProBuilder lets you edit imported meshes directly in Unity, saving you the time of exporting, re-importing, and re-setting materials and components. This is a huge quality-of-life improvement for small tweaks that would otherwise break your workflow.
“ProBuilder didn’t just add modeling to Unity — it changed how we prototype. Instead of spending a day exporting and reimporting blocks to test a level layout, we can iterate in minutes, right in the context of the game. For small teams, that speed is everything.”
— Seth Vargo, independent game developer and former Unity educator
Limitations of Modeling in Unity: What You Can’t Do
As capable as Unity’s native tools are for the use cases above, they can’t match the functionality of dedicated 3D modeling software. It’s important to understand these limitations before you commit to building an entire project entirely in Unity.
High-Polygon and Detailed Modeling
Dedicated 3D modeling tools like Blender, Maya, and ZBrush are built for creating high-polygon, detailed assets like characters, complex machinery, or organic environments. Unity’s ProBuilder is optimized for low to mid-poly geometry, and it starts to lag or become unstable when working with meshes that have tens of thousands of polygons. Tools like ZBrush can handle millions of polygons for high-resolution sculpting — something that’s simply not possible in Unity.
Organic modeling, in particular, is a weak point for ProBuilder. While you can create basic organic shapes like rocks or trees, advanced sculpting of characters, creatures, or detailed terrain features requires the specialized brushes and deformation tools found in external software.
Advanced UV Unwrapping and Texturing Tools
While ProBuilder does support basic UV unwrapping, it doesn’t have the advanced tools that most 3D artists rely on for complex assets. You can’t do automatic UV packing, stitch multiple UV shells together easily, or work with multi-tile UVs for high-resolution textures. For texturing, tools like Substance Painter or Mari integrate far better with external modeling software, and they offer far more functionality for creating detailed PBR textures.
Animation and Rigging
If you want to create animated 3D assets like characters, you’ll need a separate tool for rigging and weight painting. While Unity does have basic animation tools for cutscenes and cinematics, it doesn’t support the full rigging and skinning workflow needed for animated characters. Most artists rig characters in Blender or Maya before importing them to Unity for final animation setup.
Industry Standard Workflow Compatibility
If you’re working on a team with other 3D artists, almost all of them will be used to working with dedicated modeling software. Storing your source files in Blender or Maya format is standard industry practice, and it makes it easier for other artists to edit your assets later. While you can export models from Unity to common formats like FBX, the source editing workflow is far less polished than it is in dedicated tools.
To summarize the key limitations, here’s a quick breakdown of when modeling in Unity is not the best choice:
- You need to create high-polygon, detailed assets like characters or complex environmental assets
- You require advanced UV editing, texturing, or rigging functionality that ProBuilder doesn’t offer
- You’re working on a team that expects source files in standard 3D software formats
- You need to create assets for use outside of Unity (for film, 3D printing, or other projects)
How to Get Started 3D Modeling in Unity: A Step-by-Step Guide
If you’re ready to try 3D modeling in Unity, getting started is straightforward, especially if you already have Unity installed. The process is similar to modeling in other polygon-based software, with a few Unity-specific quirks to keep in mind.
Step 1: Enable ProBuilder in Your Project
ProBuilder is included with all recent versions of Unity, but it’s not always enabled by default in new projects. To turn it on, open the Package Manager (Window > Package Manager), search for “ProBuilder” in the list of packages, and click Install. Once it’s installed, you’ll see a new “ProBuilder” menu item in the top Editor menu bar.
Many Unity creators also recommend installing ProGrids at the same time, which is available in the Package Manager as well. ProGrids adds snapping functionality that makes it much easier to create clean, aligned geometry.
Step 2: Start With a Basic Primitive
Most modeling projects start with a simple primitive shape. To create a new ProBuilder mesh, go to ProBuilder > New Shape, and choose the shape you want to start with: cube, sphere, plane, cylinder, etc. Adjust the size and number of subdivisions to match your needs, then click “Create.” This will add a new editable mesh to your scene that you can start modifying immediately.
If you want to build a mesh entirely from scratch instead of starting with a primitive, you can use the “New Vertex” tool to place individual vertices and connect them into faces manually.
Step 3: Learn the Core Editing Tools
ProBuilder uses the same standard polygon modeling tools that you’ll find in most other 3D software. The core tools you’ll use most often are:
- Extrude: Pull a face or edge outward from the mesh to create new geometry. This is the most common tool for blocking out level architecture or extending shapes.
- Inset: Create a smaller new face inside an existing face, leaving a border around the edge. This is perfect for creating things like window frames or doorways.
- Bevel: Round off sharp edges by creating new faces between two adjacent faces, adding smoothness to your geometry.
- Loop Cut: Add a new edge loop across your mesh to create extra geometry for further editing. This is essential for adding detail to existing shapes.
- Weld: Merge multiple vertices into a single vertex to clean up messy geometry.
You can switch between editing modes to select vertices, edges, or faces, just like in Blender or Maya.
Step 4: Unwrap UVs and Add Textures
Once your geometry is complete, you can unwrap the UVs directly in ProBuilder using the Auto-Unwrap tool, or you can adjust UVs manually. After unwrapping, you can apply materials and textures just like you would to any imported asset in Unity. If you need to make adjustments, you can edit the mesh at any time without re-importing anything.
Step 5: Export If Needed
If you need to use your model outside of Unity, or share it with another artist for further editing, you can export it as an FBX or OBJ file directly from ProBuilder. This preserves your geometry and UVs, so you can open it in any other 3D software.
Tips for a Smooth In-Editor Modeling Workflow
Whether you’re new to 3D modeling or new to Unity’s tools, these practical tips will help you avoid common frustrations and work more efficiently:
Keep polygon counts low: ProBuilder performs best with meshes under 10,000 triangles. If you need higher detail, consider modeling the base shape in Unity and adding detail via normal maps or height maps, or create the asset in an external tool.
Use snapping for clean geometry: ProGrids and vertex snapping are your friends. Turning on snapping ensures your vertices align perfectly, eliminating messy gaps and uneven edges that cause rendering or collision issues.
Combine meshes where possible: For static level geometry, use ProBuilder’s “Combine Meshes” tool to merge multiple small meshes into a single asset. This improves rendering performance and reduces draw calls in your game.
Save source assets in your project: ProBuilder meshes store their editable data directly in your Unity project, so you don’t have to export them to edit them later. Just make sure you back up your project like you would for any other work.
Use plugins to extend functionality: If you need more advanced modeling tools than ProBuilder offers, there are several excellent plugins on the Unity Asset Store that add extra functionality. Popular options include Mesh Deformer for dynamic shape changes, Turner for advanced subdivision modeling, and UVSnap for better UV editing.
Conclusion
So, can you 3D model in Unity? The answer is a resounding yes — for the right jobs. Unity’s native ProBuilder tool makes it easy to create, edit, and prototype 3D models directly in the Editor, and it’s an invaluable tool for level blocking, simple props, procedural generation, and last-minute fixes. For small indie teams working on low-poly projects, it’s even possible to create an entire game’s 3D art entirely within Unity, no external software required.
That said, Unity is not a full replacement for dedicated 3D modeling software like Blender, Maya, or ZBrush. For high-polygon assets, characters, detailed organic sculpting, and advanced texturing and rigging, external tools still offer far more functionality and better performance. The best workflow for most developers is a hybrid one: use Unity’s native modeling tools for prototyping, level design, and simple assets, and use dedicated software for complex, high-detail assets that need extra polish.
For beginners, one of the biggest advantages of learning to model in Unity is that it lets you start building interactive 3D experiences without learning a separate 3D modeling tool first. If you’re new to game development, you can master the basics of 3D modeling and Unity workflow at the same time, then expand to external tools as your projects grow more complex. Ultimately, Unity’s 3D modeling capabilities are a powerful addition to any developer’s toolkit, offering speed, convenience, and integration that you can’t get from working exclusively in external software.