
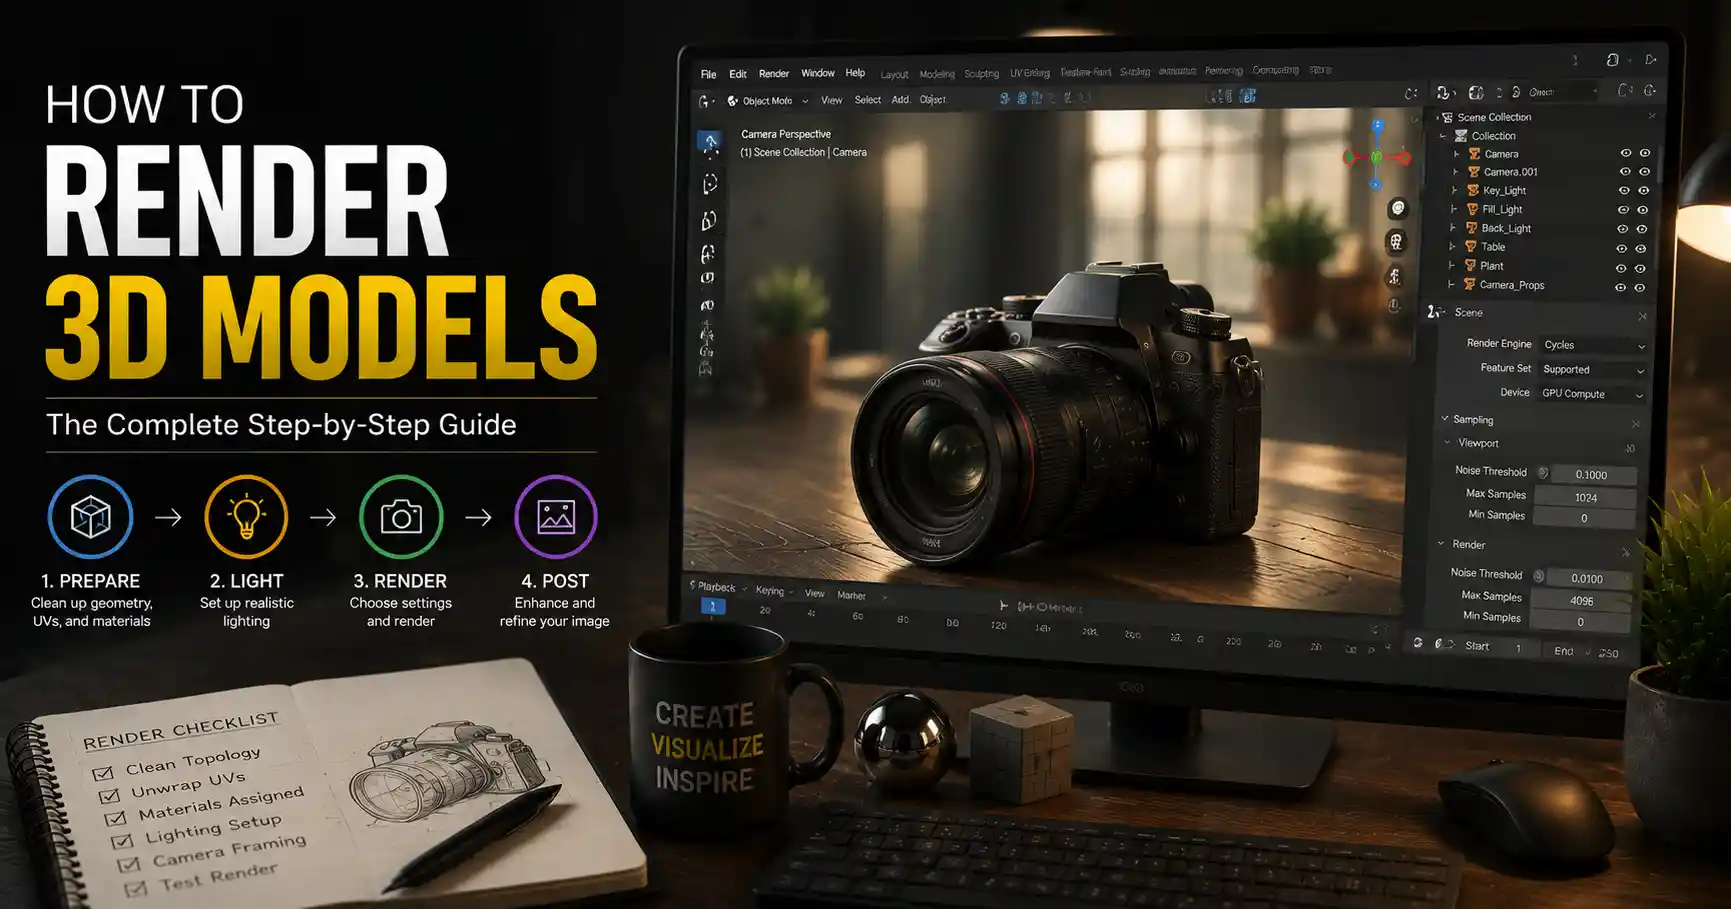
If you’ve ever admired a hyper-realistic product visualization for an online store, a stunning cinematic shot from a video game, or a detailed architectural rendering of a future building, you’ve experienced the final output of 3D rendering. Rendering transforms a raw 3D model—a digital collection of vertices, polygons, and materials—into a polished, two-dimensional image or animation that matches your creative vision. Whether you’re a hobbyist experimenting with Blender for the first time, a product designer looking to showcase your latest invention, or an aspiring VFX artist learning the ropes, understanding how to render a 3D model correctly will make the difference between a muddy, unprofessional image and a finished piece that wows your audience. This step-by-step guide breaks down the entire process, from pre-render preparation to choosing the right renderer, to final post-processing tweaks that elevate your work.
Pre-Render Preparation: Set YourModel Up for Success
Before you even open your rendering settings, the quality of your final image depends almost entirely on the work you put into your 3D model and scene ahead of time. Skipping pre-render checks often leads to frustrating errors, long render times, and lackluster results that force you to start over. Taking 30 minutes to tidy your scene will save you hours of reworking later.
Clean Up Your 3D Geometry
Raw 3D models, especially those downloaded from free asset libraries or scanned from real objects, often come with excess geometry that serves no purpose but increases render time. Non-manifold geometry—edges connected to more or fewer than two faces, overlapping polygons, and disconnected vertices—can cause artifacts in your final render, from black splotches to broken lighting. For most projects, you should prioritize creating a clean, efficient mesh before moving on to materials and lighting.
Common geometry issues to fix before rendering include:
- Overlapping or duplicated polygons that cause z-fighting, a flickering effect where two surfaces compete for the same pixel space
- Hidden interior faces that exist inside closed objects (such as the inside of a table leg) and add unnecessary calculation time
- Non-manifold edges and vertices that confuse render engines when calculating lighting and shadows
- Unnecessary high-poly details that can be baked into normal maps to reduce geometry load without losing detail
Most 3D tools, including Blender, Maya, and 3ds Max, have built-in functions to automatically find and fix non-manifold geometry and remove unused vertices. For scanned or high-poly models, retopology—creating a clean low-poly mesh that matches the shape of the original high-poly version—will drastically cut render times while preserving fine detail through texture baking.
Organize Materials and UVs
Even a perfectly clean model will look bad if your materials and UV unwraps are messy. UV unwrapping is the process of unfolding a 3D mesh into a 2D space so that 2D texture files can be mapped correctly to the surface. Errors like overlapping UV islands or stretched texels (texture pixels) will cause blurry or distorted textures in your final render. Before rendering, double-check that your UVs are laid out efficiently, with no overlapping areas and consistent texel density across all objects in your scene.
When it comes to materials, name your layers clearly, delete any unused materials that are attached to your model but not visible, and check that your texture maps are connected correctly. Most modern renderers use PBR (physically based rendering) materials, which require specific maps: albedo (base color), roughness, metallic, normal, and ambient occlusion. Double-check that each map is plugged into the correct input, and that your roughness and metallic values match the real-world material you’re trying to replicate—for example, a plastic bottle should have low roughness and zero metallic value, while a polished steel wrench should have low roughness and full metallic value.
Set Up Your Composition and Camera
Rendering is essentially taking a digital photograph, so just like a physical photographer, you need to plan your composition before you “take the shot.” Position your camera to highlight the most important feature of your 3D model, adjust your focal length to avoid distortion (use 35mm to 50mm for most product shots to keep lines natural, and 85mm or longer for portrait-style close-ups), and set your output resolution to match your end use. A social media post only requires 1920px on the long edge, while a print billboard requires 6000px or more. Setting an unnecessarily high resolution will just waste render time, so match your resolution to your final output.
Choosing the Right Render Engine for Your Project
Once your scene is prepped, the next critical step is choosing a render engine—the software that calculates your model’s geometry, materials, and lighting to produce a final image. There are two main categories of render engines: ray tracing (also called unbiased rendering) and rasterization (also called biased rendering), and each has its own use cases, advantages, and drawbacks.
Ray Tracing (Unbiased) Rendering
Ray tracing works by simulating the path of real light rays as they bounce off objects in your scene, starting from your camera and tracing backward to the light source (or vice versa, for path tracing, the most common modern variation of ray tracing). Because it follows the physical laws of light, unbiased ray tracing produces incredibly realistic results with accurate reflections, refractions, soft shadows, and global illumination. The tradeoff is that it can take much longer to render, especially for complex scenes with lots of detailed geometry and transparent objects.
Popular unbiased ray tracers include:
- Arnold: A industry-standard renderer used for VFX and animation, favored for its reliability and ease of use for complex scenes
- Cycles: Blender’s built-in unbiased ray tracer, free to use and ideal for artists starting out or working on a budget
- V-Ray: A versatile renderer used for architecture, product design, and VFX, known for its wide range of features and accurate lighting
Unbiased ray tracing is the best choice for static architectural visualizations, high-end product photography, and any project where photorealism is your top priority. It requires minimal tweaking to get natural-looking results, since it simulates real light behavior by default.
Rasterization (Biased) Rendering
Rasterization, the traditional rendering method used for real-time applications like video games, converts 3D geometry into 2D pixels on the fly, rather than tracing individual light paths. Biased renderers use shortcuts and approximations to speed up render times, which can make them less physically accurate than ray tracers, but far faster. Modern raster-based renderers like NVIDIA’s RTX GPUs now include hardware-accelerated ray tracing for real-time projects, blending the speed of rasterization with the realism of ray tracing.
Popular biased and real-time renderers include:
- Eevee: Blender’s built-in real-time renderer, perfect for quick previews, animation, and interactive projects
- Unity/Unreal Engine: Game development engines that double as powerful real-time renderers for interactive architectural walkthroughs and real-time animation
- Redshift: A GPU-accelerated biased renderer that is popular for commercial work, offering a balance of speed and quality for product visualization
Biased rendering is the best choice for animations, interactive projects, quick previews, and any work where you need fast turnaround times without sacrificing too much quality. For many commercial product renderings, the difference between a high-quality biased render and an unbiased render is negligible to the untrained eye, but the biased render will finish in a fraction of the time.
The biggest mistake new 3D artists make is sticking to one renderer for every project. A render engine that’s perfect for a 10-second animated social media reel will be overkill for a single static product shot, and vice versa. Match your tool to the job, not the other way around.
Setting Up Lighting for Professional Results
Even with a clean model and a great renderer, bad lighting will ruin your final render. Lighting is what creates depth, highlights texture, and sets the mood of your image, and it’s one of the most underrated skills for new 3D artists to master. The approach you take to lighting will depend on whether you’re going for photorealism or a stylized look, but there are some core best practices that apply to every project.
Use Three-Point Lighting for Basic Scenes
Three-point lighting is a classic technique borrowed from traditional photography that works perfectly for most 3D renderings, especially product shots and character models. It uses three separate light sources to eliminate harsh shadows and highlight your model’s shape:
- Key light: This is your primary light source, the brightest one that illuminates the main face of your model. Position it at a 45-degree angle to the camera to create soft, natural shadows that define shape. For a photorealistic look, set your key light to a large area light or soft box to create soft edge shadows, rather than a harsh point light that creates sharp, unnatural shadows.
- Fill light: This secondary light fills in the shadows created by your key light, reducing contrast so that details aren’t lost in dark areas. It should be about half as bright as your key light, and positioned on the opposite side of the camera from the key light.
- Back light: Also called a rim light, this light is positioned behind your model, pointing toward the camera. It creates a bright “rim” around the edge of your model that separates it from the background, adding depth to your image. Back lighting is especially important if your model is a similar color to your background, as it prevents the model from blending in.
Three-point lighting is a great starting point for any new scene, and you can adjust the brightness and position of each light to match your desired mood. For a dramatic, high-contrast look, turn down the fill light to deepen shadows; for a bright, airy product shot, increase the fill light to create soft, even illumination.
Add Global Illumination for Realism
One of the biggest differences between amateur and professional 3D renders is the use of global illumination (GI). Global illumination is a rendering feature that simulates how light bounces off surfaces in a scene—for example, a white wall near a red apple will pick up a subtle red tint from light bouncing off the apple, and light reflected off the floor will illuminate the underside of a table that isn’t directly hit by the key light. Without GI, your scene will look flat and artificial, because all shadows are uniformly dark and there’s no interaction between objects and light.
All modern renderers support global illumination, and turning it on is usually as simple as checking a box in your render settings. For ray tracers, GI is enabled by default, but you may need to adjust the number of light bounces to balance quality and render time. For most scenes, 2 to 4 bounces are enough to get natural-looking results; more bounces increase realism but also increase render time.
Match Lighting to Your Environment
If you’re rendering a photorealistic model, using an HDRI (high dynamic range imaging) environment map is one of the easiest ways to get natural, consistent lighting. An HDRI is a 360-degree image of a real environment (such as a studio, an outdoor landscape, or a city skyline) that acts as both your background and your light source. It captures the full range of brightness from the real environment, so your lighting will automatically look natural, with accurate reflections and soft shadows.
For example, if you’re rendering a watch for an e-commerce listing, you can use a studio HDRI to get soft, even studio lighting without having to set up multiple individual lights. If you’re rendering a house exterior, a sunset HDRI will automatically give you warm, natural directional light and accurate sky reflections. HDRIs are available for free from sites like HDRI Haven, making them an accessible tool for artists on any budget.
Adjusting Render Settings for Quality and Speed
Once your lighting and materials are set, it’s time to adjust your render settings to get the best balance of image quality and render time. Every renderer has different settings, but there are a few core parameters that you’ll need to adjust no matter what tool you’re using.
Sample Count and Noise Reduction
Noise—those grainy, speckled artifacts that appear in dark areas, reflections, and soft shadows—is the most common issue new artists face when rendering with ray tracing. Noise happens because the renderer doesn’t use enough light rays (samples) to accurately calculate the color of each pixel. The more samples you use, the less noise you’ll get, but the longer your render will take.
Modern renderers include AI-powered denoising that can remove most noise even with a lower sample count, drastically cutting render times without losing quality. For example, Blender’s Cycles uses OpenImageDenoise, which can clean up a 256-sample render to look as good as a 1024-sample render in a matter of seconds. A good workflow is to:
- Render a low-sample preview to check your composition and lighting
- Set your final sample count to 256-512 for most scenes
- Enable AI denoising to remove remaining noise
This workflow will give you clean results in a fraction of the time it would take to render with a high sample count and no denoising. For extremely complex scenes with lots of reflective or transparent surfaces, you may need to increase your sample count to 1024, but for most projects, 256-512 samples plus denoising is more than enough.
Output Settings and File Formats
When you’re ready to render your final image, choosing the right output settings and file format will save you time in post-processing. For most projects, you should render your image to a 16-bit or 32-bit EXR file, rather than a JPEG or PNG. EXR files store all the dynamic range from your render, including bright highlights and dark shadow details that would be lost in a compressed 8-bit format like JPEG. This gives you much more flexibility to adjust brightness, contrast, and color in post-processing without introducing artifacts.
If you don’t plan to do any post-processing and just need a final web-ready image, a PNG with 100% quality is a good choice, as it supports transparency if you need to place your model on a different background later. JPEG is only suitable for final compressed web output, never for your raw render file, because the compression will lose detail that you can’t get back.
Another important setting is anti-aliasing, which smooths out jagged edges on your 3D model. Most renderers enable anti-aliasing by default, but you should double-check the setting to make sure it’s turned on for your final render. Jagged edges are a dead giveaway of an amateur render, and anti-aliasing fixes this issue with almost no impact on render time for most projects.
Optimize Render Time
Long render times are one of the biggest frustrations for 3D artists, but there are several simple tweaks you can make to speed up your renders without sacrificing quality:
- Use GPU rendering instead of CPU rendering if you have a modern GPU. Most modern renderers support GPU acceleration, and a good GPU can render a complex scene 5-10 times faster than a high-end CPU.
- Hide any objects that are outside the camera frame or completely blocked by other objects—they don’t contribute to the final image, but they still add calculation time.
- Use level of detail (LOD) for distant objects, reducing their polygon count so the renderer doesn’t waste time calculating fine detail that won’t be visible in the final image.
- Render a low-resolution test render first to check for errors before you start a long high-resolution render. There’s nothing worse than waiting 8 hours for a render to finish, only to find you forgot to assign a material to your main model.
Post-Processing: Polishing Your Final Render
Even the best raw render needs a little post-processing to look its best. Post-processing is the process of editing your rendered image after it’s finished, using tools like Adobe Photoshop, GIMP, or Lightroom to adjust color, contrast, and add finishing touches. It’s a quick step that can elevate a good render to a great one.
One of the most common post-processing tweaks is adjusting exposure and contrast. Most raw renders come out of the renderer a little flat, because the renderer preserves all the dynamic range for you to adjust later. Slightly increasing contrast will make your image pop, and adjusting exposure to brighten dark shadows or tone down overexposed highlights will help balance the image. Be careful not to overdo it—crushing your blacks or blowing out your highlights will lose detail that you can’t get back.
Color grading is another key step. Color grading sets the mood of your image: warm orange tones can create a cozy, inviting feel for a product shot, while cool blue tones can create a dramatic, futuristic mood for a concept art render. Even a subtle tint to the shadows or highlights can make your image feel more cohesive and professional. Most 3D tools also have built-in color grading options that you can adjust before rendering, but doing it in post-processing gives you more flexibility to experiment without re-rendering your entire image.
Adding subtle effects can also enhance your render: a slight vignette (dimming the corners of the image) draws the viewer’s eye to your main model, a tiny amount of sharpening brings out fine texture details, and subtle lens bloom on bright lights adds a natural, photographic feel. Just like with color grading, it’s important not to overdo it—subtlety is key. Too much sharpening will create halos around edges, and too strong a vignette will look unnatural.
If you’re creating a render for commercial use, post-processing is also your chance to remove any small artifacts that slipped through your pre-render checks, like a tiny bit of remaining noise or a small black artifact from a non-manifold edge. The clone stamp and healing brush tools in Photoshop make it easy to fix these small issues without re-rendering the entire image.
Conclusion
Learning how to render a 3D model well is a process that takes practice, but it’s built on a foundation of simple, repeatable steps that work for any project. Starting with a clean, organized model, choosing the right render engine for your timeline and quality needs, setting up natural lighting, adjusting your render settings to balance speed and quality, and adding subtle post-processing tweaks will consistently give you professional-looking results. The most important thing to remember is that rendering is a tool to bring your creative vision to life—don’t get so caught up in chasing the highest possible quality that you lose sight of your end goal. Whether you’re rendering a single product shot for a client or a 30-second animation for social media, following these steps will help you avoid common mistakes and create renders you can be proud of.